

Mycopunk missions run on two dials at once: a threat ladder from Safe to Predicament, and seven regions that each want one completed mission. This guide lays out both dials, the Population Control missions that throw the densest crowds at you, and the two special missions worth knowing by name.
At a glance
Mycopunk is by Pigeons at Play, published by Devolver Digital. Full release October 20, 2026 (early access July 10, 2025), Windows only, with about 4,800 Steam reviews at about 88% Very Positive.
List price $14.99 / ¥58; current price $7.49 / ¥29 (-50%); US discount runs to November 3, 2026, China per the store page (checked October 29, 2026).
Threat ladder: Safe (1) to Predicament (7). Regions: Gravity Farms, Desert, Titan City, Moldy Tundra, Ice Floes, Swamp, X11-B. Region and threat details come from player community sources; the threat and region achievements in the Steam schema match this list.
Last verified October 29, 2026.
The threat ladder
Every mission sits on a threat level, and the ladder runs from Safe at level 1 to Predicament at level
7. The Steam achievement list confirms the same seven rungs, one achievement per level, so the ladder is not just community talk: the game itself tracks each step.
Swipe horizontally to view all columns.
| Level | Name | Achievement |
|---|---|---|
1 | Safe | Safe |
2 | Risky | Risky |
3 | Perilous | Perilous |
4 | Treacherous | Treacherous |
5 | Deadly | Deadly |
6 | Onslaught | Onslaught |
7 | Predicament | Predicament |
Higher threat means denser, harder crowds, not just bigger health bars. The screenshot above shows a threat 6 mission flagging high swarm intensity, which is the practical difference: at the top of the ladder you are managing crowds, not duelling single enemies. Missions can also carry active modifiers; the Yikes achievement asks for a mission completed with at least 4 active modifiers, so modifiers are a real part of the climb, not a footnote.
All seven regions
According to player community sources, the regions are Gravity Farms, Desert, Titan City, Moldy Tundra, Ice Floes, Swamp and X11-B. Each region has a matching achievement for completing one mission there, which gives you a clean checklist: one mission per region, and the achievement list tells you when a region is done.
Gravity Farms: achievement No Broccoli Please.
Desert: achievement I Like Sand.
Titan City: achievement I Think I Left My Keys in the Taxi, Can We Go Back And Get Them?
Moldy Tundra: achievement It's So Red.
Ice Floes: achievement Freezing my Battery Off.
Swamp: achievement Prospector.
X11-B: achievement X11-B, for completing a mission on X11-B. This is a separate achievement, not a threat level 8.
X11-B deserves a separate note. It is the 1.0 satellite region, and according to player community sources it is a high-difficulty region meant for finished builds. Do not walk in expecting a normal region run: the community picture is that X11-B is where a completed build goes to be tested, not where a new build goes to be levelled.
Population Control: the dense ones
Population Control missions are about clearing high-density enemy areas, according to player community sources, and you may run into Abominations there. The swarm in the screenshot above is the right mental image: success here is crowd control, area damage and not getting surrounded, rather than careful single-target play.
Abominations also show up as named objectives, as in the Cleanup Detail screenshot above, and landing the final hit on one is its own achievement, ABOMINATION! So even outside Population Control, keep an eye out for the big target: the final hit is what counts.
Two special missions to know by name
Expedition Alpha is the special mission in the hub that unlocks the Mycologist: fight the floating Boss, break one side shell, break the pink core, and use the Switch Employee interaction when she lands. The full steps are in the characters guide, and the rescue itself is an achievement, Expedition Alpha.
The Couch is the 1.0 mini special mission: help Roachard find a sofa. It is small, it is funny, and it is the kind of mission that exists to remind you the hub crew has a life between jobs. Do not expect a loot farm from it; expect a story beat.
Double progress: region and threat together
According to player community sources, region and threat can be progressed together: a threat 4 mission in a region you have not finished counts for both. The practical tip is simple. When a region is still unchecked, run it at the highest threat level you can handle, and let one run tick two boxes instead of grinding the same region twice.
Ouroboros is the roguelike mode, according to player community sources, and it is a good place for farming objectives and trying builds. Its detailed rules are not verified for this guide, so this article does not spell them out; the positioning is all you need here, which is that Ouroboros is the mode to pick when you want repeated runs rather than a single mission.
Mission objectives in practice
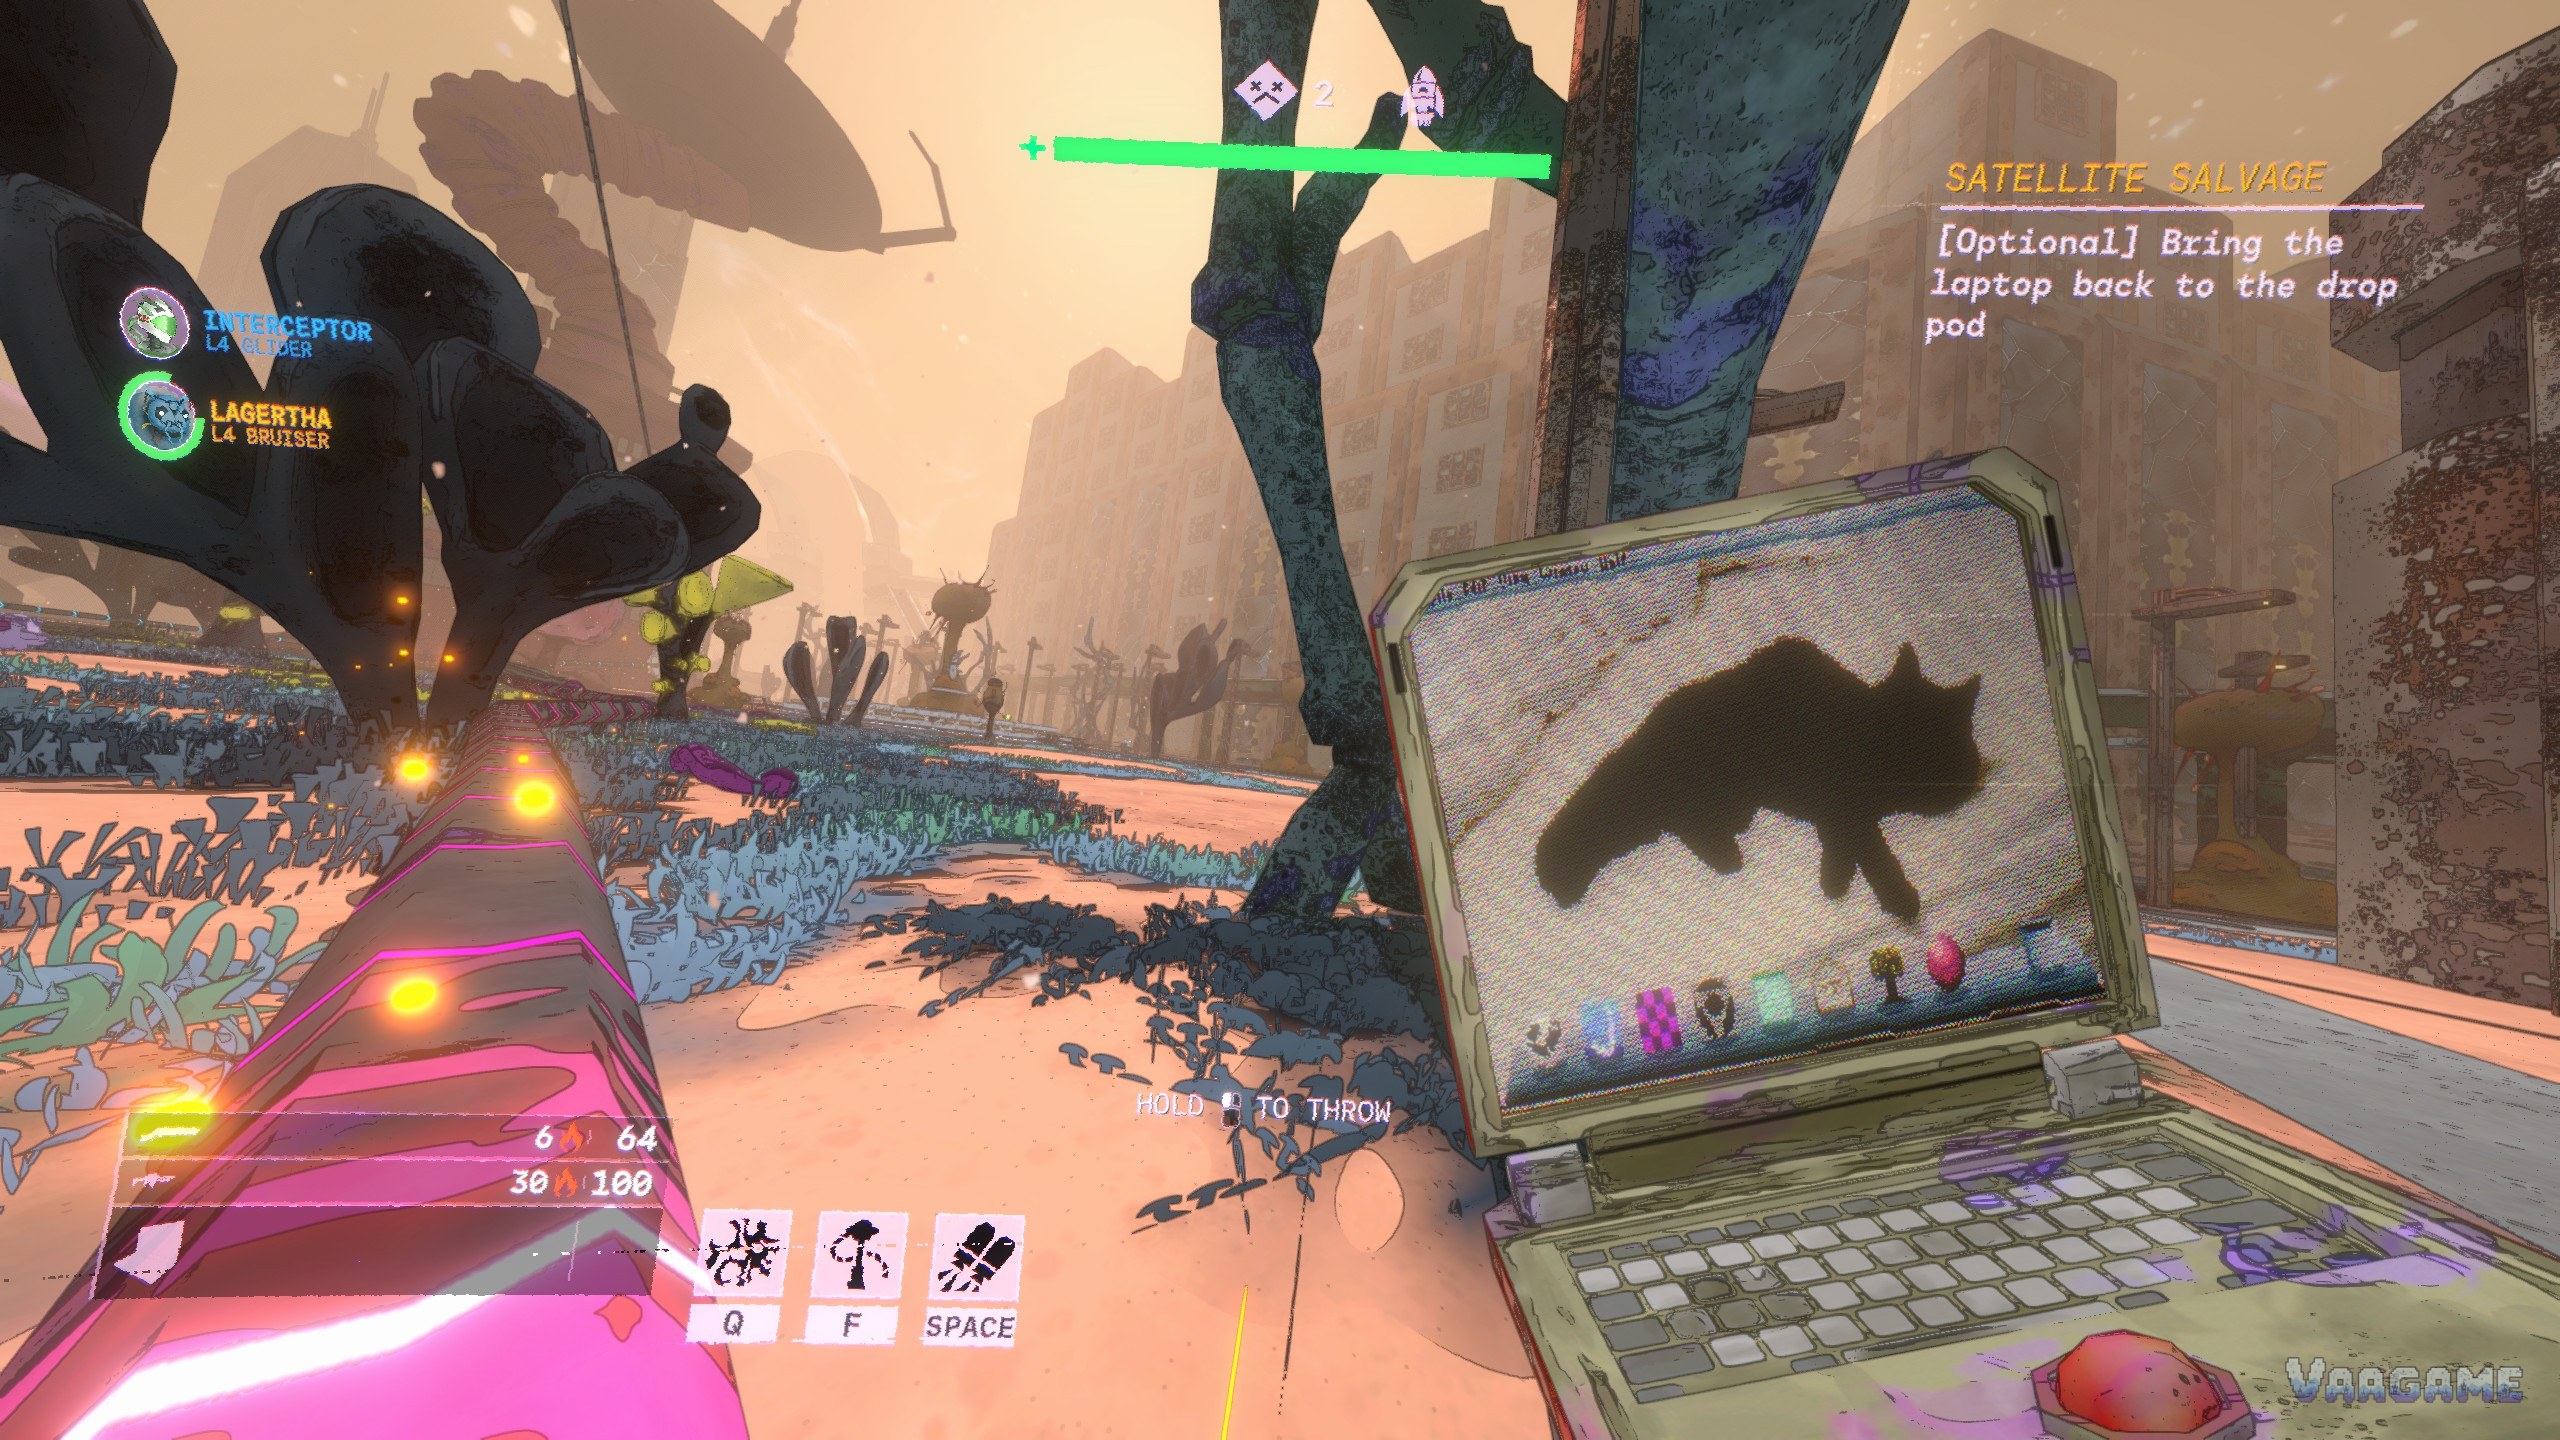
Objectives vary widely: carry barrels, bring a laptop back to the drop pod, hold a defence while the drop pod arrives, and clear rooms under modifiers. The screenshots above are examples of that variety, not a catalogue. A complete mission list is not verified for this guide, and this article deliberately does not present one.
Frequently asked questions
Is X11-B threat level 8?
No. The threat ladder ends at Predicament, level 7, and X11-B has its own separate achievement for completing a mission there. Community sources describe X11-B as a high-difficulty region for finished builds, not as the next threat rung.
Can I progress a region and a threat level in the same run?
Yes, according to player community sources: a threat 4 mission in an unfinished region counts for both. Run unchecked regions at the highest threat you can handle.
What is Population Control?
According to player community sources, Population Control missions are high-density clear-outs where you may encounter Abominations. Bring crowd control, not single-target precision.
Do I need a complete mission list to plan my progress?
No. The threat ladder and the seven region achievements already give you a complete progress checklist, and a verified full mission list does not exist for this guide. Use the ladder and the regions; ignore any list that claims to be complete without sources.
Related guides
Mycopunk Beginner's Guide: First Missions, Grids, Threat Levels and Your First Hours
Mycopunk Enemies Guide: Dismantling, Weak Points and the Part-Stealing Reversal
Mycopunk Characters Guide: All Five Employees and How to Unlock the Mycologist
Mycopunk Achievements Guide: All 48 Achievements and the Fulfillments Trap
Climb the ladder, tick the regions, and let one run count twice whenever it can. Population Control and X11-B are the two places where the game stops being polite, so save those for builds you already trust.