

Your first week in Valheim decides how painful the rest of the game feels. This guide gives you a day-by-day survival plan: day one shelter, your first real base, and the exact preparation order before your first boss, Eikthyr.
Day One: Shelter Before Sunset
You wake at the Sacrificial Stones with almost nothing. Talk to Hugin when he appears, pick up branches, stones, raspberries, and mushrooms, and eat as you go. Craft a stone axe and a hammer first: the axe gathers wood, the hammer unlocks building and the workbench.
Find flint along shorelines and rivers. Flint tools are your first real upgrade.
Place a workbench, then roof and walls around it. An unsheltered workbench cannot be used.
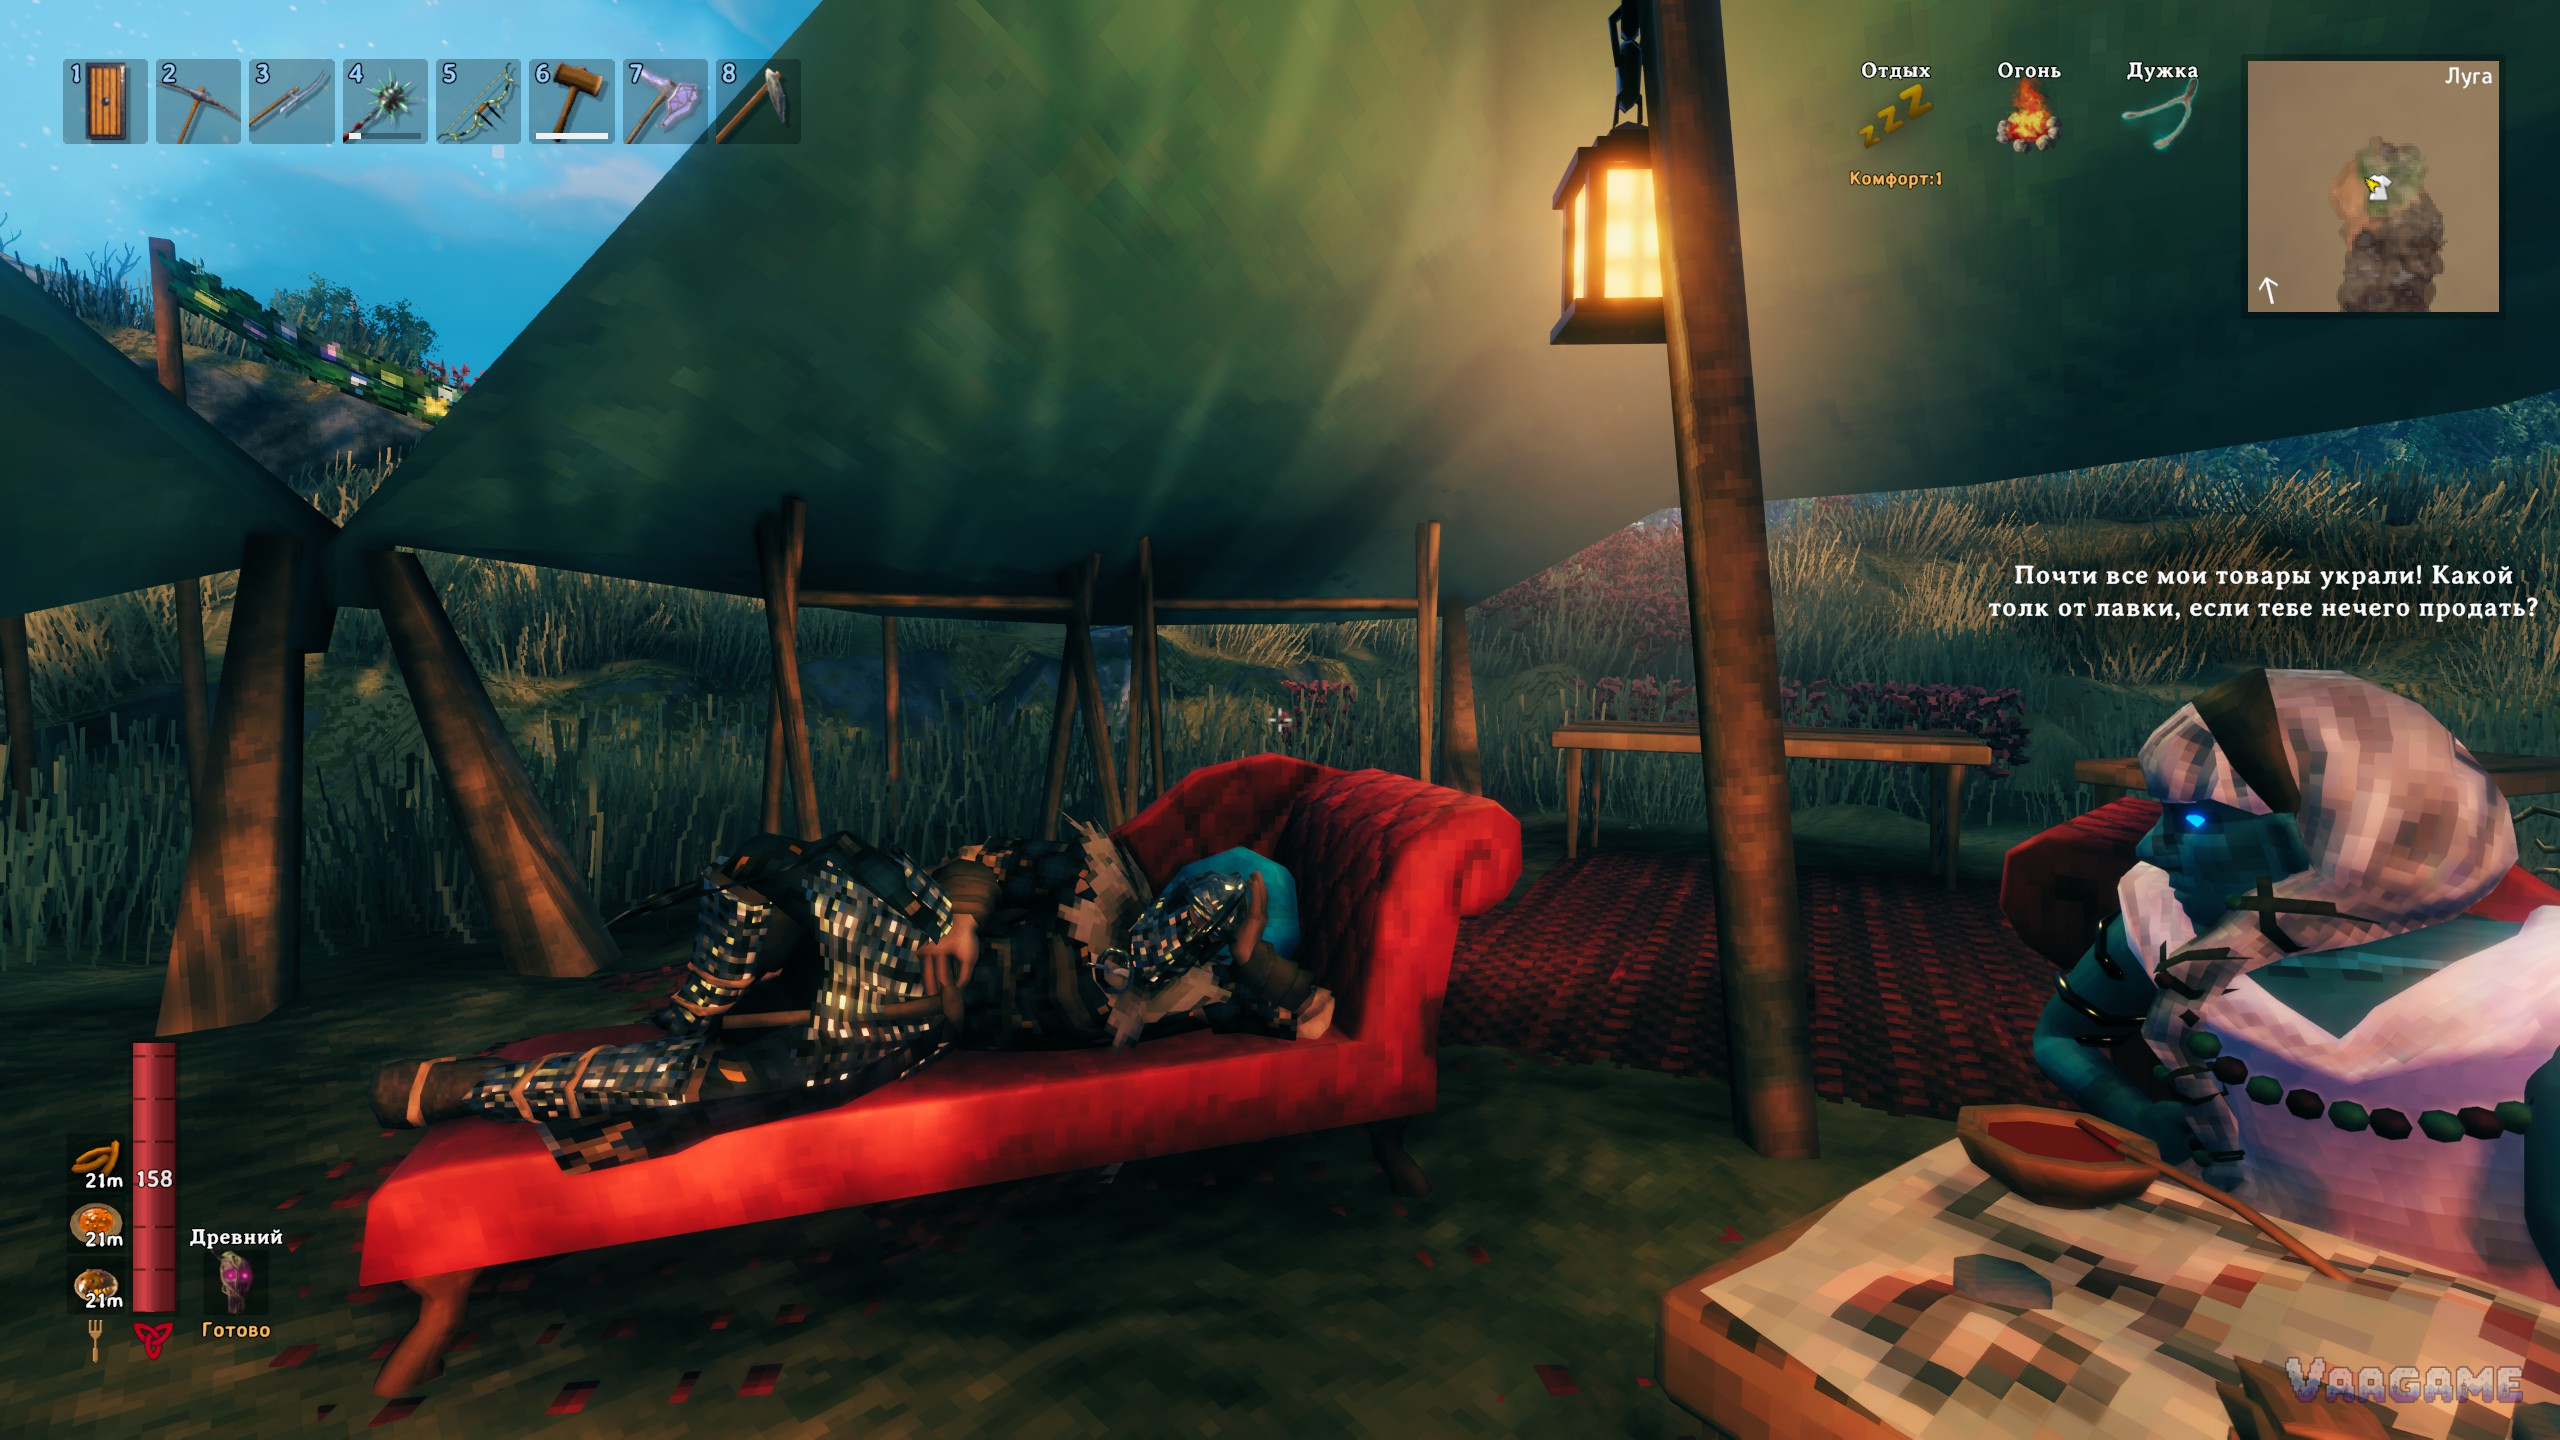
Put a campfire on bare ground under a smoke gap, place a bed nearby, and claim the bed as your spawn point.
Do not wander into the Black Forest on day one. Stay in the Meadows, where almost everything is manageable.
Days Two to Three: Tools, Food, and a Real Base
Upgrade to a flint axe and flint spear, and build a crude bow once you have leather scraps from boar. The spear is excellent for deer because you can throw it and pick it back up. Hunt from stealth when you can: deer run, and chasing them across the map wastes a day.
Now pick your first real base site. The best early spot is flat Meadows ground near water, trees, and the edge of a Black Forest, with room to expand. Build a compact longhouse with a workbench, chopping block, bed, storage chests, and a cooking station over the fire. Cook everything: cooked meat beats raw food by a wide margin, and three different foods at once is the single biggest early power boost in the game.
Days Four to Five: Leather Armor and the Eikthyr Hunt
Upgrade the workbench with a chopping block and tanning rack, then craft leather armor: helmet, tunic, and trousers, each needing deer hide. Upgrade the pieces you plan to keep rather than spreading materials thin. At the same time, hunt deer until you have two deer trophies, the offering Eikthyr's altar demands.
Read the Vegvisir at the Sacrificial Stones to mark Eikthyr's altar on your map. Scout the altar area in daylight, clear nearby enemies, and build a small forward shelter nearby with a bed and a chest. A corpse run across half the map at night is how first boss attempts turn into lost gear.
Before Eikthyr: The Preparation Checklist
Eat three different foods, refresh the Rested bonus, and repair all gear. Repairs at a workbench are free.
Bring a bow with plenty of arrows plus a melee weapon and a wooden shield.
Fight shortly after dawn so a long fight does not spill into the night.
Block or sidestep Eikthyr's charges and lightning, hit during openings, and never empty your stamina bar.
Defeating Eikthyr drops hard antlers, which craft the antler pickaxe, and that pickaxe unlocks mining. Hang the trophy at the Sacrificial Stones to claim Eikthyr's Forsaken Power, which cuts stamina use for running, jumping, and swimming. Then your first week is done: the Black Forest, copper, tin, and bronze are next.