

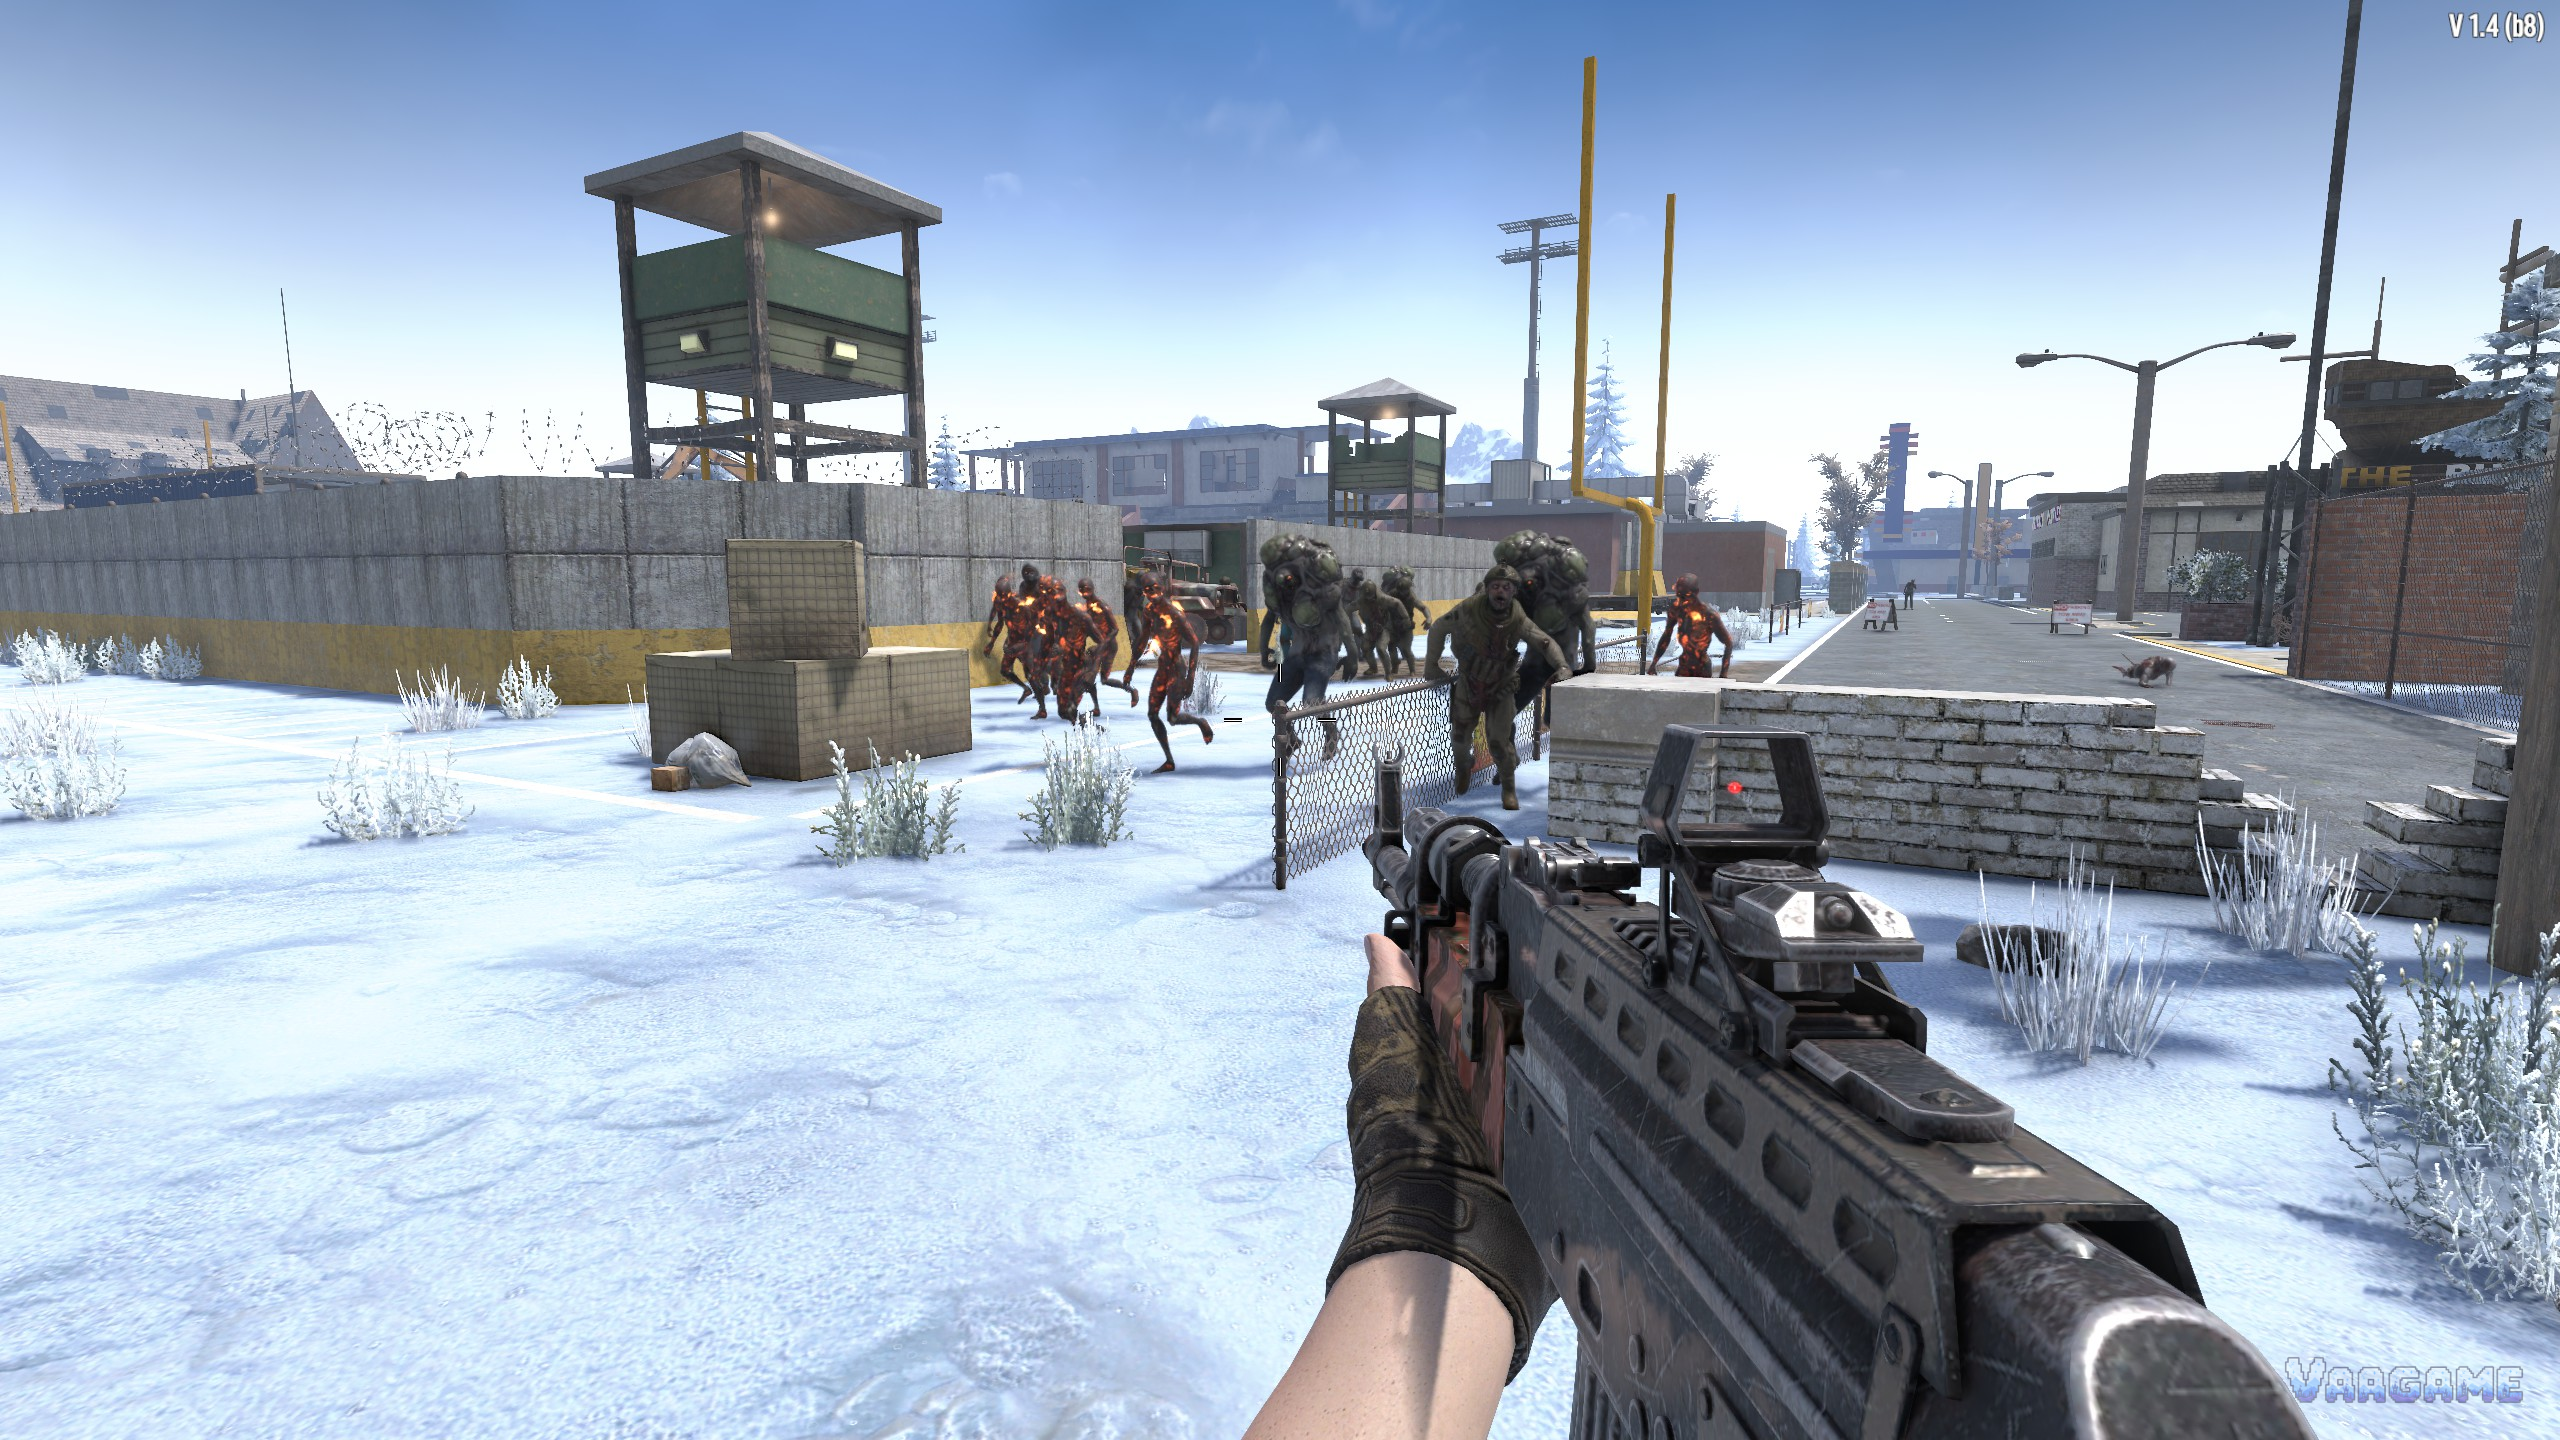
Electricity turns a shelter into a base that fights while you reload. This guide explains how power sources, wiring, traps and automation fit together in 7 Days to Die, so your horde-night grid stays up when it matters most.
How power works in 7 Days to Die
Every electrical device in the game needs a power source, a wire path to that source, and enough spare output to run at the same time as everything else on the circuit. If the total draw exceeds what the source can supply, the circuit fails, and a trap that looked ready on a quiet afternoon will sit dead on horde night. The habit that prevents most failures is simple: add up the draw of every device before you build, and leave headroom for the moment when sensors switch everything on at once.
Power flows in one direction, from a source through switches, relays and triggers to the device itself. A device accepts only one input, so you cannot feed the same blade trap from two banks and expect it to add up. Instead, plan one clean chain per job: a source, a master switch you can reach quickly, relays to carry the wire where it needs to go, and then the traps and lights at the end. When something stops working, walk that chain from the source outward, because the break is almost always at one link, not everywhere at once.
The three power sources, and when each one earns its place
The Generator Bank is the workhorse for horde nights. It burns gas, it takes up to six small engines, and it delivers the highest output of the three sources, which is why heavy trap layouts are built around it. Its price is noise and heat: a running generator draws attention, so experienced players put it away from the fighting position, often underground or behind thick walls, and switch the whole grid off when it is not needed rather than letting it idle all week.
The Battery Bank is silent storage, not a generator in its own right. It holds charge supplied by a generator or a solar bank, then feeds lights, sensors and low-draw devices around the clock without noise. That makes it the right choice for a living base: lights that stay on, sensors that stay armed, and a quiet night. The catch is that a drained bank is just a box, so battery layouts always need a charging plan, and horde-night traps should never depend on a bank that was never topped up.
The Solar Bank is the late-game, low-maintenance option. Each solar cell adds 30 watts, and a full bank of six cells tops out at 180 watts, which is enough for lighting, sensors and a modest fence line but not for a wall of heavy traps. Solar cells cannot be crafted and are mainly bought from traders at a high price, so solar is a purchase you save for, not a mid-game project. Its natural partner is a battery bank: solar charges by day, batteries carry the base through the night.
Generator first when the job is horde night and heavy traps.
Battery first when the job is quiet, always-on lights and sensors.
Solar first when you can afford the cells and want fuel-free daytime power.
Solar plus battery is the standard answer to overnight power.
Wiring without tears
You wire with the Wire Tool: equip it, click the source, then click the destination, and a wire appears between them. Relays extend the run when the distance is too long for a single wire, roughly twenty blocks, and each relay costs only about one watt, so splitting a tidy circuit costs almost nothing. The wire colours are your diagnostic display: powered, unpowered and low-power states are shown on the wire itself, so check the colours with the Wire Tool in hand before you start replacing parts that may be fine.
The most common wiring mistake is chaining devices in a long series and then wondering why the last trap never fires. Wire from a relay outward to each device, keep the master switch where you can reach it in the dark, and label nothing in your head that you cannot see at a glance. A second common mistake is hiding the generator room so well that you cannot reach it to refuel during a fight. Power rooms need a door you can use under pressure, not just a door that looks neat.
One input per device. A second input replaces the first, it does not add to it.
Use relays for long runs and clean branches, not longer chains.
Put a master switch between the source and everything else.
Check wire colours before replacing traps, sensors or banks.
Traps that earn their watts
Blade traps are the backbone of most kill corridors. They draw about 20 watts each, they hit repeatedly without ammunition, and their running cost is durability, so keep repair kits beside them and check them after every horde night. Dart traps are cheaper to run at about 10 watts each, but they consume iron darts, which means a dart corridor is only as good as its ammunition stockpile. The sensible split is blades where zombies linger and take repeated hits, and darts where a single strong hit at a choke point does the work.
Electric fence posts chain between posts and stagger zombies crossing the wire, which buys time for everything else to work. They are at their best as a slowing layer in front of blades and turrets, not as the only defence, because a stunned zombie is still a zombie. Auto turrets are the most expensive option at about 25 watts each, and they need ammunition: 9mm rounds for the SMG turret, shells for the shotgun turret. A turret with no ammunition is decoration, so count ammunition into the horde-night budget alongside fuel and repair kits.
Blade trap: about 20 watts, no ammunition, repair after horde night.
Dart trap: about 10 watts, consumes iron darts, best at choke points.
Electric fence: a slowing and staggering layer, not a wall by itself.
SMG and shotgun auto turrets: about 25 watts each, plus ammunition.
Automation: switches, sensors and timers
A motion sensor costs about 5 watts and only passes power onward when something enters its cone, which turns a trap corridor from always-on to on-demand. That saves fuel and battery charge on quiet nights, and the sudden spin-up of blades is also an alarm that tells you zombies have arrived. Aim sensors down the corridor zombies actually walk, not at the spawn field, and set them to react to zombies rather than to you, or your own trips to the roof will fire the whole grid.
Trip wires and pressure plates are cheaper triggers for narrow passages, and a manual switch is still the most reliable control in the game: one switch by the fighting position that cuts or restores the whole grid beats a clever timer you cannot reach in the dark. Timers have a real job, switching lights or low-draw systems on a schedule, but a horde-night trap grid should answer to a sensor or a switch, not to a clock. If the horde arrives early, a clock will not care, and neither will the zombies.
Motion sensor: about 5 watts, on-demand power, aim it down the kill corridor.
Pressure plate and trip wire: cheap triggers for narrow passages.
Manual switch by the fighting position: the emergency control.
Timer relay: good for lights and schedules, a poor master control for traps.
Building a horde base that runs itself
The layout matters more than any single trap. Give zombies one obvious path to you, line that path with fences first, blades second and turrets last, and stand where you can shoot the survivors that get through. Keep the power room behind the fighting position, not under it: a generator that dies to a collapsing floor takes the whole grid with it, and structural stability is part of electrical design whether the guide calls it that or not. Build the kill corridor out of blocks you can repair quickly, because the morning after is a repair job, not a victory lap.
Before the first real test, run the grid dry: switch it on, walk the zombie path yourself, watch each trap fire, and count fuel, darts, turret ammunition and repair kits against one full night. Restock to that count plus a margin, because the night you run out of iron darts is the night the corridor fills up. After horde night, repair blades, refill turrets, recharge or refuel the banks, and only then switch the grid back to its quiet daytime state. A grid that is maintained after every fight is a grid you can trust for the next one.
Troubleshooting a dead grid
No power anywhere: check fuel, battery charge and the master switch first.
One device dead: check its wire, its single input, and its ammunition or durability.
Grid dies under load: total draw exceeds supply, move devices to a second bank.
Traps fire at the wrong time: check sensor direction and what it is set to detect.
Generator draws screamers: move it farther away, behind walls, or switch it off when idle.
Your first grid, in order
Place one generator bank and one battery bank, with a master switch between them and the devices.
Wire lights and one sensor first, and confirm the circuit before adding traps.
Add one blade trap and one fence line, test them, then expand one device at a time.
Add turrets last, only after ammunition and fuel stocks are counted.
Run a full-night test, repair, restock, and only then call the base ready.