

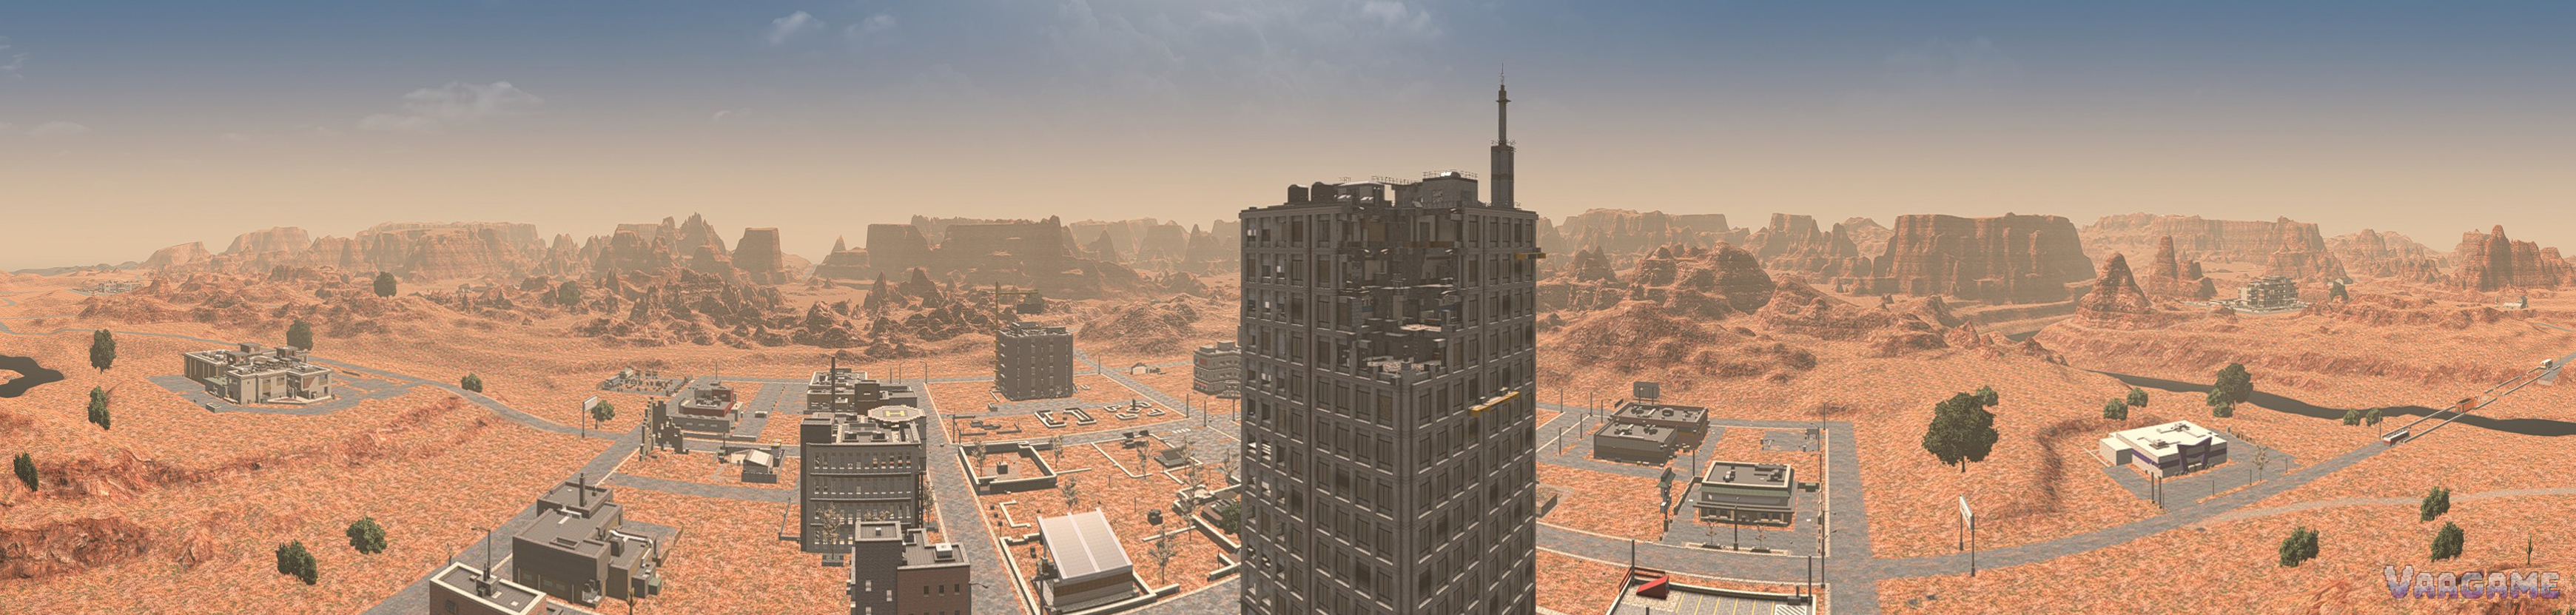
The game quietly grades your progress and then spawns a world to match it. This guide explains gamestage, loot stage, biomes and difficulty settings in 7 Days to Die, so you can tell whether a hard night means you are undergeared, in the wrong biome, or simply further along than you thought.
What gamestage actually is
Gamestage is a hidden number the game computes from your progress, and it decides roughly how many zombies spawn, how tough the spawn groups are, and which tiers of loot the world is ready to offer you. It is not a level shown on your character sheet, and it is not a difficulty slider you set once: it moves as you level up, as you survive more days, and as you die. Two players at the same character level can therefore face noticeably different nights, because their survival histories are different.
At the default Nomad difficulty, the working formula is gamestage equals your player level plus your days survived, multiplied by 1.2. A level 60 character who has survived 40 days sits at 120, because 60 plus 40 is 100, and 100 times 1.2 is
120. Days survived is capped at your player level, so surviving far longer than you have levelled does not push the number higher on its own, and each death subtracts 2 from days survived, which is 2.4 gamestage at the Nomad multiplier. Levelling up is the biggest lever, and staying alive protects the progress you have already banked.
Player level: the main input, and it also raises the cap on counted days survived.
Days survived: rises by one per in-game day, capped at your level, never below zero.
Each death: subtracts 2 from days survived, and repeated deaths stack.
Difficulty multiplier: the worked example above uses the Nomad value of 1.2.
Difficulty settings: what they change, and what they do not
The six difficulty settings change the damage exchange between you and the zombies. On the easiest setting you take far less damage and deal far more, while on the hardest setting the exchange runs sharply the other way, which is why the same horde base can feel comfortable on one setting and hopeless on another without a single block changing. What difficulty does not do, on its own, is hand you better loot: loot quality follows loot stage, which follows your progress and where you loot, not the damage slider.
Scavenger, easiest: zombies deal 50 percent damage, you deal 200 percent.
Adventurer, easy: zombies deal 75 percent damage, you deal 150 percent.
Nomad, normal: both sides deal 100 percent, the baseline for this guide.
Warrior, hard: zombies deal 150 percent damage, you deal 83 percent.
Survivalist, harder: zombies deal 200 percent damage, you deal 66 percent.
Insane, hardest: zombies deal 250 percent damage, you deal 50 percent.
A note on sources, because guides disagree here: some server guides list different player-damage figures for the harder settings, while the wiki and host documentation used for the list above agree on the figures shown. The direction is never in dispute, only the exact percentages at the top end, so treat the table as the shape of the curve and confirm the precise numbers in your own game version if you are tuning a server. For a first playthrough, Nomad is the honest baseline: it is the setting the rest of this guide assumes, and it is the setting where a hard night is most likely telling you something true about your gear.
Biomes change both loot and danger
There are five biomes, and each one multiplies your loot stage and the gamestage used for zombie spawns while you are inside it. The pine forest is the baseline with no bonus. The burnt forest adds 50 percent to both, the desert doubles loot stage while doubling spawn gamestage, the snow biome adds 150 percent to loot and triples spawn gamestage, and the wasteland doubles loot stage while multiplying spawn gamestage by five. A character at gamestage 120 therefore loots at stage 120 in the pine forest, 180 in the burnt forest, 240 in the desert, 300 in the snow and 360 in the wasteland, while facing spawns scaled to those same multipliers.
That trade is the whole decision. Moving to a harder biome early is a legitimate way to chase better gear, and many experienced players do exactly that, but it is not free loot: the zombies guarding the good containers are scaled to the same multiplier, and a trip that was survivable in the pine forest can end at the first large building in the wasteland. The practical rule is to move one biome at a time, carry a way out, and treat the first trip as reconnaissance. If the ordinary zombies on the street are already a serious fight, the building interiors will be worse, and that is the biome telling you to come back with better equipment.
Pine forest: no bonus, the learning and early gear biome.
Burnt forest: plus 50 percent loot and spawn gamestage.
Desert: loot stage doubled, spawn gamestage doubled.
Snow: loot stage plus 150 percent, spawn gamestage tripled.
Wasteland: loot stage doubled, spawn gamestage multiplied by five.
What higher gamestage spawns
As gamestage rises, spawn groups shift from ordinary zombies toward faster, tougher and more specialised threats. Feral zombies hit harder and move faster, radiated zombies are tougher still, and late-game nights bring building-damaging demolishers and animal threats such as zombie bears and zombie dogs that can break a plan built only around humanoid zombies. The game has no formal boss, and these special infected, together with the blood moon horde itself, are the equivalent challenge: the test is not a single health bar, it is a whole night of escalating spawns against a base that must keep working.
Loot stage: why the same box pays differently
Loot stage starts from your gamestage and is then modified by biome, by perks such as Lucky Looter, and by the container and building you are looting. A higher loot stage unlocks better item tiers, higher quality rolls and rarer drops from the same container, which is why a gun safe in a large, dangerous building in the wasteland pays far better than a kitchen cupboard in the pine forest, even for the same character. The container matters as much as the character: chasing loot stage without chasing better containers leaves half the reward on the table.
This also explains the most common loot disappointment. A player who rushes to the wasteland at low level, survives by sprinting, and opens a few boxes will still find loot scaled to a low loot stage, because the biome multiplier multiplies a small base number. The multiplier rewards progress, it does not replace it. Level up, keep your death count down, pick up loot perks when they fit your build, and then let the harder biome multiply a number that is already worth multiplying.
Party gamestage and blood moon nights
When players loot or fight together, the game builds a party gamestage: every member's gamestage is sorted highest first, the top value counts fully, and each further player counts half as much as the one before, so a second player adds half their value, a third adds a quarter, and so on. The result is rounded down. That means a high-level player carries the whole party into harder spawns, and a low-level player travelling with veterans will meet zombies far beyond what they would face alone, while also getting loot scaled to the party number. Travelling together is still a large advantage, because two players working together are worth more than the multiplier takes away, but nobody in the party should be surprised by the difficulty jump.
Blood moon nights arrive every seven days, and they are the set-piece version of everything in this guide. The gamestage for the night is worked out when the event begins, taking nearby players into account as a party, and it stays fixed for the duration of the event even if players log in or drop out partway through. That is why preparation beats reaction on horde night: the night will not get easier because you are struggling, and it will not get harder because a friend joined late. Build for the number you expect, not the number you hope for.
Playing the system honestly
Level up deliberately: it is the biggest gamestage and loot stage lever you control.
Stop dying: each death costs 2 days survived, and repeated deaths stall your progress.
Move biomes one step at a time, and scout before you commit your storage to a new home.
Chase better containers and buildings, not just a bigger multiplier.
Set difficulty to match your aim: Nomad for a fair read on your gear, harder settings for a harder fight, not for better loot.
Prepare for the blood moon number you expect, and keep a close-range answer ready for animal threats.