

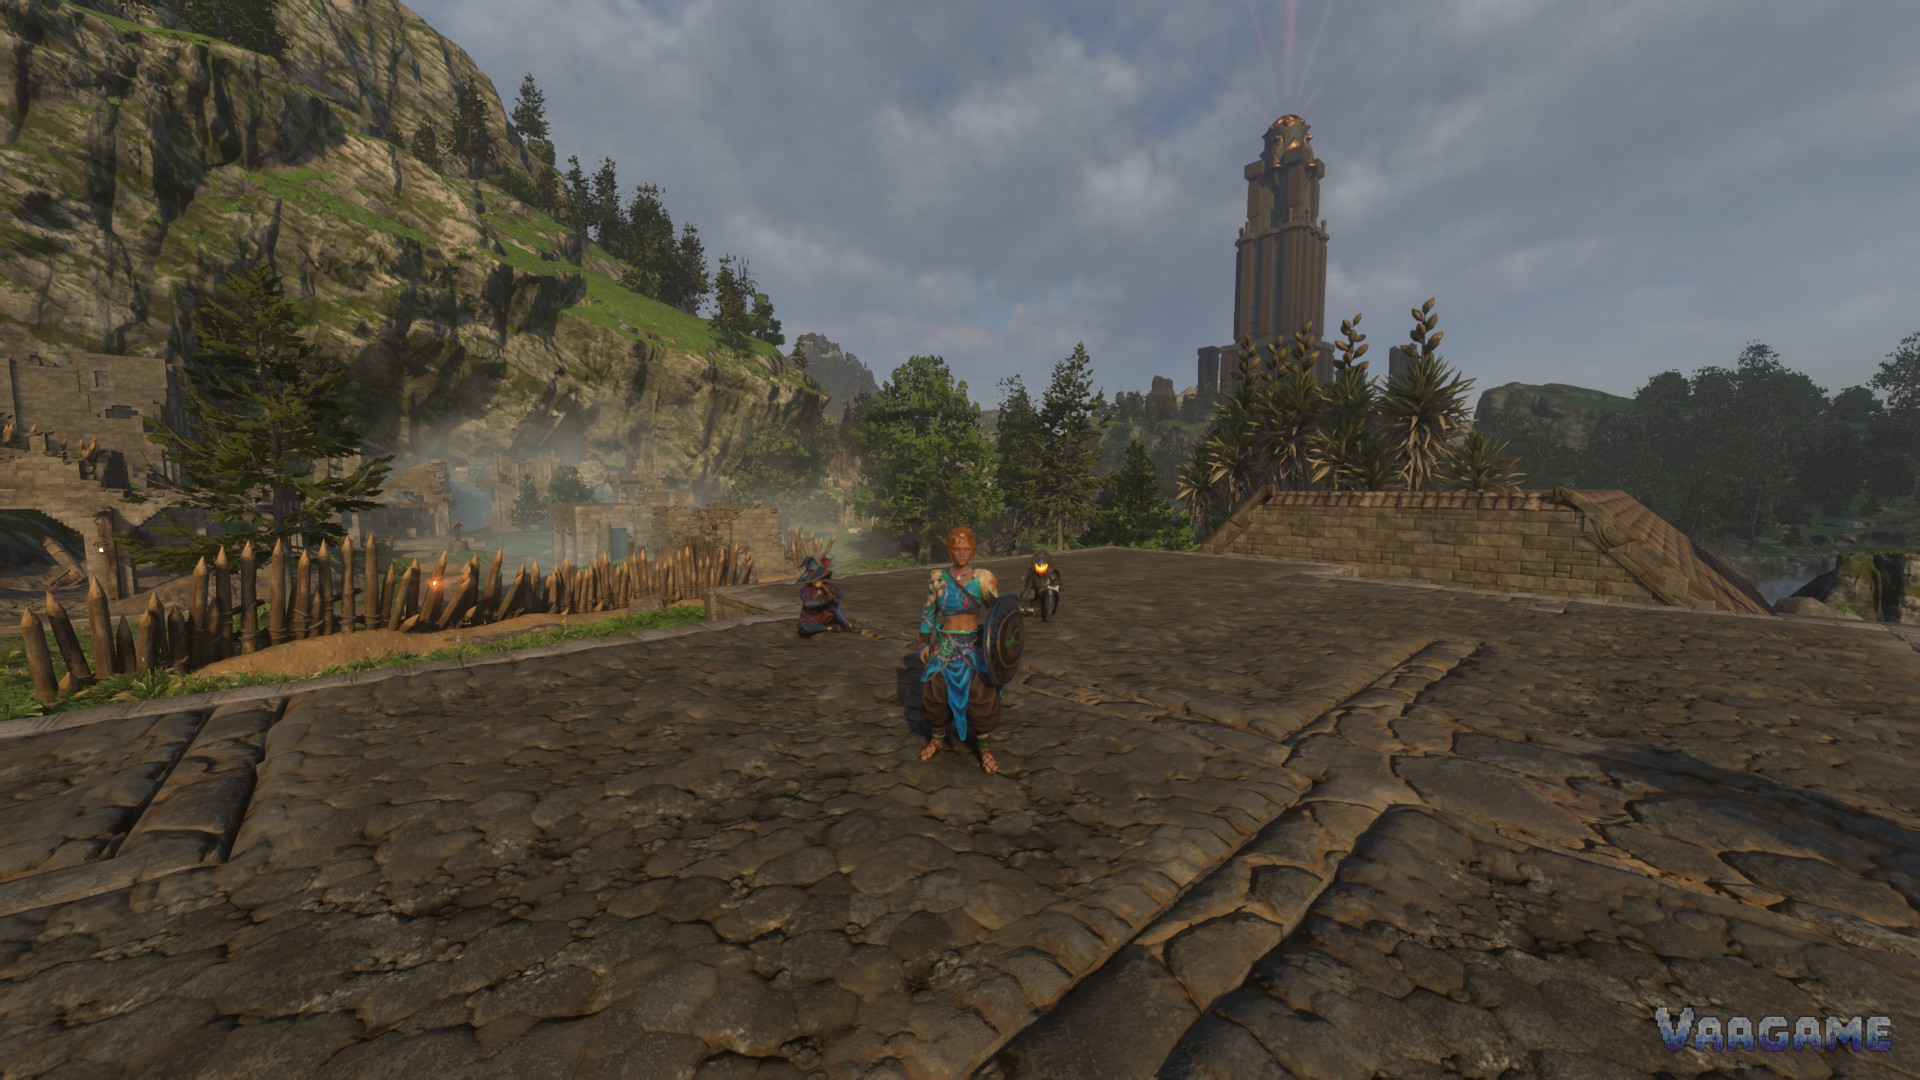
Your first session in Enshrouded should end with three things done: a Flame Altar placed and working, a first Ancient Spire reached for fast travel, and the Blacksmith rescued and moved into your base. This guide walks through that first day in play order, so you spend less time wandering and more time building momentum.
Before You Leave: Place the Flame Altar
Your Flame Altar is home. It is your respawn point, your crafting hub, and the place where you reset your skill tree. Place it early, on flat ground with room to build around it, and do not wander far before it is down. Everything you do on day one is easier when you have a safe point to return to, and every trip into the Shroud is safer when you know exactly where home is.
Follow the opening quest prompts to place your Flame Altar; do not delay this for looting.
Pick a spot near water, wood, and stone if you can, with flat ground for a shelter and work areas.
Learn the respawn behavior immediately: dying sends you back here, so treat the altar as your anchor for the whole day.
Step One: Gather, Craft, and Shelter
Start with the basics: wood, stone, and plant fiber. These fund your workbench, your first tools, and your first shelter. Do not chase rare materials on day one. A workbench and basic tools unlock the crafting chain that everything else depends on, and a roof over your head matters more than a slightly better weapon when night comes.
Gather wood, stone, and plant fiber near your altar before ranging far.
Build a workbench and craft basic tools: an axe, a pickaxe, and a simple weapon you are comfortable with.
Build a small enclosed shelter with a roof, a bed for resting, and storage for what you gather.
Cook or prepare whatever basic food you have found; even simple healing and stamina recovery smooths the first fights.
Step Two: Reach Your First Ancient Spire
Ancient Spires are the fast-travel network of Embervale. There are eight in total, and reaching your first one changes the whole game: instead of walking everywhere, you can jump between unlocked Spires and spend your time on content rather than transit. Follow the early quest line toward the first Spire rather than wandering the map at random. The route is designed to teach you movement, combat, and Shroud timing on the way.
Treat the trip as a timed outing, not a sightseeing tour. Bring food, bring a weapon you trust, and keep an eye on your Shroud time whenever you pass through fog. If a fight looks too strong, walk around it. Your goal on this trip is the Spire, not every enemy on the road. Unlock it, test fast travel back to your altar, and then plan the next leg from a position of strength.
Step Three: Rescue the Blacksmith
The Blacksmith, Oswald Anders, is your first survivor priority. Survivors are craftspeople trapped in the Shroud; once rescued, they move into your base and unlock recipes and equipment upgrades. The Blacksmith upgrades warrior armor and weapons, which makes him the single most valuable early rescue for any playstyle, because better gear raises your power across the board, not just for one weapon type.
Follow the survivor quest markers toward the Blacksmith rather than guessing at a location from memory or an old guide. Rescue quests take you into Shroud areas, so the same rules apply: bring food, keep your Shroud time in mind, clear carefully, and retreat to your altar if a fight turns bad. You can always come back stronger. Once the Blacksmith is home, talk to him, check what he can craft and upgrade, and spend your gathered materials on the upgrades that match the weapon you actually use.
Follow the Blacksmith quest markers; do not rely on a remembered location from an older version of the game.
Clear the approach fight by fight, and retreat if your health or Shroud time runs low.
After the rescue, place the Blacksmith's workshop needs in your base and check his upgrade options before your next outing.
Step Four: Strengthen the Flame and Spend Your First Points
With the Spire unlocked and the Blacksmith home, strengthen your Flame before you push into harder territory. Flame level gates how long you survive in the Shroud and, through the boss chain, which regions open next. Then spend your first skill points with a plan: Double Jump first, then survival and your main weapon direction, as our first-skills guide explains in detail. A reset at the Flame Altar is always available, so an early experiment is not a permanent mistake.
First-Day Checklist
Flame Altar placed on flat ground with room to build.
Workbench built; basic axe, pickaxe, and weapon crafted.
Shelter with roof, bed, and storage completed before nightfall.
First Ancient Spire reached and fast travel tested.
Blacksmith Oswald Anders rescued and settled in your base.
Flame strengthened and first skill points spent, starting with Double Jump.
What Comes After Day One
Day two is about the next survivor, the next Flame upgrade, and the first story boss in Springlands. Keep the same rhythm: upgrade gear with the Blacksmith, strengthen the Flame, then push outward. When you are ready to commit to a direction, read our builds guide to choose between Battlemage, Guardian, Ranger, and the other strong 1.0 options.