

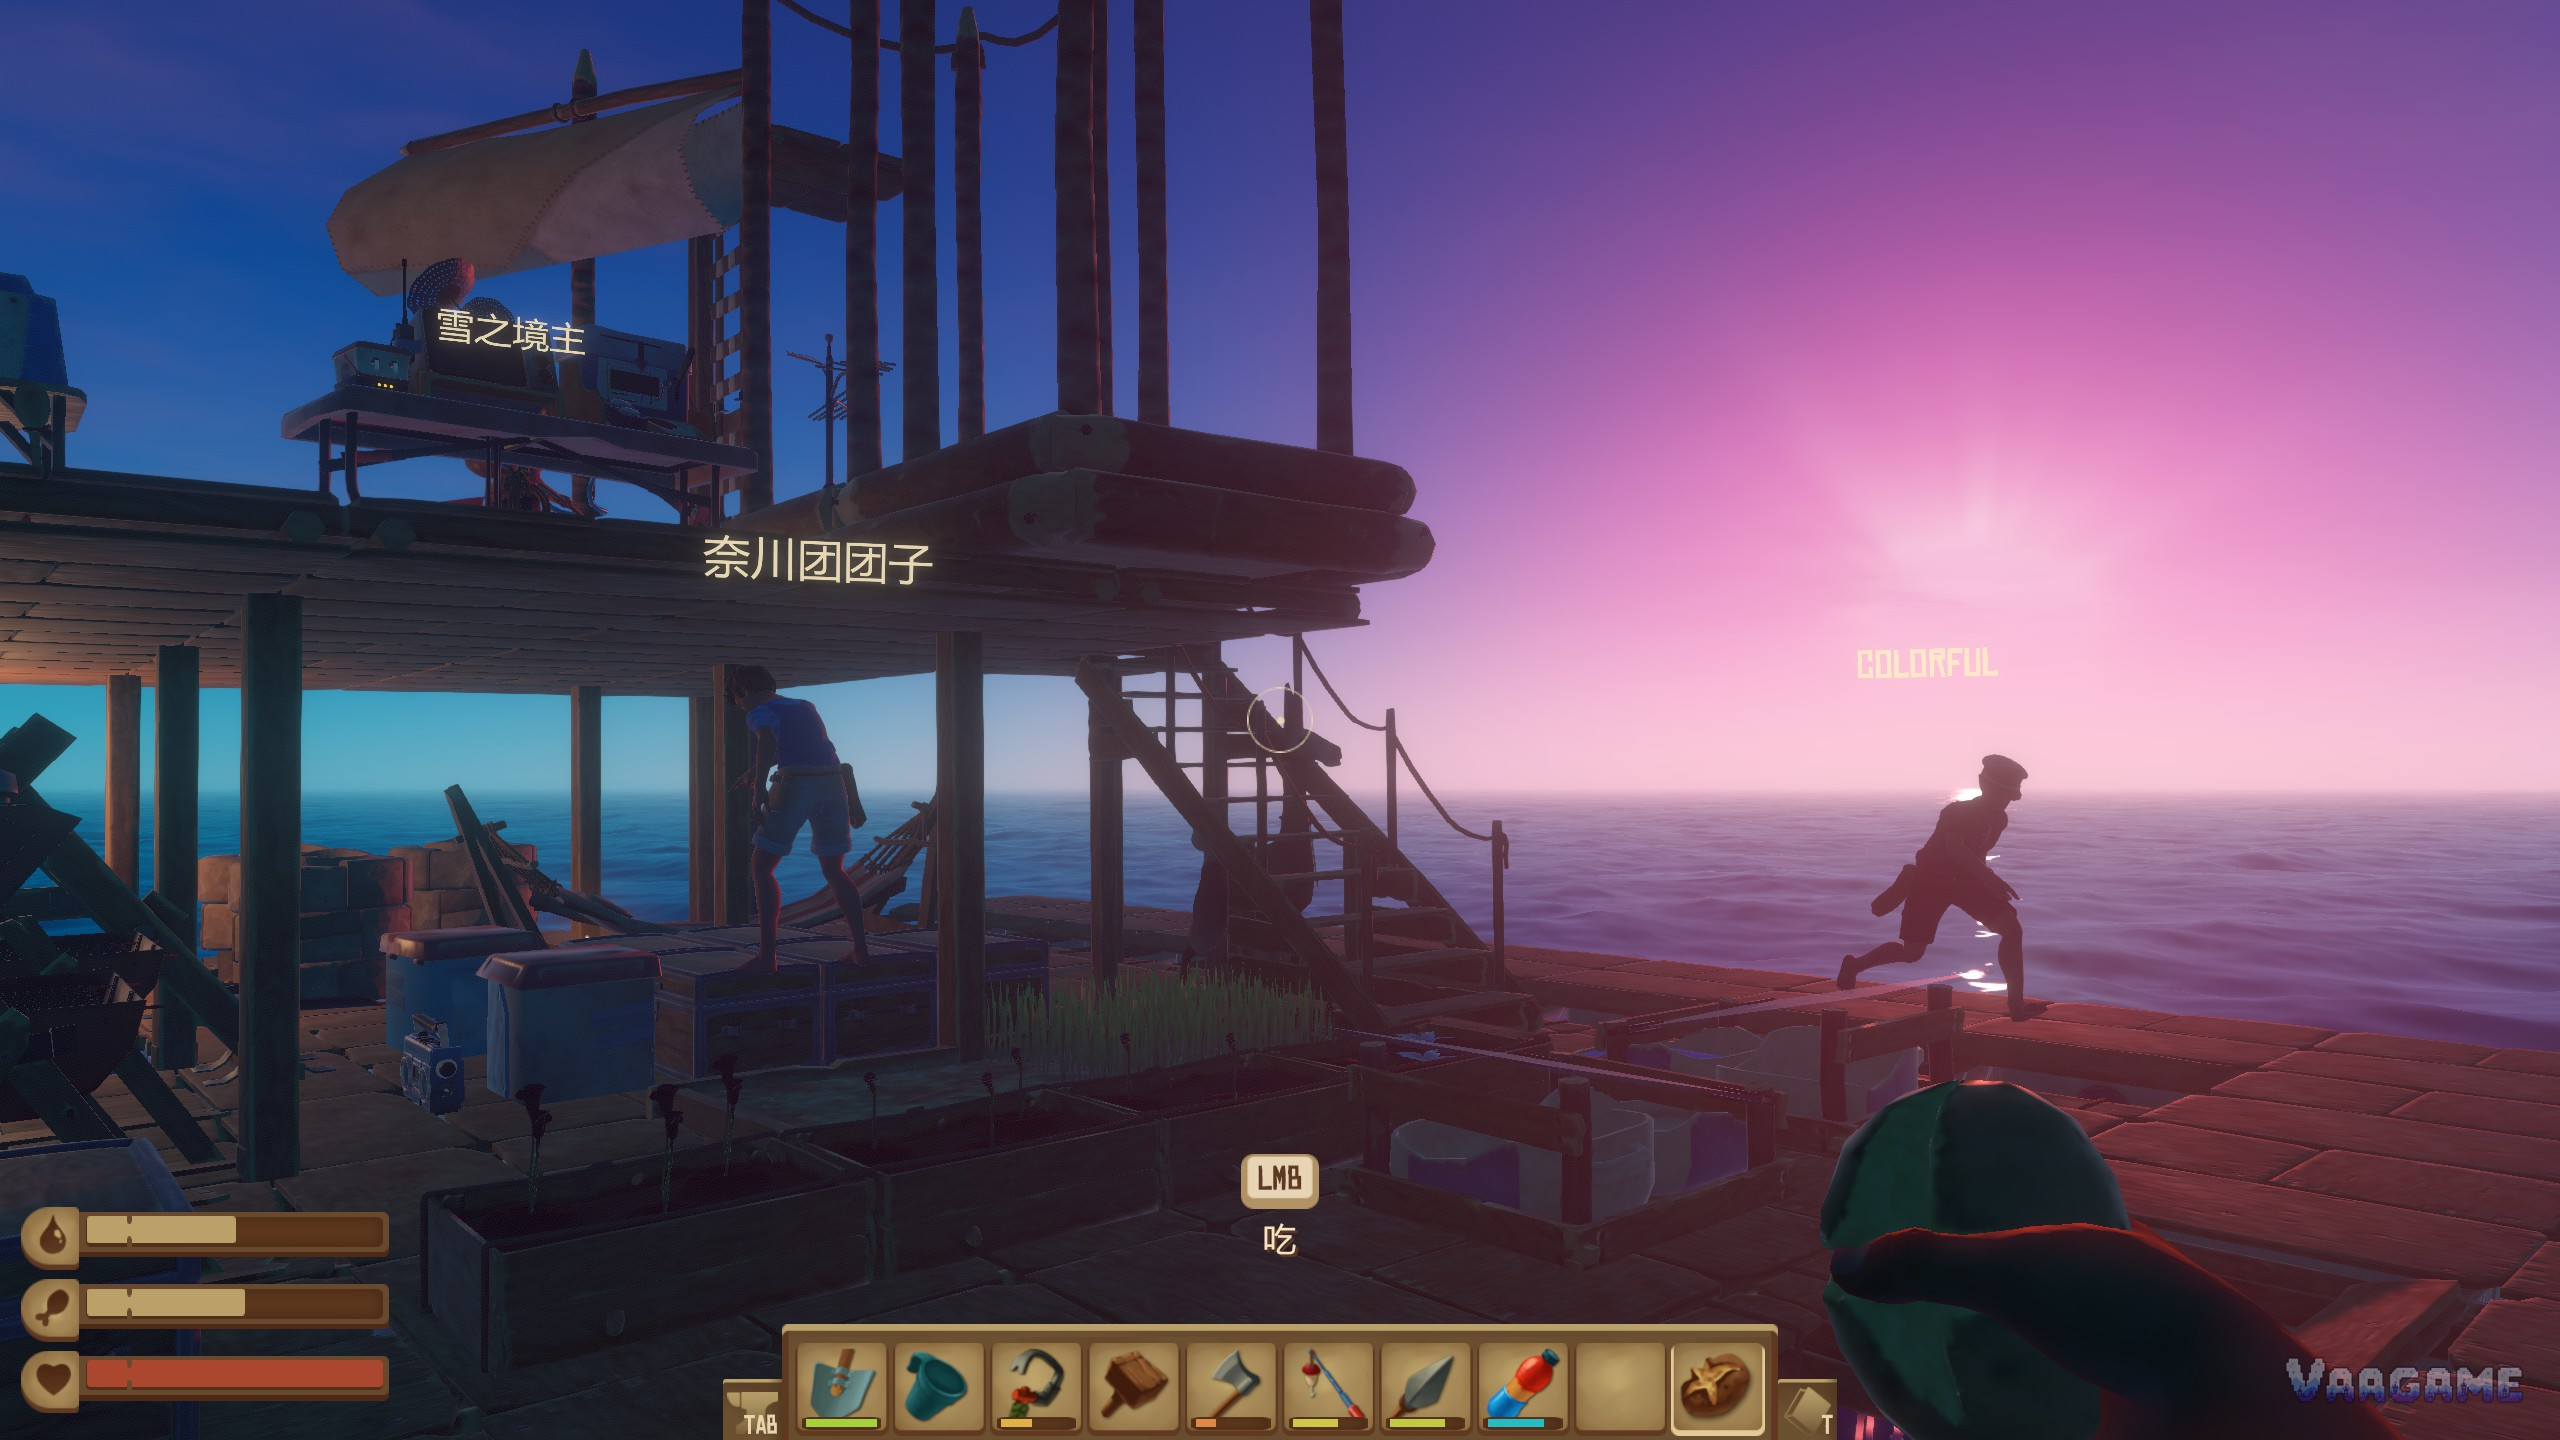
Raft has eight story islands, and the first three teach you the whole loop: follow a receiver signal, climb and loot a ruin, and leave with the coordinates and blueprints for the next stop. This walkthrough covers Chapter 1 in order: the Radio Tower, the wreck of the Vasagatan, and Balboa Island, ending with the engine that lets you sail against the current into Chapter 2.
At a glance
Chapter: Chapter 1, story islands 1 to 3 of 8
Order: Radio Tower, then Vasagatan, then Balboa Island
Key gear to bring: receiver with 3 antennas, bow and arrows, spear, food and water
What you leave with: engine and steering wheel blueprints, Balboa coordinates, machete blueprint
Price checked November 3, 2026: 13.39 dollars, 33 percent off the 19.99 dollar list price
Before you sail: the receiver is the story compass
Story islands are not found by wandering. Build a receiver and three antennas, power it with a battery, and it shows nearby signals as dots: green dots are ordinary islands, blue dots are story locations. Enter the four digit code from your journal into the receiver and the matching blue dot appears. Sail toward it, and when the dot sits on top of your raft marker, you have arrived. If the dot never appears, check that all three antennas are placed high enough and far enough apart, and that the battery still has charge.
1. Radio Tower: climb it, read the top, meet Tala
The Radio Tower, also called the abandoned sea facility, is the first story location and the only one you can reach with a sail alone. It is a partly submerged tower with several levels of rooms, loot boxes, and materials. The submerged rooms are safe from the shark, but drowning is the real danger down there, so watch your oxygen and surface often. Climb using barrels, platforms, and ledges; every level holds loot, and the climb itself is the puzzle.
At the top you find two things that matter for the whole game. First, a whiteboard with lore notes and the coordinates for the next location, the Vasagatan. Second, the playable character Tala, who can be unlocked here. Read the whiteboard before you leave: its coordinates go straight into your receiver, and Utopia, the final destination, is already named there as a rumor.
2. Vasagatan: the bomb, the safe, and the bridge
Enter the Vasagatan coordinates from the Radio Tower whiteboard into your receiver and sail to the blue dot: a derelict luxury yacht in a small lagoon, ringed by rocks. Enter through the rear, under the pool area, and work upward floor by floor. The wreck holds notes that tell the story of its owner, Olof Wilkstrom, and the ship, plus scrap, plastic, and loot boxes on nearly every deck.
Progress is gated by keys and one crafted bomb. You need a bolt cutter for a locker holding the blue key, a green key from an office on the helipad floor, and a four digit safe code found on a round table in the room next to the helipad, which opens the safe holding the electrical wires. The bomb itself needs four unique parts found around the ship: a bullet, electrical wires, a lighter, and one more component, all single items that cannot be farmed elsewhere. Craft the bomb once, place it at the bridge door on the top floor, step well back, and the blast opens the wheelhouse.
Inside the bridge are the two blueprints that change the whole game: the engine and the steering wheel. Without them you cannot reach Balboa Island at all, because it sits against the current. The bridge also holds the coordinates for Balboa Island. Do not leave the wreck without both blueprints and the coordinates.
3. Balboa Island: engines first, then bears and relay stations
Balboa Island is the longest part of Chapter 1 and the first island you cannot reach by sail alone. Build at least one engine, a steering wheel, and keep the receiver facing forward with the engines at the back, then enter the Balboa coordinates and motor against the current to the blue dot. Bring a bow with plenty of arrows, a spear, food, water, and healing salve: this island has bears, and the Mama Bear is the hardest fight in Chapter 1.
The island is a national park landscape of cliffs, ranger outposts, and relay stations. Your main job is to visit the relay stations, solve their small puzzles, and collect the notes that explain what happened here. Activating the stations is also what hands you the coordinates for Caravan Town, the first island of Chapter
2. Expect a long walk: Balboa rewards slow, thorough exploration, and rushing past the stations means sailing away without the next code.
4. Mama Bear: the Chapter 1 boss fight in all but name
Mama Bear lives in a cave on Balboa Island, and the cave holds the machete blueprint and a machete. She is big, fast, and hits hard, and she guards the cave mouth, so most players fight her rather than sneak past. Come with a bow and many arrows, a metal spear for close range, and healing salve. Keep your distance, shoot while she charges, dodge sideways as she swipes, and heal the moment you have room. Do not fight her with a nearly broken weapon or an empty stomach: a bad attempt costs the whole run back up the hill.
Once she is down, loot the cave thoroughly: the machete blueprint changes how you gather on later islands, because it cuts through vegetation that blocks paths elsewhere. If you are struggling, upgrade to the bow and metal arrows first, stock extra healing salve, and fight her near open ground where you can keep moving, not with your back to the cave wall.
5. Leaving Chapter 1: what to check before you sail
Engine and steering wheel blueprints from the Vasagatan bridge, and at least one engine built
Balboa Island fully walked: relay stations activated, notes read, machete blueprint from the bear cave
Caravan Town coordinates from Balboa in your journal, entered into the receiver
Restocked: arrows, healing salve, food, water, and a spare battery for the receiver
Frequently asked questions
Why can I not find the Radio Tower?
It only appears on the receiver once you have a receiver, three antennas, and a charged battery. Green dots are ordinary islands; the story tower is a blue dot, and you sail until the dot overlaps your raft marker.
Do I need engines for Balboa Island?
Yes. Balboa sits against the current, so a sail alone cannot get you there. The engine and steering wheel blueprints are on the Vasagatan, inside the bridge that the bomb opens.
What if a code from a guide does not work?
Use the code from your own journal, whiteboard, or note in game. Story codes can differ between worlds, so your own note always wins over a printed code.