
Raft Guides & Walkthroughs
16 guidesRaft
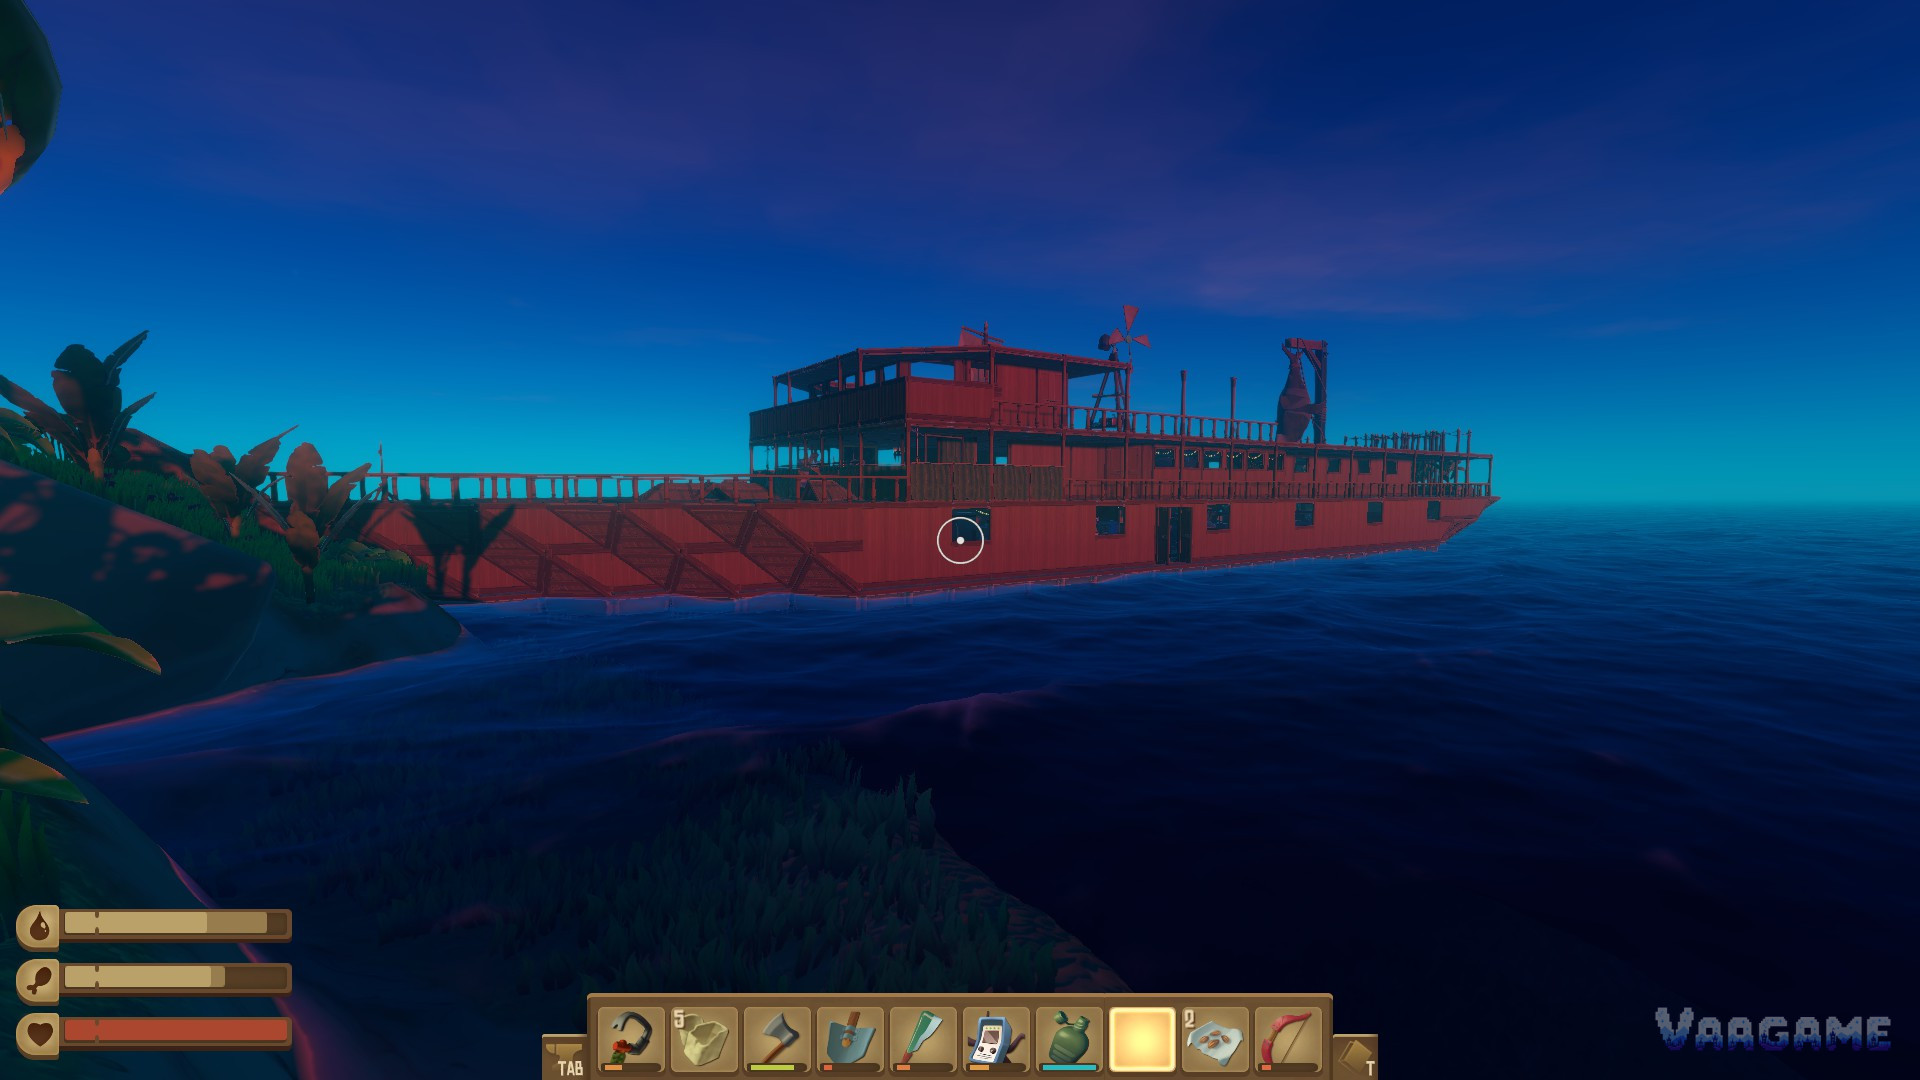
Raft guide hub. Browse beginner guides, decisions & builds, walkthrough & bosses. Available guides include Raft Guides Hub, Raft Bosses and Dangerous Creatures Guide: No Boss List, Just the Fights That Matter, Raft Story Walkthrough Part 3: Temperance, Utopia, and the Ending, with requirements, routes and encounter notes.
Guides & walkthroughs
All guides →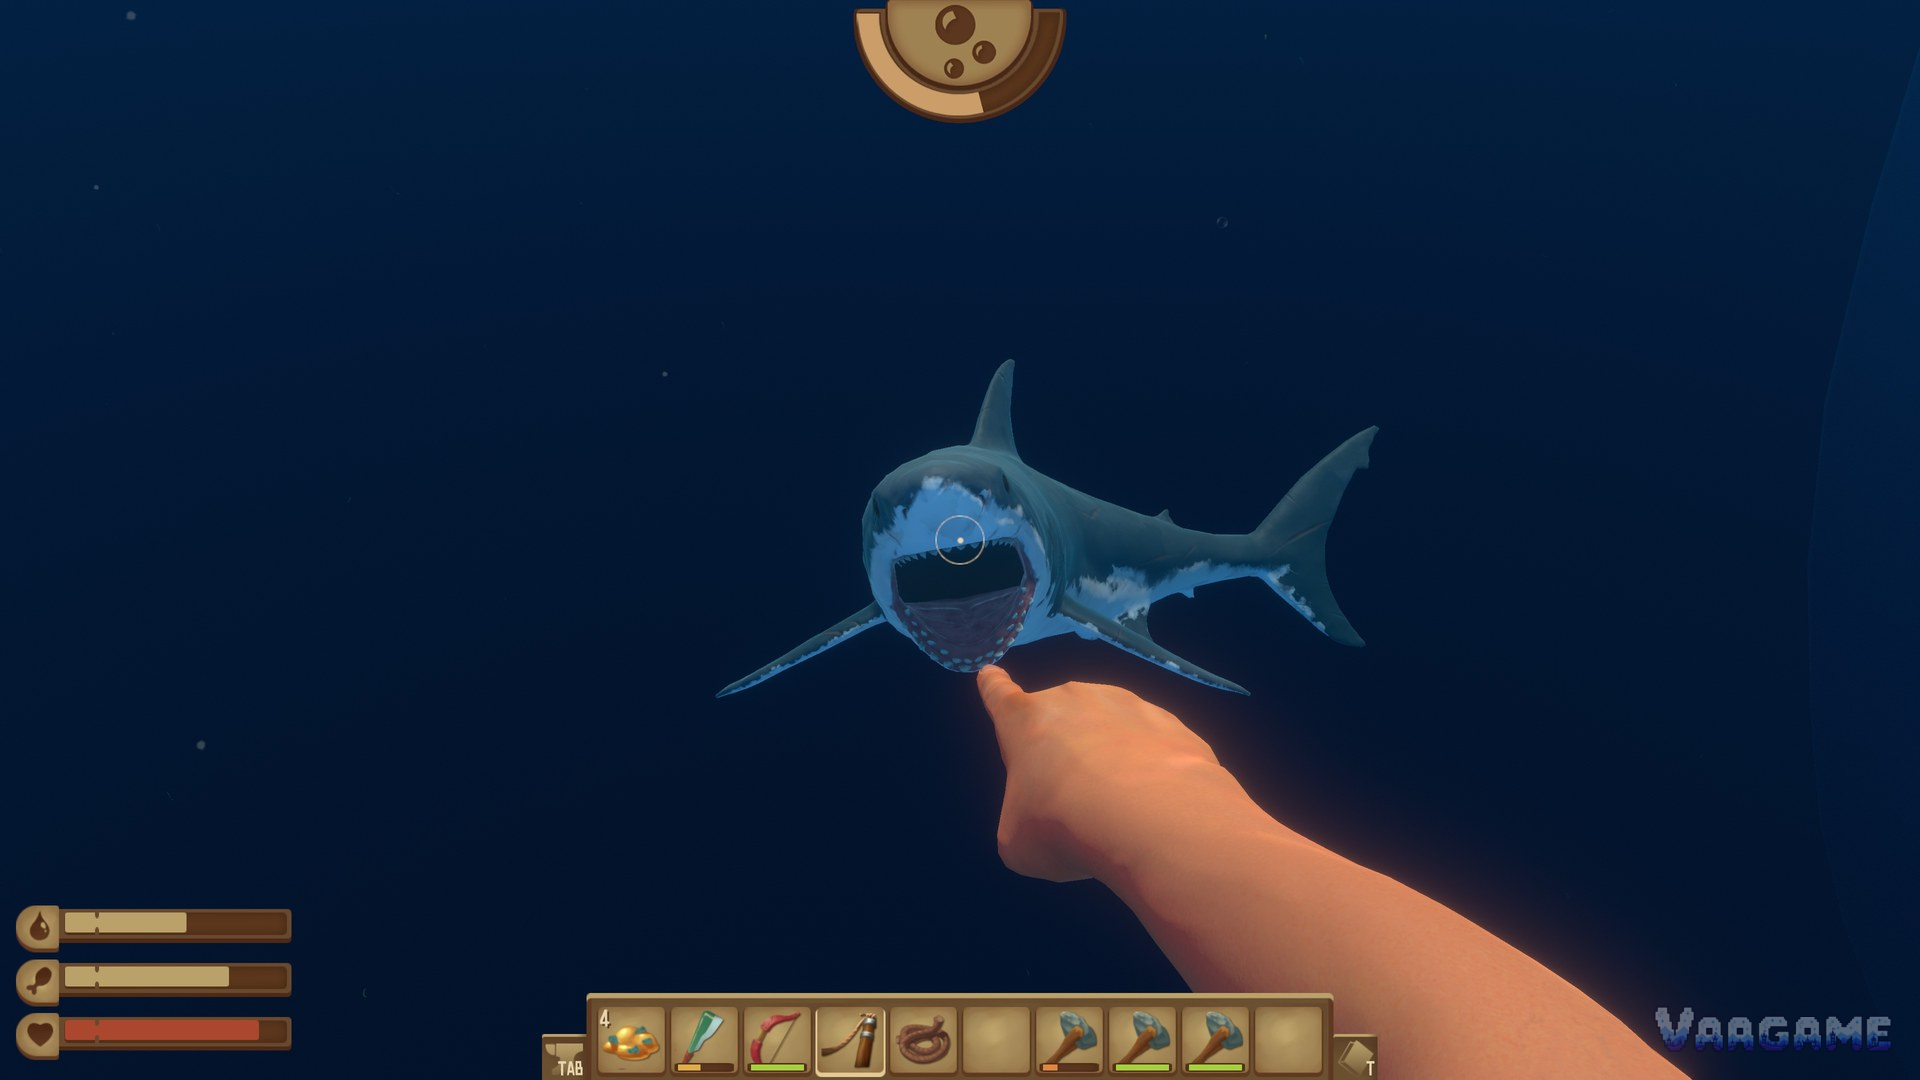
Raft Bosses and Dangerous Creatures Guide: No Boss List, Just the Fights That Matter
Raft has no traditional boss list, only two true story bosses, the Rhino Shark and Alpha, plus one boss equivalent, Mama Bear. This guide covers those three fights honestly, with no invented hit points or drop tables, and the everyday threats that punish carelessness: shark, boar, screecher, pufferfish, polar bear, hyena, lurker, and anglerfish.
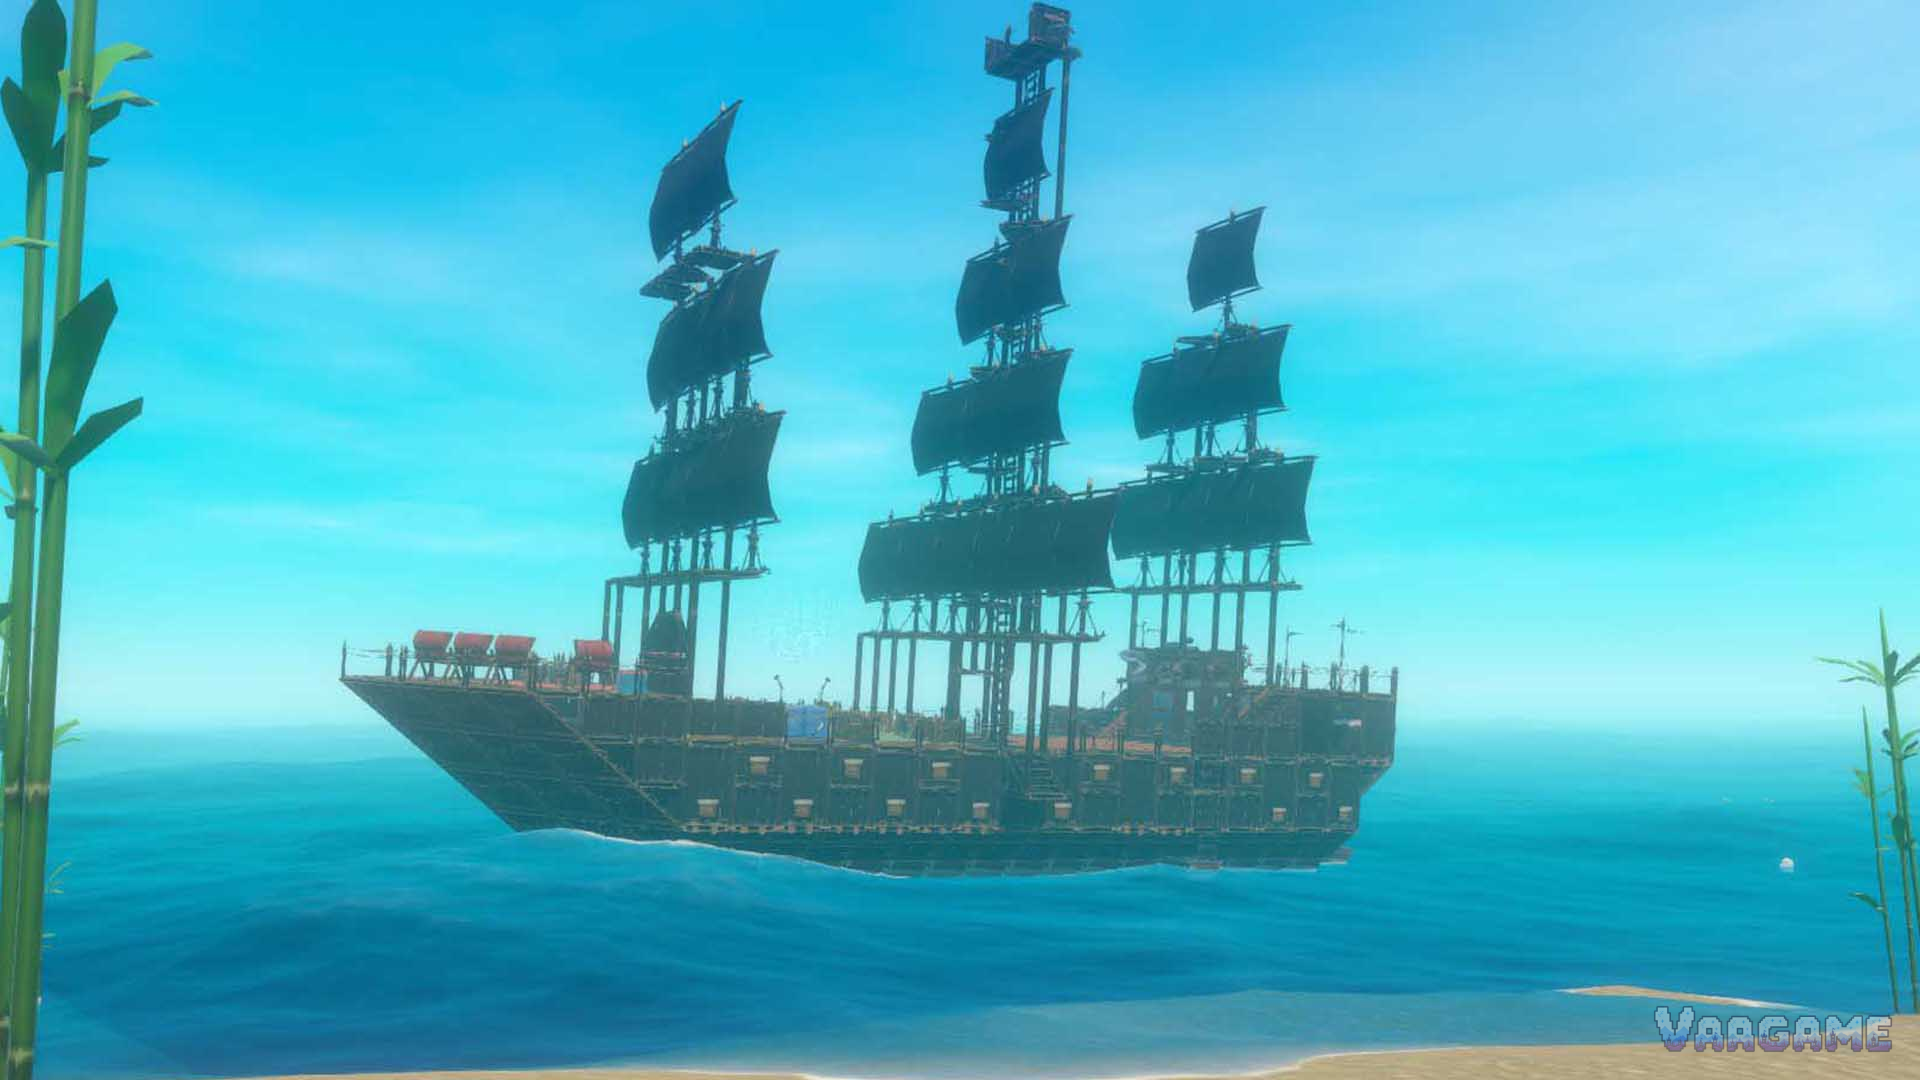
Raft Story Walkthrough Part 3: Temperance, Utopia, and the Ending
Raft Chapter 3 to the ending: power the Temperance igloo village for the blowtorch, count observatory stars for the Selene Key, fix the Selene reactor for the Utopia coordinates and Shogo, then climb Utopia crate arenas, beat the invulnerable glow phases of Alpha, take the Master Key from Olof, and free Utopia.
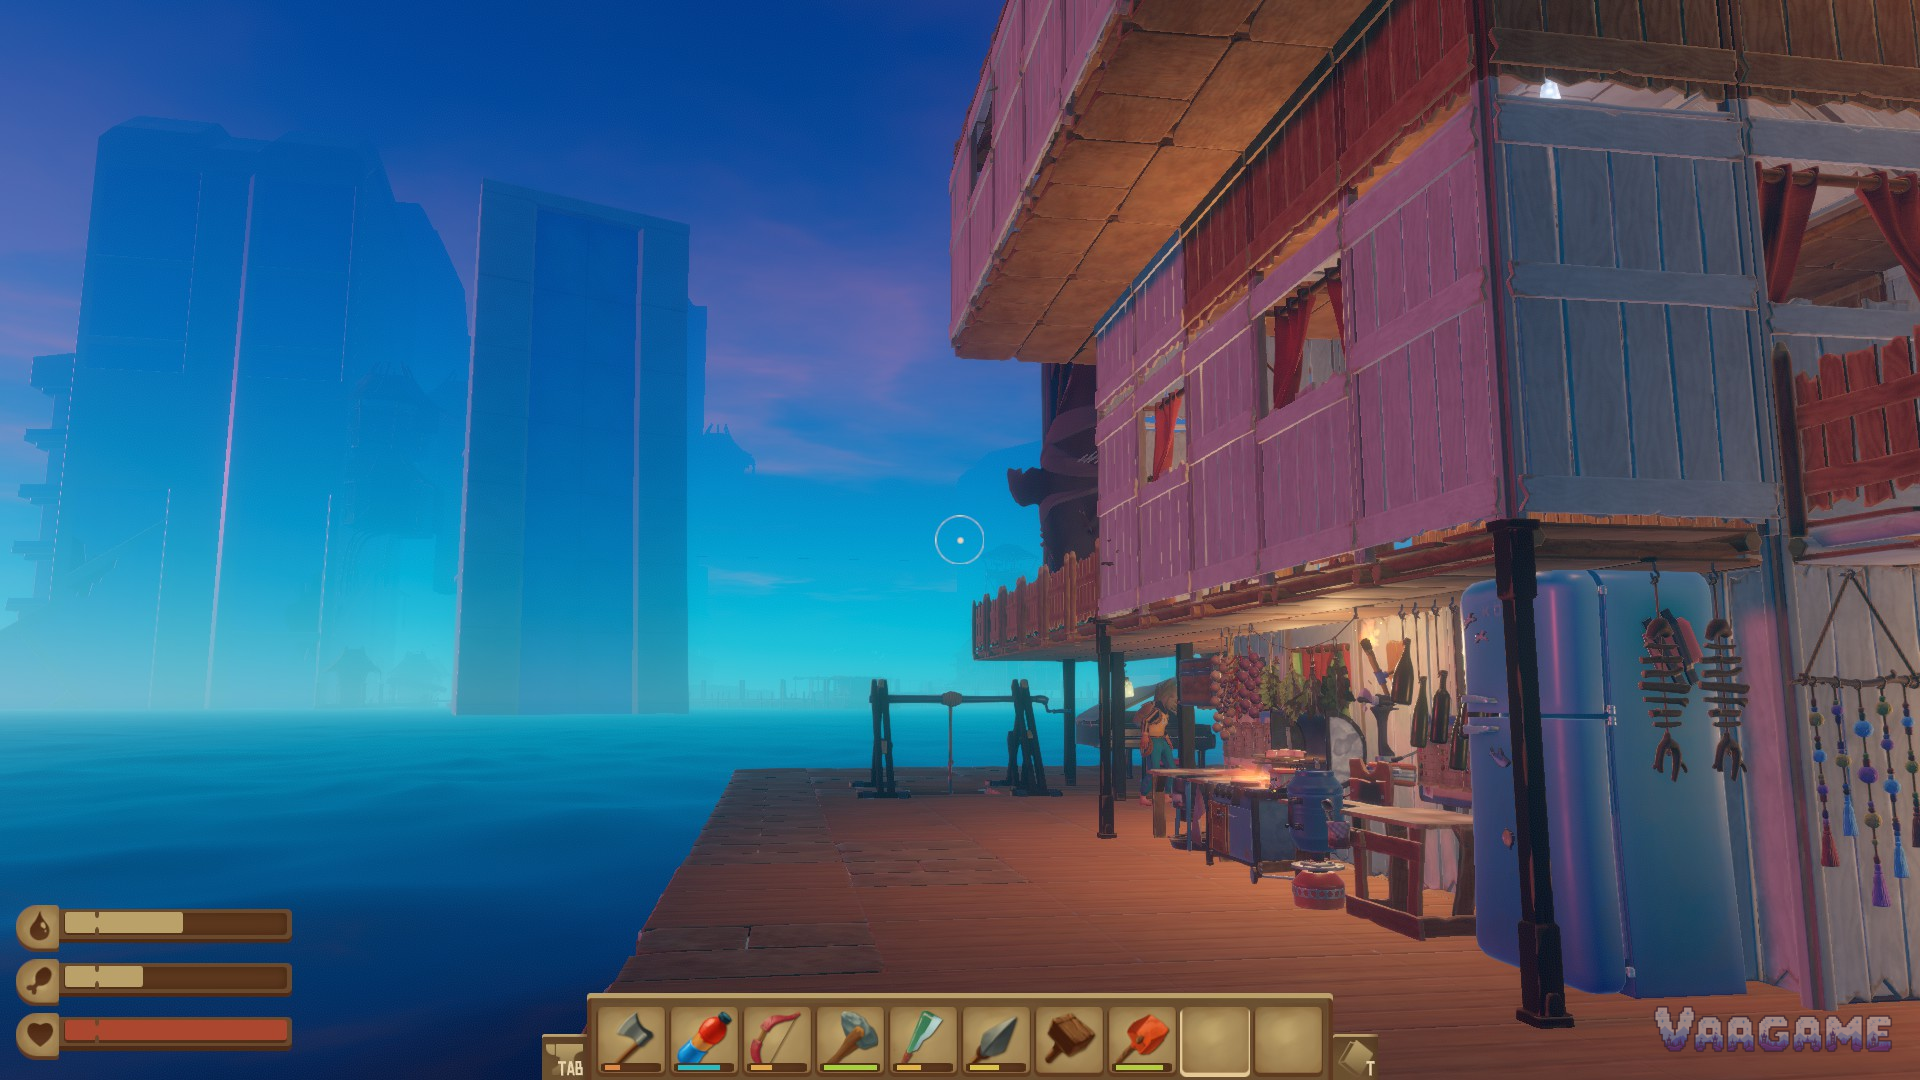
Raft Story Walkthrough Part 2: Caravan Town, Tangaroa, and Varuna Point
Raft Chapter 2 and the start of Chapter 3: build the zipline tool from three Caravan Town parts, open the mayor chest for the Tangaroa coordinates, launch the Tangaroa tower top for the Varuna Point coordinates, then beat the unskippable Rhino Shark with explosive barrel pillars and drop the crane load to reach Temperance.
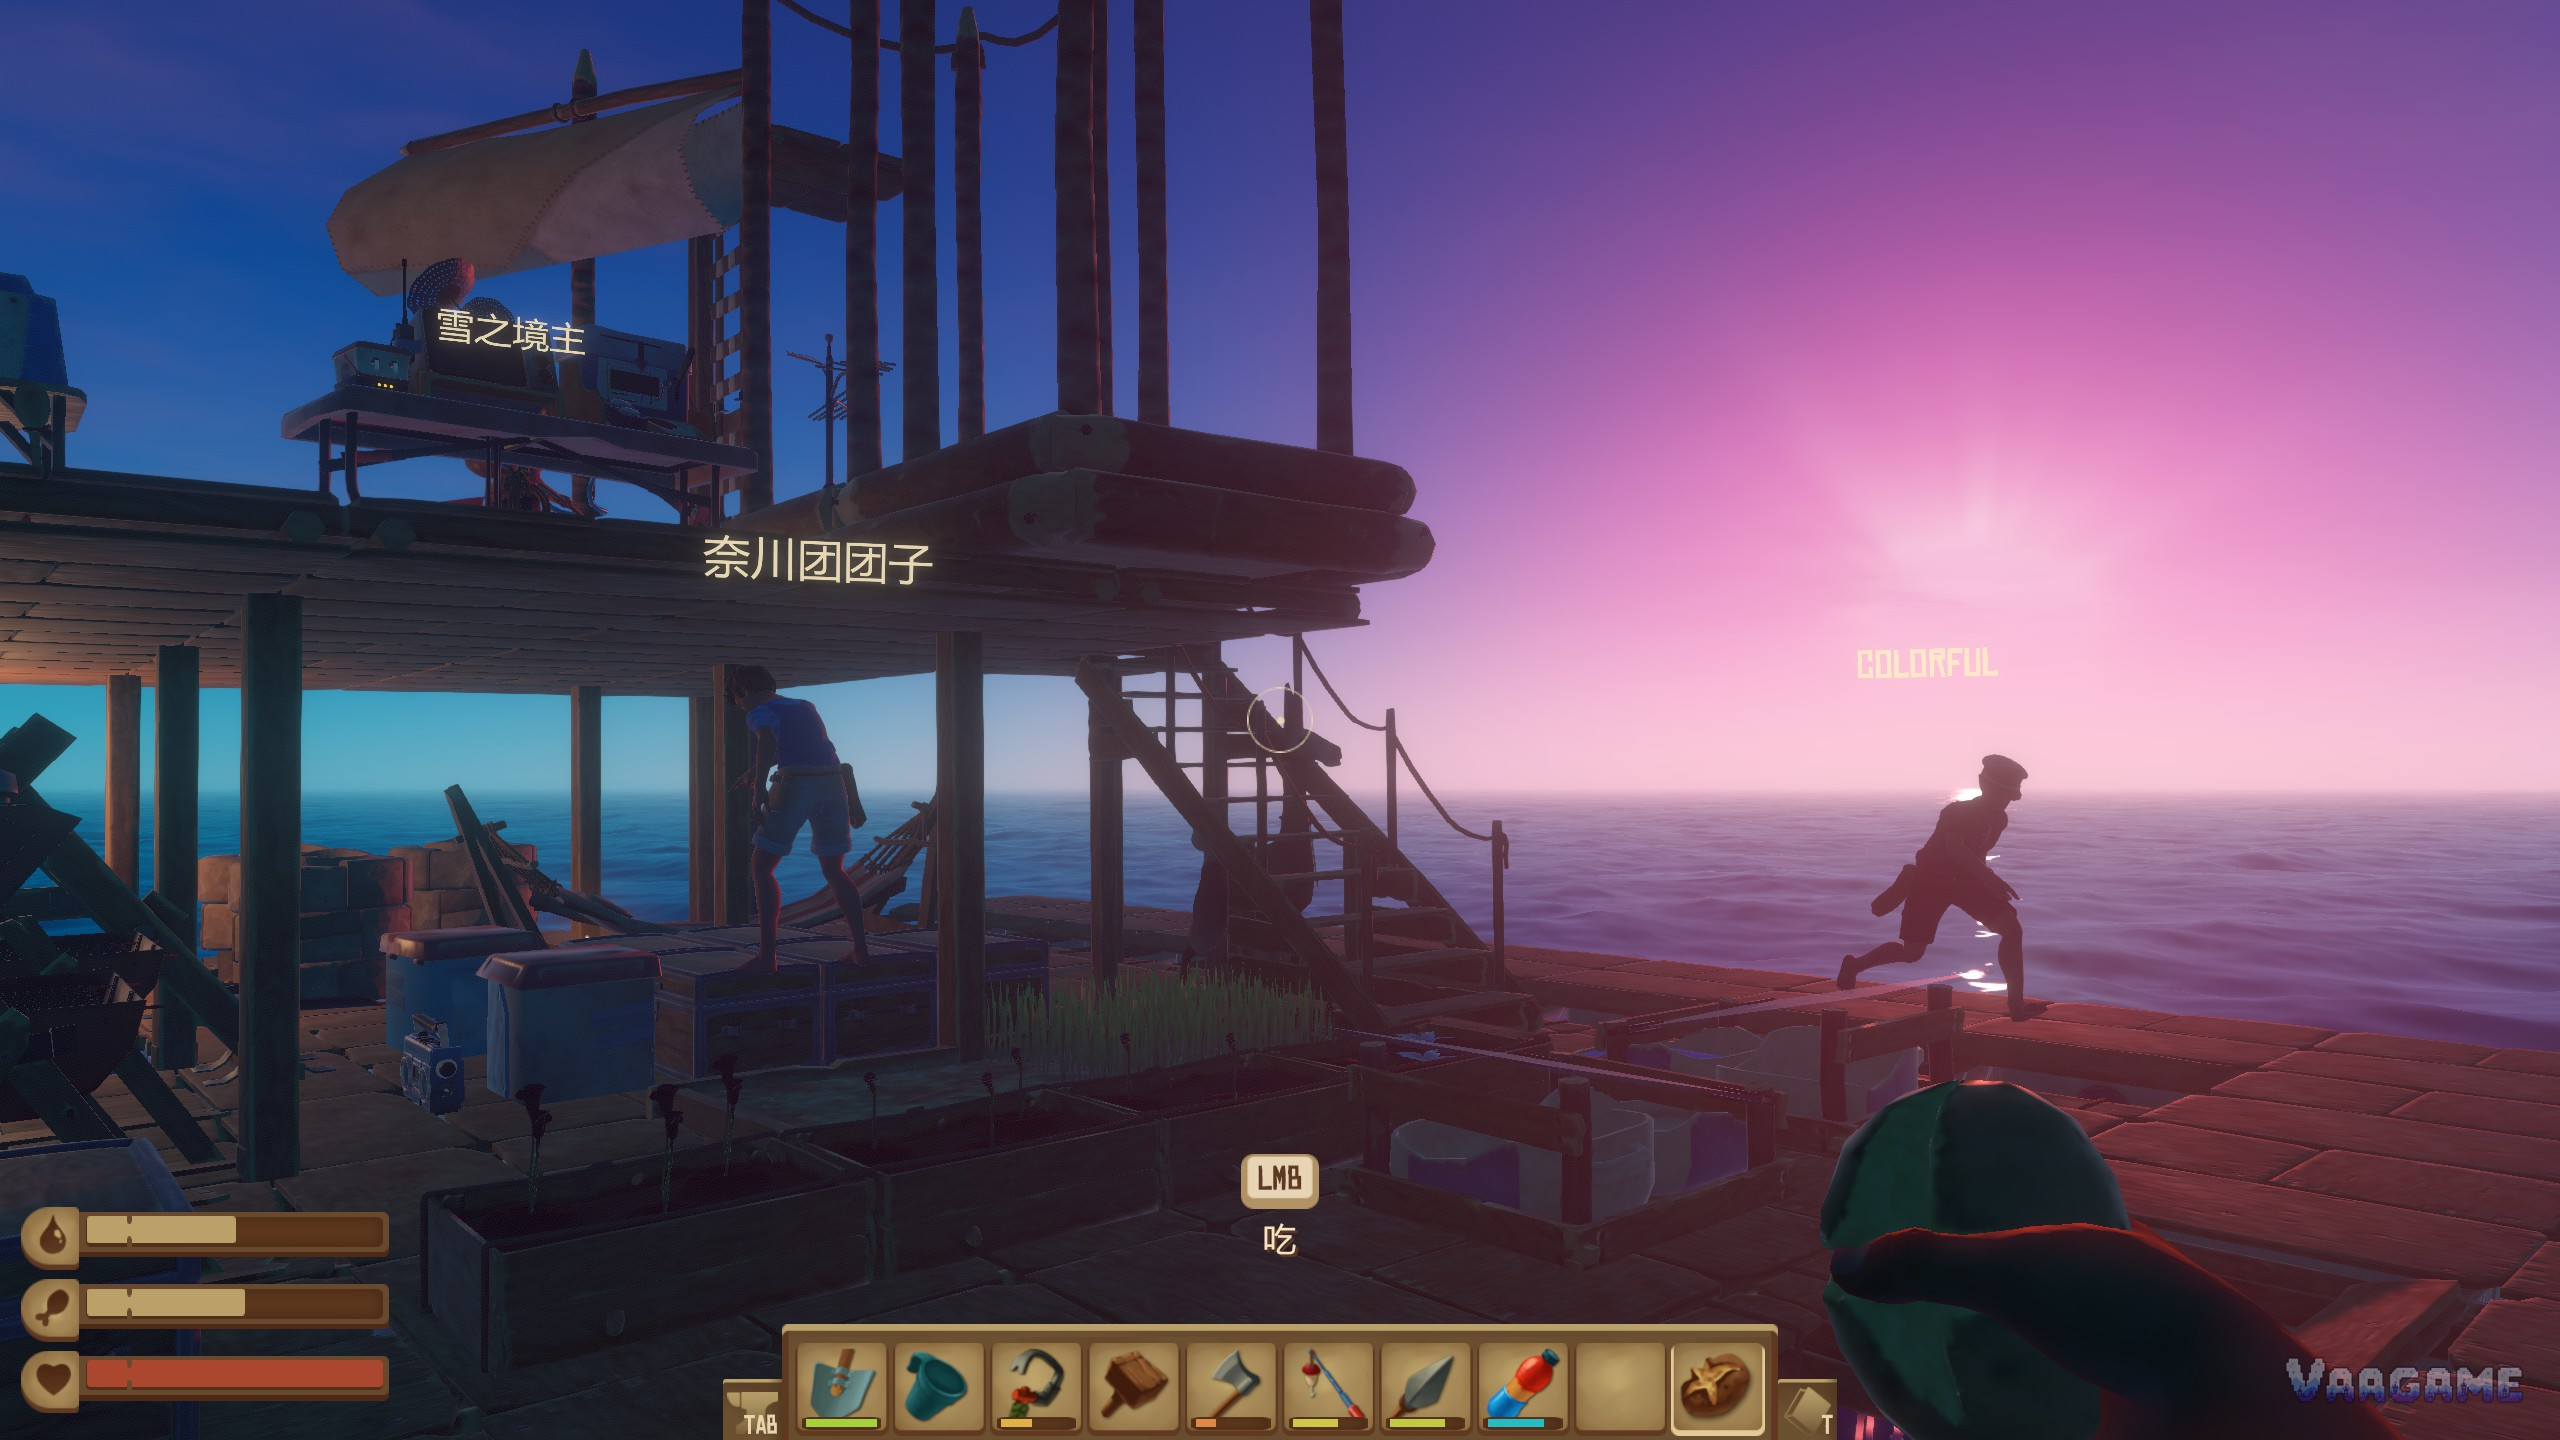
Raft Story Walkthrough Part 1: Radio Tower, Vasagatan, and Balboa Island
Raft Chapter 1 in order: climb the Radio Tower for the Vasagatan coordinates, bomb open the yacht bridge for the engine and steering wheel blueprints, then motor against the current to Balboa Island, clear the relay stations, and beat Mama Bear for the machete blueprint before sailing on to Caravan Town.
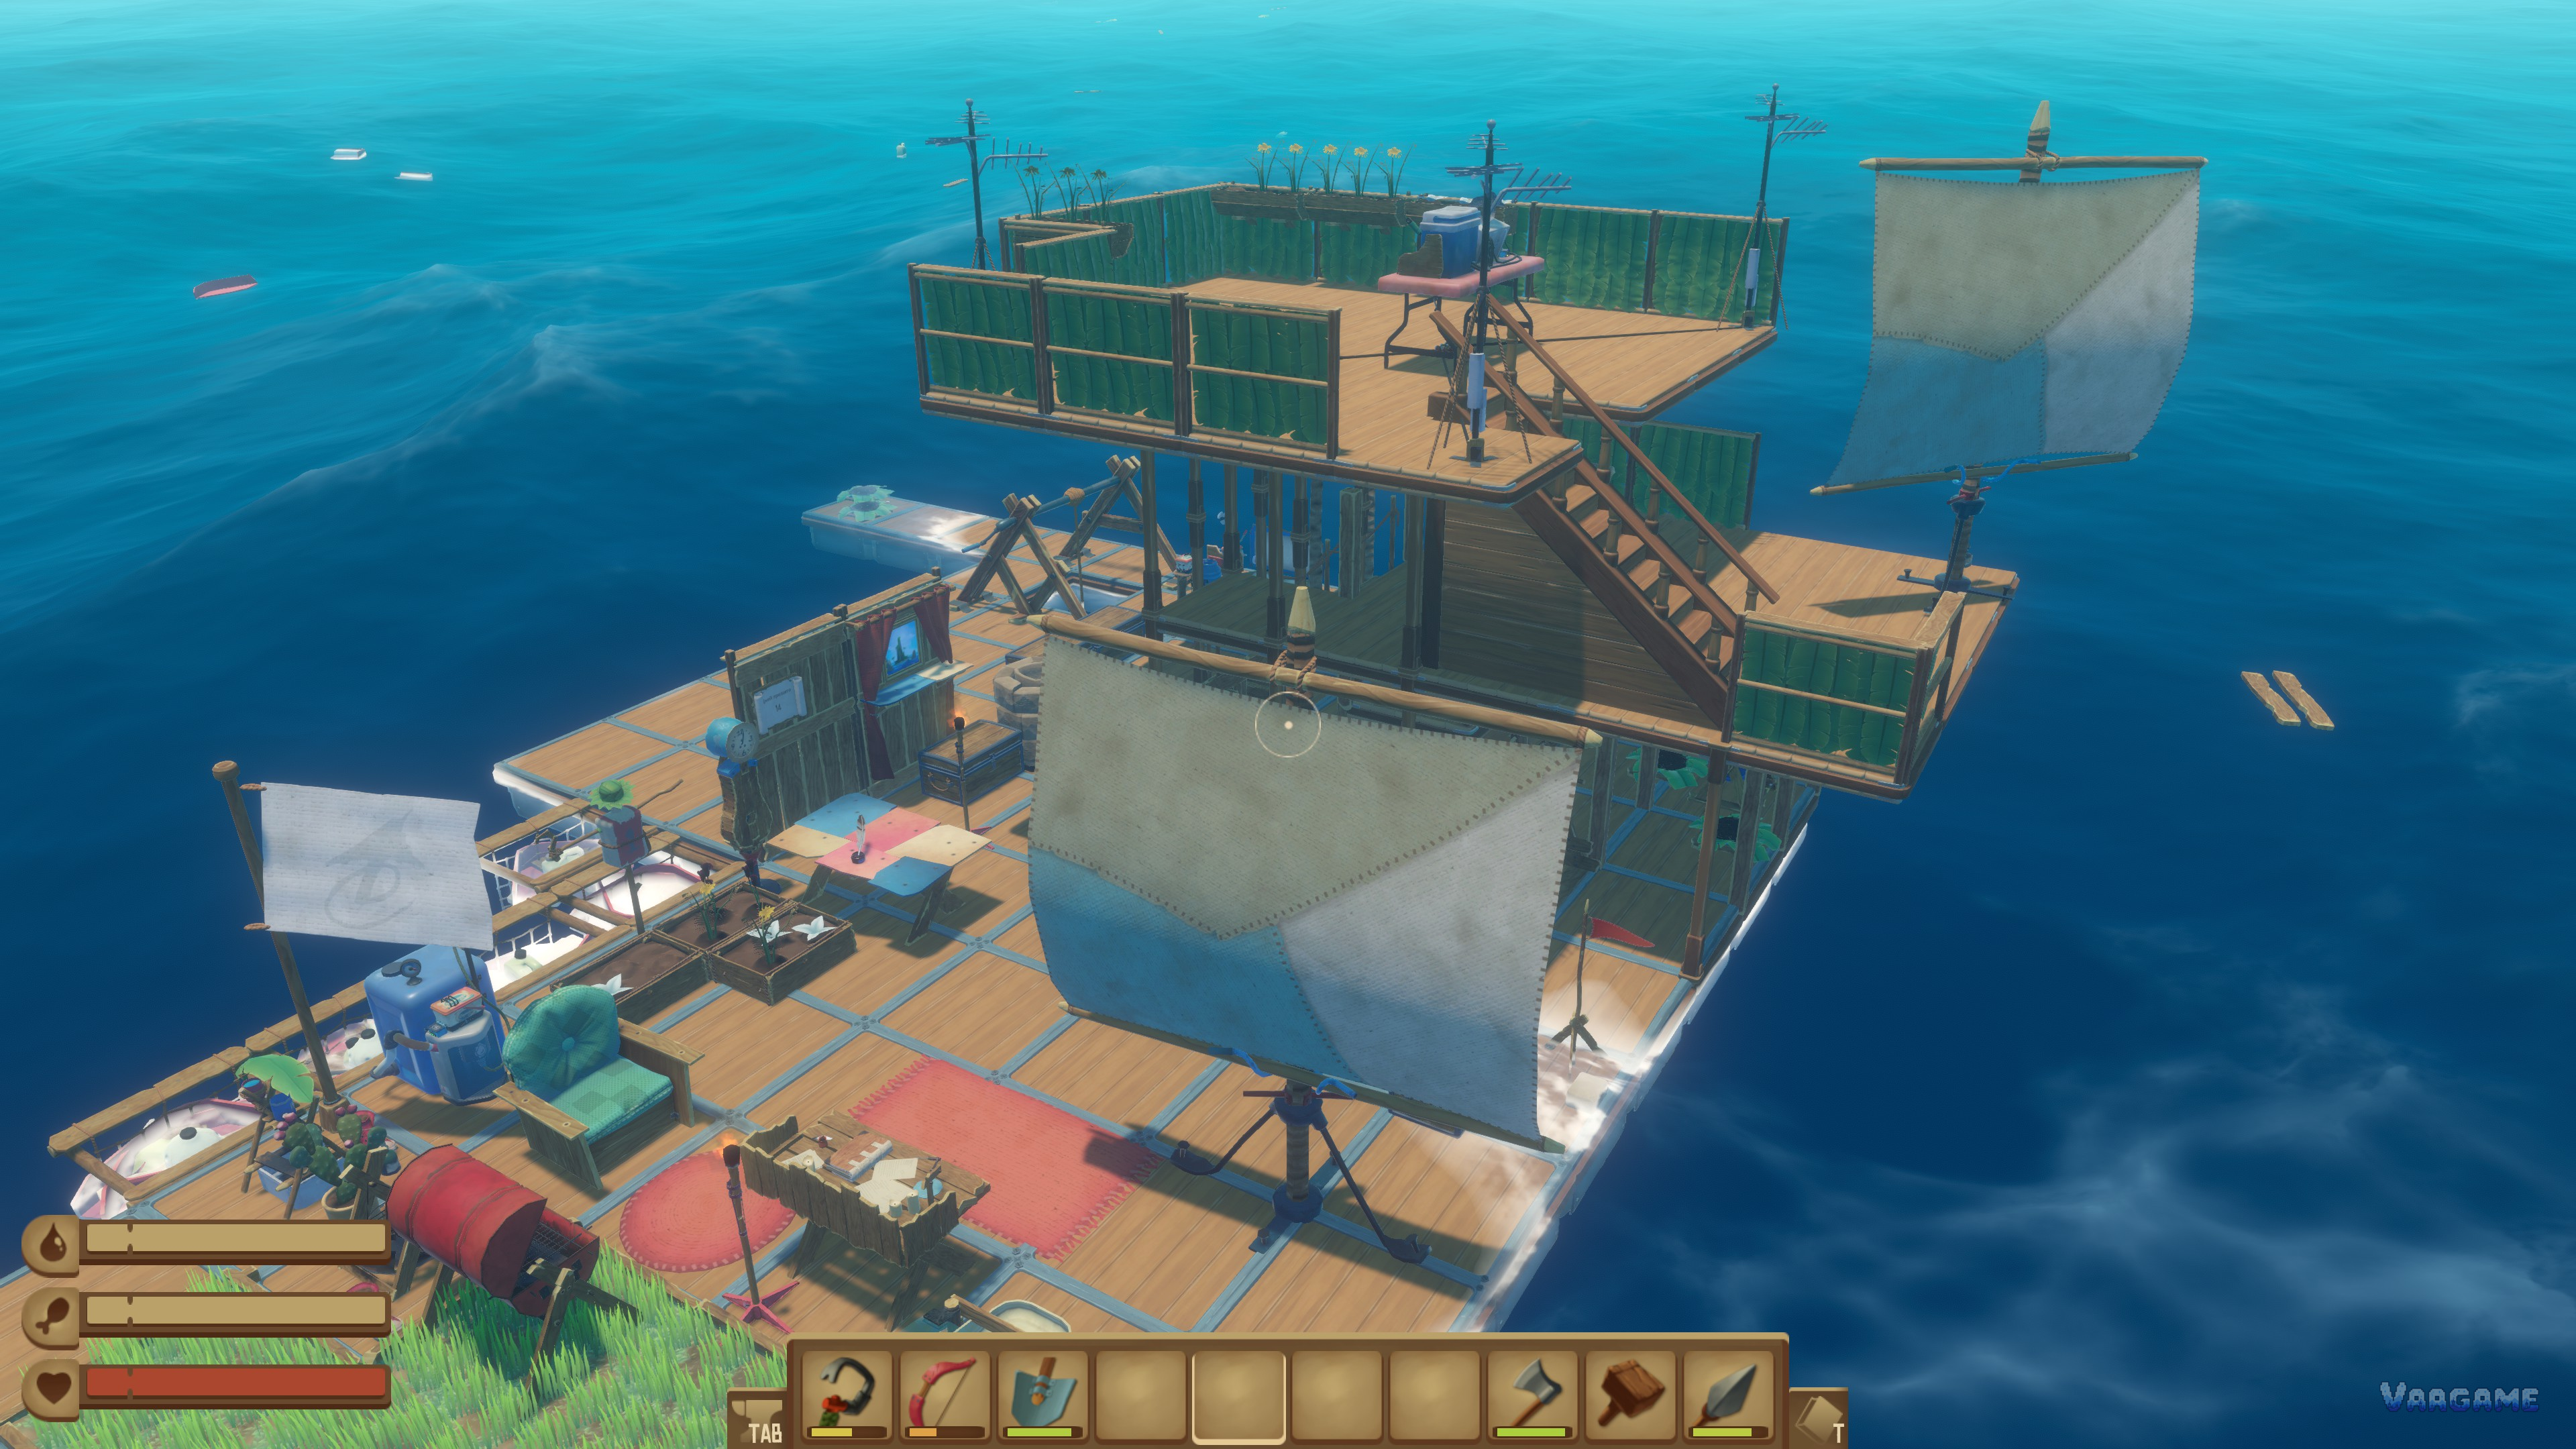
Raft Engines and Navigation Guide: Sails vs Engines, Receivers, Antennas, and Sailing Between Islands
Raft navigation runs in three stages: a free but wind-limited sail, a receiver with three antennas and a battery that turns drifting into coded travel, and engines from the Vasagatan that push against the current. This guide covers sail limits, receiver placement and four-digit codes, the engine recipe and the 100-foundation rule, plank versus biofuel, and efficient island-to-island sailing.
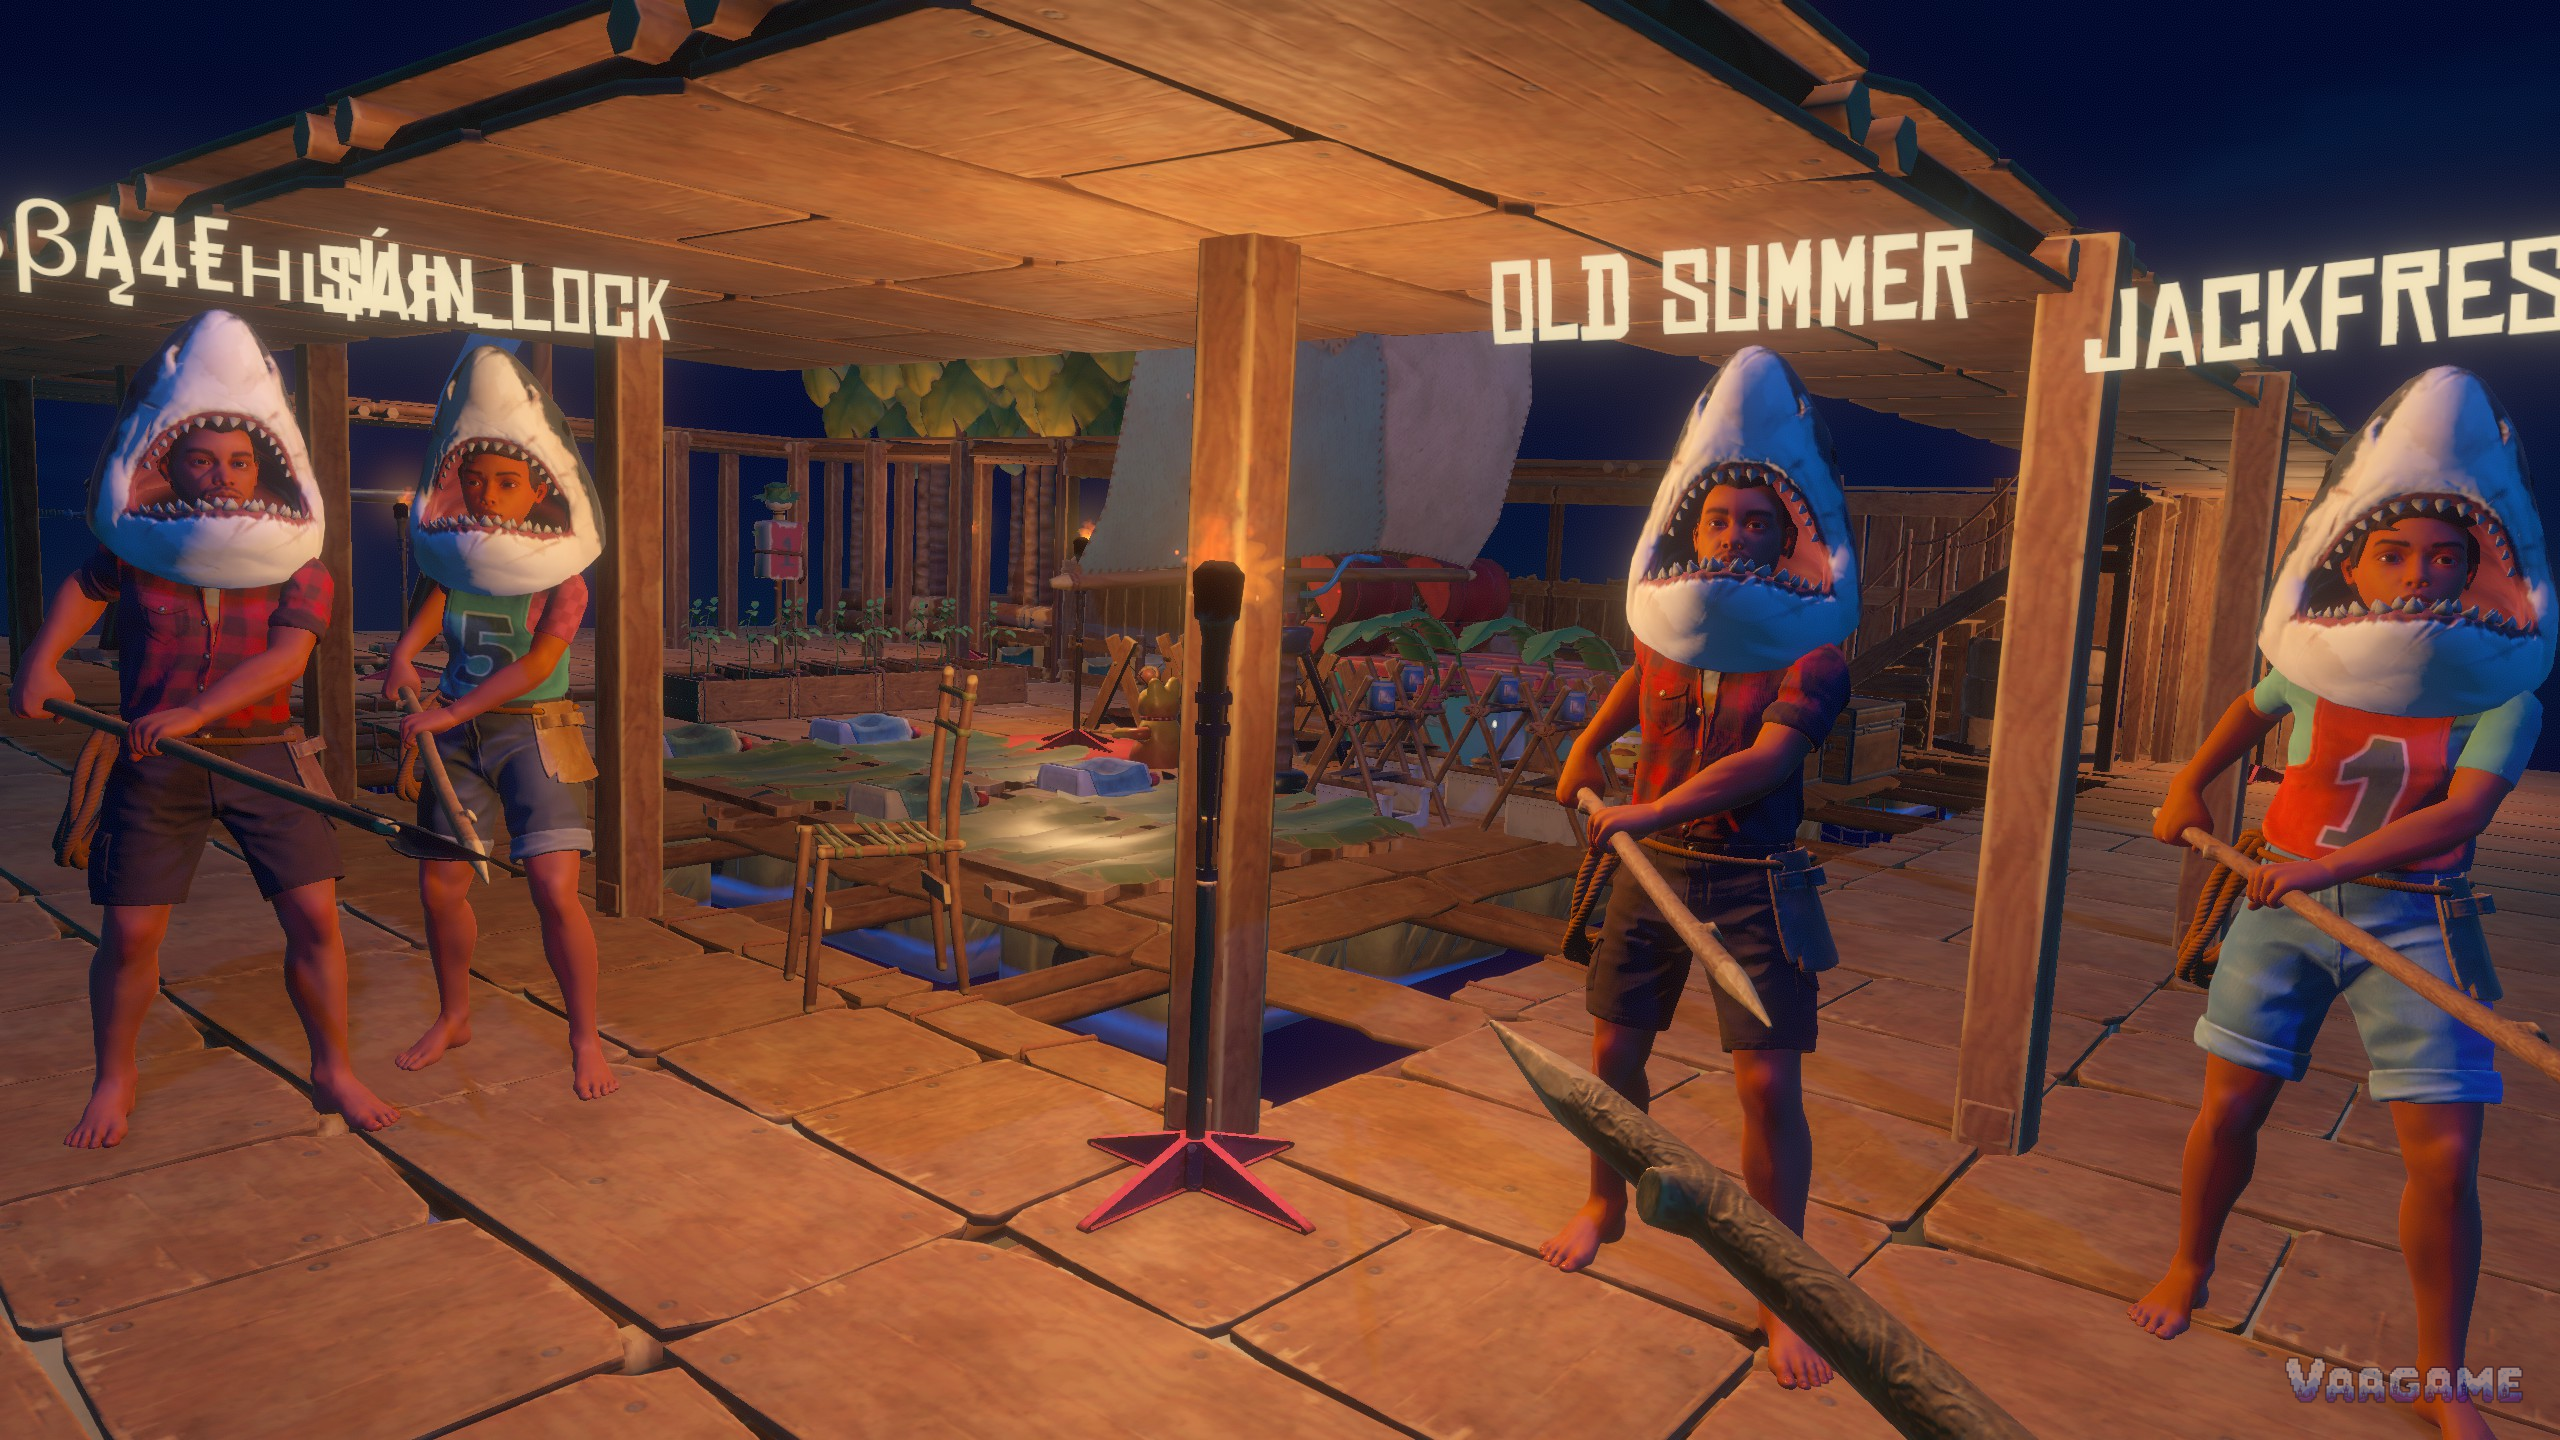
Raft Weapons, Armor and Tools Progression Guide: What to Upgrade First, and What to Skip
Raft has no builds to pick, only an order to follow: wooden spear first, then scrap hook and axe, then metal spear and bow, then leather armor and machete from Balboa, then net launcher and diving gear, then titanium weapons from Utopia. This guide gives the damage ladder, recipes, and priority route, including what to skip and what the titanium sword durability debate means.
Raft Building and Layout Guide: Foundations, Floors, Walls, Nets, and Expansion That Saves Time and Resources
Raft rewards compact, tall building: a small footprint is cheaper to armor, easier to defend, and leaves room to grow upward toward island-top chests. This guide covers foundations, floors, walls, net placement on the leading edge, outer-ring shark armor, and a zone layout that keeps workshop, kitchen, and helm within short walks.
Complete guide directory (16)
- Raft Guides Hub
- Raft Bosses and Dangerous Creatures Guide: No Boss List, Just the Fights That Matter
- Raft Story Walkthrough Part 3: Temperance, Utopia, and the Ending
- Raft Story Walkthrough Part 2: Caravan Town, Tangaroa, and Varuna Point
- Raft Story Walkthrough Part 1: Radio Tower, Vasagatan, and Balboa Island
- Raft Engines and Navigation Guide: Sails vs Engines, Receivers, Antennas, and Sailing Between Islands
- Raft Weapons, Armor and Tools Progression Guide: What to Upgrade First, and What to Skip
- Raft Building and Layout Guide: Foundations, Floors, Walls, Nets, and Expansion That Saves Time and Resources
- Raft Animal Taming and Rare Variants Guide: Llama, Goat, and Clucker, and Every Rare Coat
- Raft Hidden Achievements Guide: All 19 Hidden Achievements and Only Their Unlock Conditions
- Raft Achievements Roadmap: All 104 Achievements Grouped by Theme, With the Fastest Chase Order
- Raft Multiplayer and Co-op Guide: How to Play With Friends, Host a World, and Share the Raft
- Raft First Week Survival Guide: Day-by-Day Priorities, Water, Food, and Raft Expansion
- Raft Beginner Guide: How to Survive Your First Days, Build Your Raft, and Reach the Story Islands
- Raft Advanced Power and Automation Guide: Batteries, Engines, Sprinklers, Beehives, and Electric Purifiers
- Raft Trading Post Guide: Trash Cubes, Trade Coins, and What Is Actually Worth Buying