

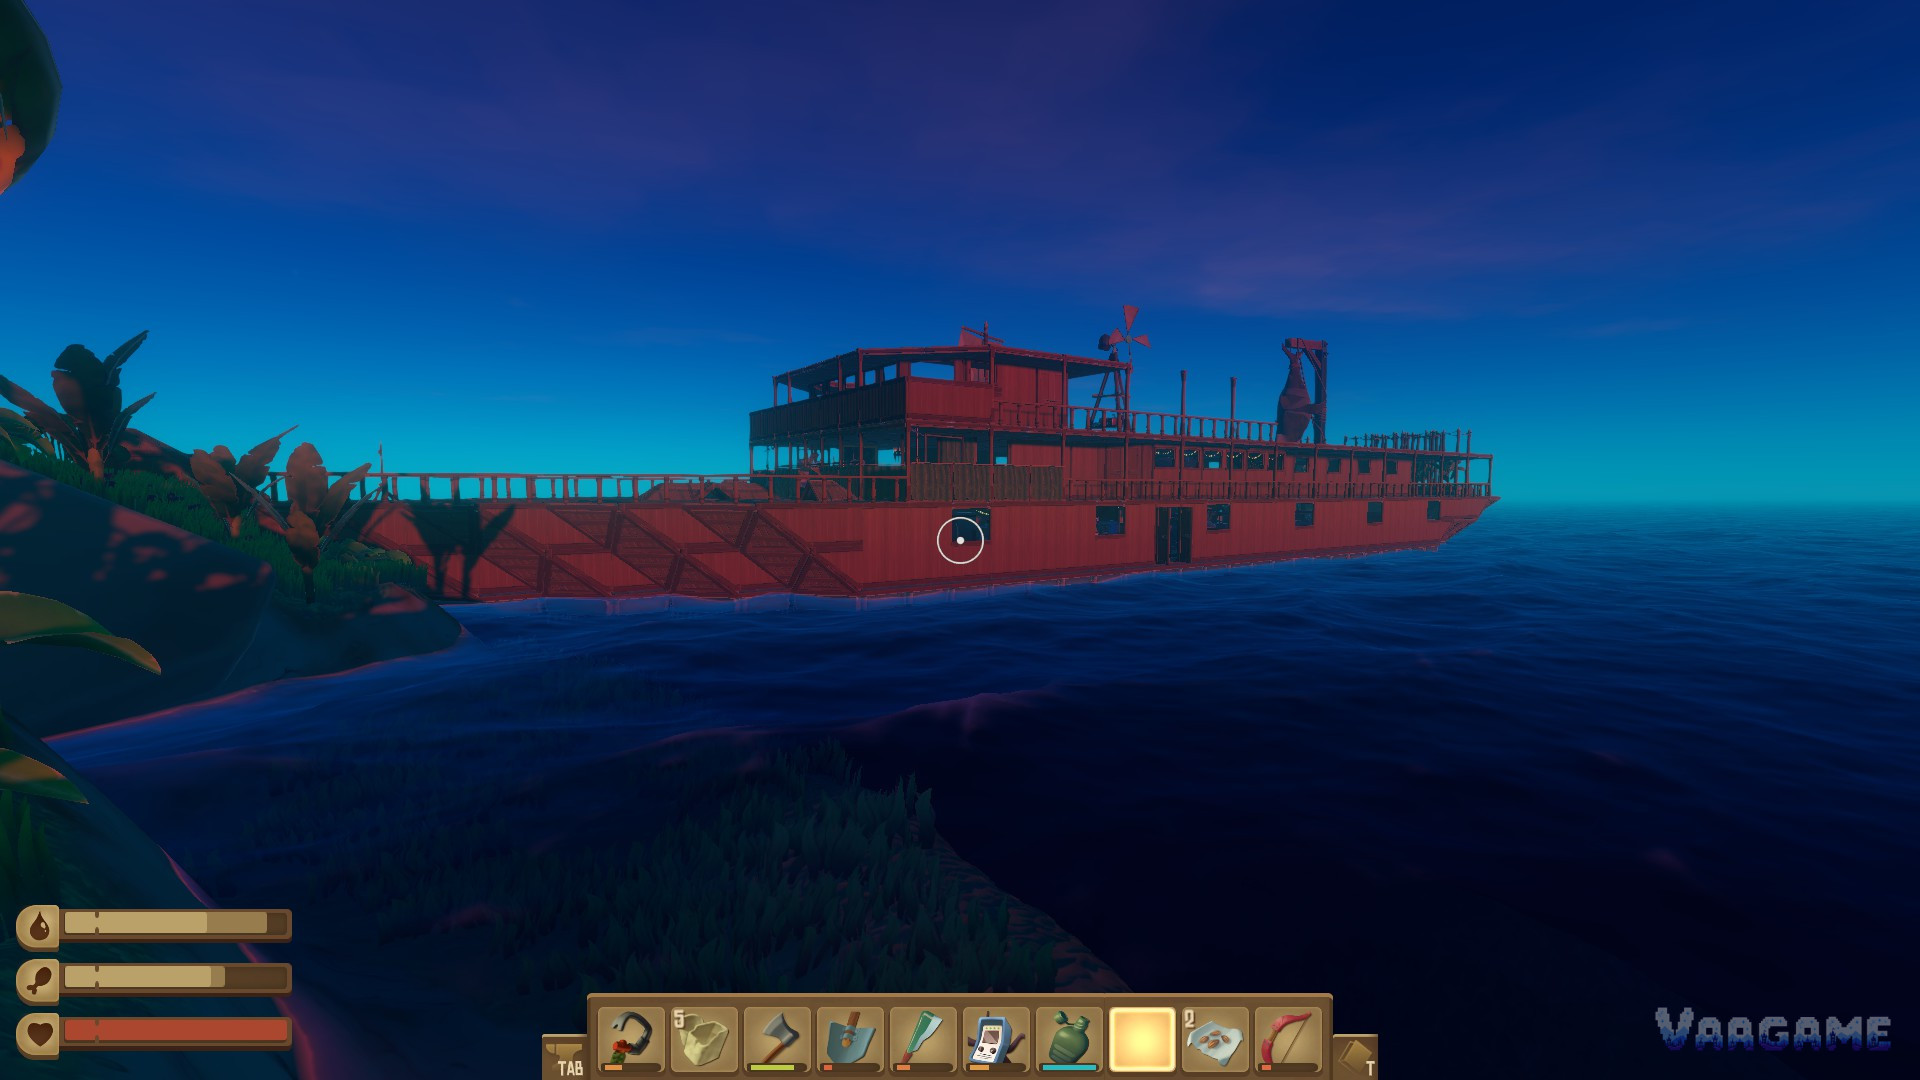
The Trading Post turns your surplus into things you cannot farm: titanium ore, crop plot blueprints, a fridge, and a scarecrow that never wears out. The catch is that it runs on two currencies you have to manufacture yourself, Trash Cubes and Trade Coins, and the second one only comes from a fishing loop that most players ignore for far too long. This guide covers where posts are, how both currencies work, and what is actually worth buying at each tier.
At a glance
What this is: The Trading Post economy in Raft: Trash Cubes, Trade Coins, reputation tiers, and buying priorities
Where: Trading Posts on many large islands, marked by coloured lights and satellite dishes
Currencies: Trash Cubes from the Recycler, Trade Coins from selling rare fish
Tiers: Tier 2 at 300 reputation, Tier 3 at 3000 reputation
Game: Raft, full release June 20, 2022; price $13.39 checked November 3, 2026
Verified: November 3, 2026, against the official Raft wiki and player guides
Quick answer
Find a post on a large island, then build the Recycler first: no Recycler means no Trash Cubes, and no Trash Cubes means no trading at all.
Feed the Recycler palm leaves and scrap, never titanium: 30 palm leaves or 10 scrap make one Trash Cube, while titanium is far too rare to burn.
Spend your first cubes on Simple Fishing Bait, then sell the rare fish you catch: Tier 1 fish pay 1 Trade Coin and 10 reputation each.
Tier 2 unlocks at 300 reputation and Tier 3 at 3000: each tier also sells better bait for the next tier of fish.
Best buys: recipes and bait early, the Foundation Counter and crop plot blueprints at Tier 2, the Advanced Scarecrow, Fridge, and Canteen and Detail Plank blueprints at Tier 3.
1. Where trading posts are: large islands, not story islands
Trading Posts sit on many large islands, the green dots on your receiver, and they are easy to spot once you know the signs: coloured lighting around the structure and satellite dishes on top. They are not a shop you build on your raft and they are not on every island, so when you spot one, treat the visit as a shopping trip and arrive with Trash Cubes already made. A post with nothing to spend is a wasted stop.
The other timing point matters just as much. The Recycler blueprint is found at the top of the Radio Tower, the first story island, and must be researched at the Research Table before you can build a Recycler. That means the trading economy only opens after you have started the story, not on day one. If you reach a post before you have a Recycler, buy nothing you cannot afford later and remember the island: you will be back with cubes.
2. Trash Cubes: feed the Recycler junk, never treasure
The Recycler converts raw materials into Trash Cubes, and the exchange rate is a value system, not one item per cube. The Recycler holds 600 value, and one Trash Cube costs 150 value. Different materials carry different values, which is the whole decision: feed it things you have in bulk and almost never use, and keep the rare stuff out.
Swipe horizontally to view all columns.
| Feed this | Value each | Per Trash Cube | Verdict |
|---|---|---|---|
Palm Leaf | 5 | 30 | Best early feed: collection nets bring in piles of it |
Scrap | 15 | 10 | Good feed once your basic crafting is covered |
Plank | 8 | 19 | Acceptable surplus only, planks are always useful |
Rope | 10 | 15 | Better than raw leaves per item, since leaves compress into rope |
Titanium Ore or Ingot | 75 to 94 | 2 | Never feed: far too rare to burn for cubes |
Wool | 75 | 2 | Best late-game feed once you farm llamas |
The practical rule is simple. Early on, palm leaves are the answer: they arrive in bulk from collection nets, they have almost no competing use, and pressing leaves into rope first stretches each cube further. Late in the game, wool takes over, since two wool make a cube and a llama farm produces it steadily. The one hard rule is titanium: two ingots technically make a cube, but titanium gates your best machines, so burning it for cubes is trading a late-game bottleneck for an early-game convenience.
3. Trade Coins and reputation: the fishing loop is the real economy
Trash Cubes alone only buy the cheapest stock. The good stock also costs Trade Coins, and Trade Coins only come from selling rare fish at a post. The loop runs like this: buy bait at the post, fish with it from your raft, then sell the catch back at any post. Rare fish caught this way cannot be eaten or cooked, so there is no reason to hold them: sell them all. Each sale pays coins and reputation, and reputation is what unlocks the next tier and its better bait.
Swipe horizontally to view all columns.
| Sell this | Trade Coins each | Reputation each | Caught with |
|---|---|---|---|
Glowshrimp, Netnibbler, Sharp Charp | 1 | 10 | Simple Fishing Bait |
Foamspitter, Pufferlisk, Trap Snapper | 1 | 100 | Advanced Fishing Bait |
Lionfish, Lunarfish, Pentapus, Pink Pike, Rainbow Lobster, Sharkeater | 2 | Tier 3 fish pay coins; no reputation value is listed for them | Expert Fishing Bait |
Do the reputation maths before you grind blindly. Tier 2 needs 300 reputation, which is 30 Tier 1 fish, and Tier 3 needs 3000, which is only 30 Tier 2 fish once you have the better bait, or 300 Tier 1 fish if you refuse to upgrade. The grind is designed to push you up the bait ladder, not to sit at Tier 1 forever. Buy the next bait the moment its tier unlocks, and spend Tier 1 fish money on bait, not on cosmetics, until Tier 3 is open.
4. What to buy: spend on power first, looks last
Tier 1 is for fueling the loop, not for shopping. Buy Simple Fishing Bait first, in stacks of 4 for 1 Trash Cube, and keep restocking it. The four recipes are the only other Tier 1 buys worth early cubes: Salmon Salad raises lung capacity, Catfish Deluxe makes you run faster, Redbeet Shot adds extra hearts, and Spicy Pineberry makes you swim faster. Plastic, planks, and scrap are only worth it if you are stranded mid-build, and the hats, horns, and wardrobe are traps for early cubes.
Tier 2 is where the post starts paying for itself. The Foundation Counter, 3 cubes and 4 coins, tells you exactly how many foundations your engines must push, which decides how many engines you need. The three Advanced Crop Plot blueprints, 6 cubes and 8 coins each, unlock bigger plots that feed your farms and your biofuel chain. Hearty Stew, 1 cube and 1 coin, lets you evade death once, which is cheap insurance for story island dives. Metal ore, copper, and explosive goo are fair buys if a build is stalled, but they are farmable, so they rank below the blueprints.
Tier 3 is the late-game payoff, and the order matters. The Advanced Scarecrow, 8 cubes and 10 coins, keeps seagulls off your crops permanently, which ends the daily scarecrow-replacement chore. The Fridge, 6 cubes and 6 coins, stores food and anything else without spoilage pressure. The Canteen and Detail Plank blueprints, 8 cubes and 12 coins each, are one-time buys that unlock gear and building options you cannot get anywhere else. Titanium Ore, 3 cubes and 1 coin per stack of 3, is the honest late-game shortcut when a machine build is one ingot short. Everything else at Tier 3 is decoration: buy it when the practical list is done.
5. Stock limits: a post does not restock where it stands
Every product has a limited number of available stacks, and the popular reading of the system, from player reports, is that a single post does not replenish its own stock while you wait. The way players restock is to sail away until the island despawns, roughly 2,000 metres by player reports, and then visit the post on the next large island, which arrives with full stock. Plan around that: when you find a post, buy the bait and the one-time blueprints first, because the bulk goods you skip may not be there when you sail back.
This is also why reputation is account-wide progress, not per-post shopping. You do not need to re-earn tiers at each new post: once Tier 3 is unlocked, every post you find sells Tier 3 stock, subject only to its own stack limits. The grind is once, the shopping is everywhere.
6. How the economy fits late-game progression
Late in the game, the Trading Post is best understood as a converter, not a shop. Your raft already produces palm leaves, wool, and crops faster than you consume them, and the post converts that 剩余物资 into the three things your raft cannot produce: titanium ore, exclusive blueprints, and permanent quality-of-life machines like the Fridge and the Advanced Scarecrow. It also closes the loop with the power systems in the companion guide: crop plots feed biofuel, biofuel runs engines and battery chargers, and the post sells the crop plot blueprints and the Foundation Counter that make that whole chain measurable.
Frequently asked questions
Where do I find a Trading Post?
On many large islands, the green dots on your receiver. Look for coloured lighting and satellite dishes on top of the structure.
How do I make Trash Cubes?
Build a Recycler, researched from the blueprint at the top of the Radio Tower, and feed it raw materials. One cube costs 150 value: 30 palm leaves, 10 scrap, or 19 planks.
How do I get Trade Coins?
Buy bait at a post, catch rare fish with it, and sell the fish back at a post. Tier 1 fish pay 1 coin and 10 reputation each; Tier 2 fish pay 1 coin and 100 reputation; Tier 3 fish pay 2 coins.
What reputation do I need for each tier?
Tier 2 needs 300 reputation and Tier 3 needs
3000. That is 30 Tier 1 fish for Tier 2, or 30 Tier 2 fish for Tier 3 once you have Advanced Bait.
Does a Trading Post restock?
Player reports say a single post does not restock in place. Sail away until the island despawns and visit the post on the next large island for full stock.
What should I buy first?
Bait first, always. Then Tier 1 recipes, Tier 2 crop plot blueprints and the Foundation Counter, and Tier 3 Advanced Scarecrow, Fridge, and the Canteen and Detail Plank blueprints. Cosmetics come last.