

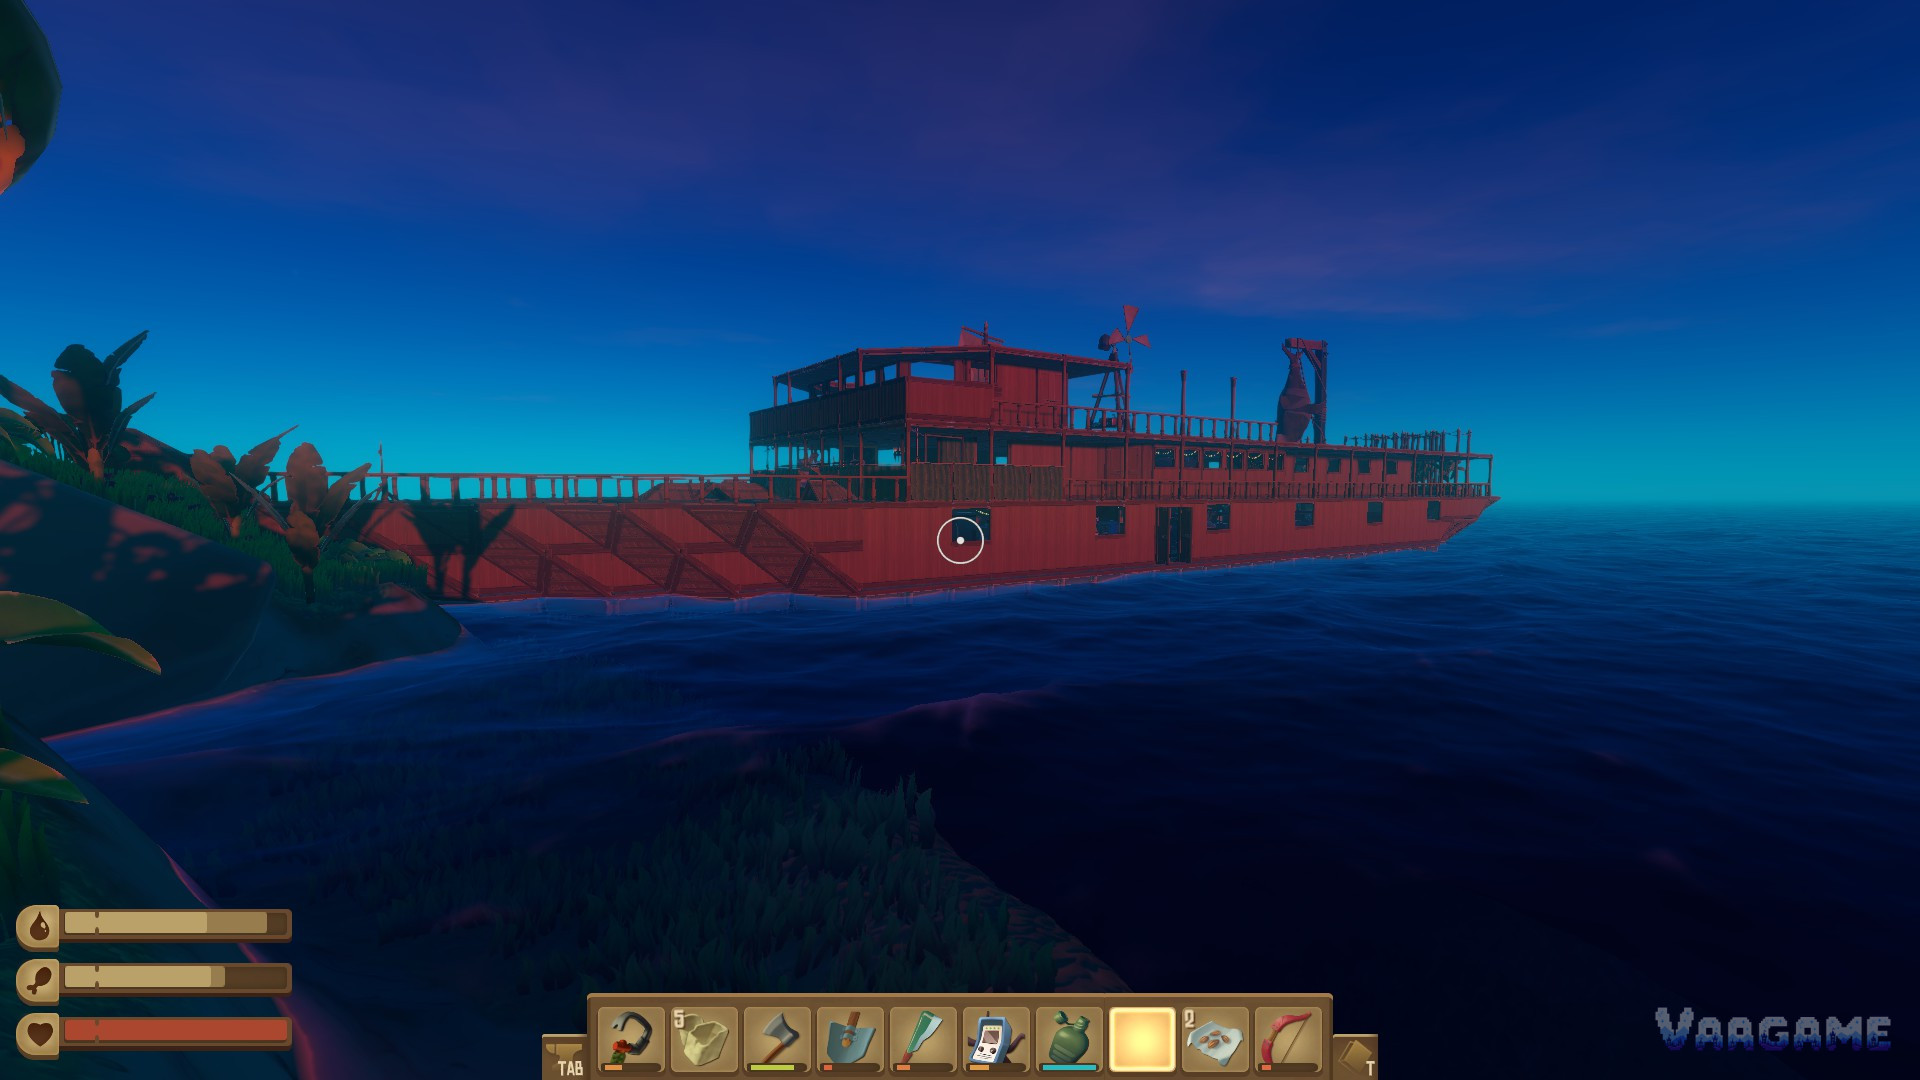
The mistake most Raft players make is building wide. A wide raft costs a fortune in planks and plastic, gives the shark more edge to chew on, and still leaves you climbing nowhere when an island chest sits on a cliff. Build compact, build tall, put your nets where the debris actually flows, and armor only the edge the shark can reach. This guide turns those four decisions into a layout that survives the whole story.
At a glance
Game: Raft, by Redbeet Interactive, published by Axolot Games; full release June 20, 2022, Early Access May 23, 2018
Price: $13.39 on Steam as of November 3, 2026, 33 percent off the $19.99 base price; prices change, so check the store page
Chinese name note: Raft has no official Chinese name; players often call it by the nickname Mu Fa Qiu Sheng, which is a player nickname, not an official name
Core rule: small footprint first, height second, nets on the leading edge, armor on the outer edge only
Verified: November 3, 2026, against community guides and the Raft wiki for shark, armor, and net behavior
Quick answer
Start compact: a small raft is easier to defend, cheaper to expand, and easier to steer toward islands.
Build tall, not wide: a second and third story beats a bigger footprint, and height is how you reach island-top chests.
Nets go on the leading edge, in a line, an L, or a T: debris flows past the raft, so nets only catch what drifts into them.
Armor only the outer ring: the shark now attacks exposed outer foundations, so inner foundations do not need armor.
Never put anything irreplaceable on an unarmored edge: if the foundation goes, everything on it goes with it.
1. Start compact: the footprint decision
You start on a small raft with a plastic hook and almost nothing else, and the temptation is to pave the ocean. Resist it. Every foundation square costs planks and plastic you also need for tools, nets, and walls, and every extra edge square is another place the shark can bite. A compact raft also turns more easily and parks closer to islands, which matters every time you row ashore with a full inventory.
The practical target is a small core you can defend and afford, then height. Experienced players report that a modest footprint with two or three stories holds everything a full playthrough needs: workshop, storage, kitchen, beds, and a helm deck. Grow outward only when a specific build demands it, such as a large farm wing or an engine room, and grow in wings you can armor, not in a shapeless blob.
2. Foundations, floors, and walls: what each piece is for
Foundations are the only pieces that float. Everything else, floors, walls, pillars, stairs, and roofs, hangs off foundations or off pieces supported by them. That one fact drives the whole layout: protect foundations first, and never build a tower on a single edge square. A foundation has limited durability, the shark chews it down, and when it breaks, everything above it breaks too, including pillars and everything those pillars held up.
Swipe horizontally to view all columns.
| Piece | Job | Layout rule |
|---|---|---|
Foundation | Floats; everything builds on it | Keep the footprint compact; armor the outer ring |
Triangular foundation | Shapes corners and edges for half the cost of a square | Use on corners and shark-facing edges; cheap to replace |
Wooden floor | Upper-story walking surface on pillars or walls | Pillars at corners carry it; plan stair wells early |
Pillar | Carries floors and roofs above | Never rest a critical room on one edge pillar |
Wall, window, roof | Shelter, storage walls, and looks | Half walls at corners double as lookout windows |
Triangular foundations deserve a special mention because they change the shark math. They cost roughly half the resources of a square foundation, and a damaged triangle on the edge can simply be broken down and rebuilt instead of repaired. Many players ring the whole raft in triangles so the shark meets cheap, replaceable pieces first. It is not pretty, but it is the cheapest insurance in the game.
3. Nets and collectors: where debris actually goes
Collection nets are passive income: debris drifting past the raft snags in them while you do anything else. But they only catch what flows into them, which is why placement beats quantity. Put nets on the side facing the flow, in a continuous line, and check which side that is after every turn: the raft drifts, the wind shifts, and the leading edge of yesterday is the trailing edge of today. A streamer on deck helps here, since it shows which way is forward at a glance.
Two player-tested tricks cut the cost without cutting the catch. First, you do not need a solid wall of nets: alternating one net square and one foundation square still catches nearly everything, because debris rarely threads the gap, and angled drift closes the gap further. Second, you only need nets on two perpendicular sides, an L or T shape, rather than all four. Nets on the trailing sides catch almost nothing and mostly feed the shark repair bill.
4. Surviving the shark: armor, bait, and the edge rule
The shark, Bruce to most players, attacks exposed foundations and nets on the outside of the raft, chewing a piece down over time. Foundation armor, placed on a foundation or net with the hammer, makes that piece impervious to shark attacks. Since only the outer line needs armor now, the cost is a fraction of armoring everything: armor the ring, armor any nets in that ring, and armor the foundations under engines and stairs first, since losing one of those drops the build above it.
Armor is prevention; shark bait is the emergency button. Throw bait in the water and the shark goes for it instead of the raft for a limited time, reported at around 80 seconds, which is your window to dive for clay and sand or to repair in peace. Killing the shark is possible but slow, and a new shark returns, so bait and armor beat revenge as a long-term policy.
5. Zones: a layout that stops you walking in circles
Late-game pain is rarely a missing item; it is walking. Put the workshop, research table, and storage together on one deck, the kitchen and crop plots together on another, and the helm, receiver, and antennas together up top where the receiver signal is clear. Beds go somewhere you will actually pass at night, not in a tower you never visit. The single most valuable layout rule is short paths between the things you use together: smelter to storage, storage to workbench, kitchen to crops.
6. Mistakes that cost the most
Building wide before building tall: you pay for foundations twice, once to build them and once to armor or repair them.
Putting engines, stairs, or storage on a single unarmored edge square: one shark visit drops the whole stack.
Nets on all four sides: trailing-side nets catch almost nothing and add repair work.
No plan for height: island-top chests and high ledges need stairs, ramps, or a tall deck, and retrofitting height mid-game is expensive.
Decorating before armoring: a beautiful room on an unarmored edge is a beautiful room with an expiry date.
Frequently asked questions
How big should my raft be?
As small as fits your zones, then taller. A modest footprint with two or three stories carries a full playthrough; grow outward only for a named purpose, like a farm wing or an engine room.
Do I need to armor every foundation?
No. The shark attacks exposed outer foundations, so armor the outer ring, the nets in it, and the foundations under high-value builds first. Inner foundations are safe behind the ring.
Where should collection nets go?
On the leading edge facing the flow, in a line, an L, or a T. Recheck the leading edge after turns, and alternate net and foundation squares to halve the cost.
Why did my whole tower collapse?
Because a foundation under it broke, and everything above a broken foundation breaks too. Rebuild on an armored foundation with neighboring support, not on a lone edge square.
Is it worth building a big decorative raft?
Yes, after survival is solved: armor the ring, secure the zones, then decorate. A big raft is a late-game project, not an early-game plan.