

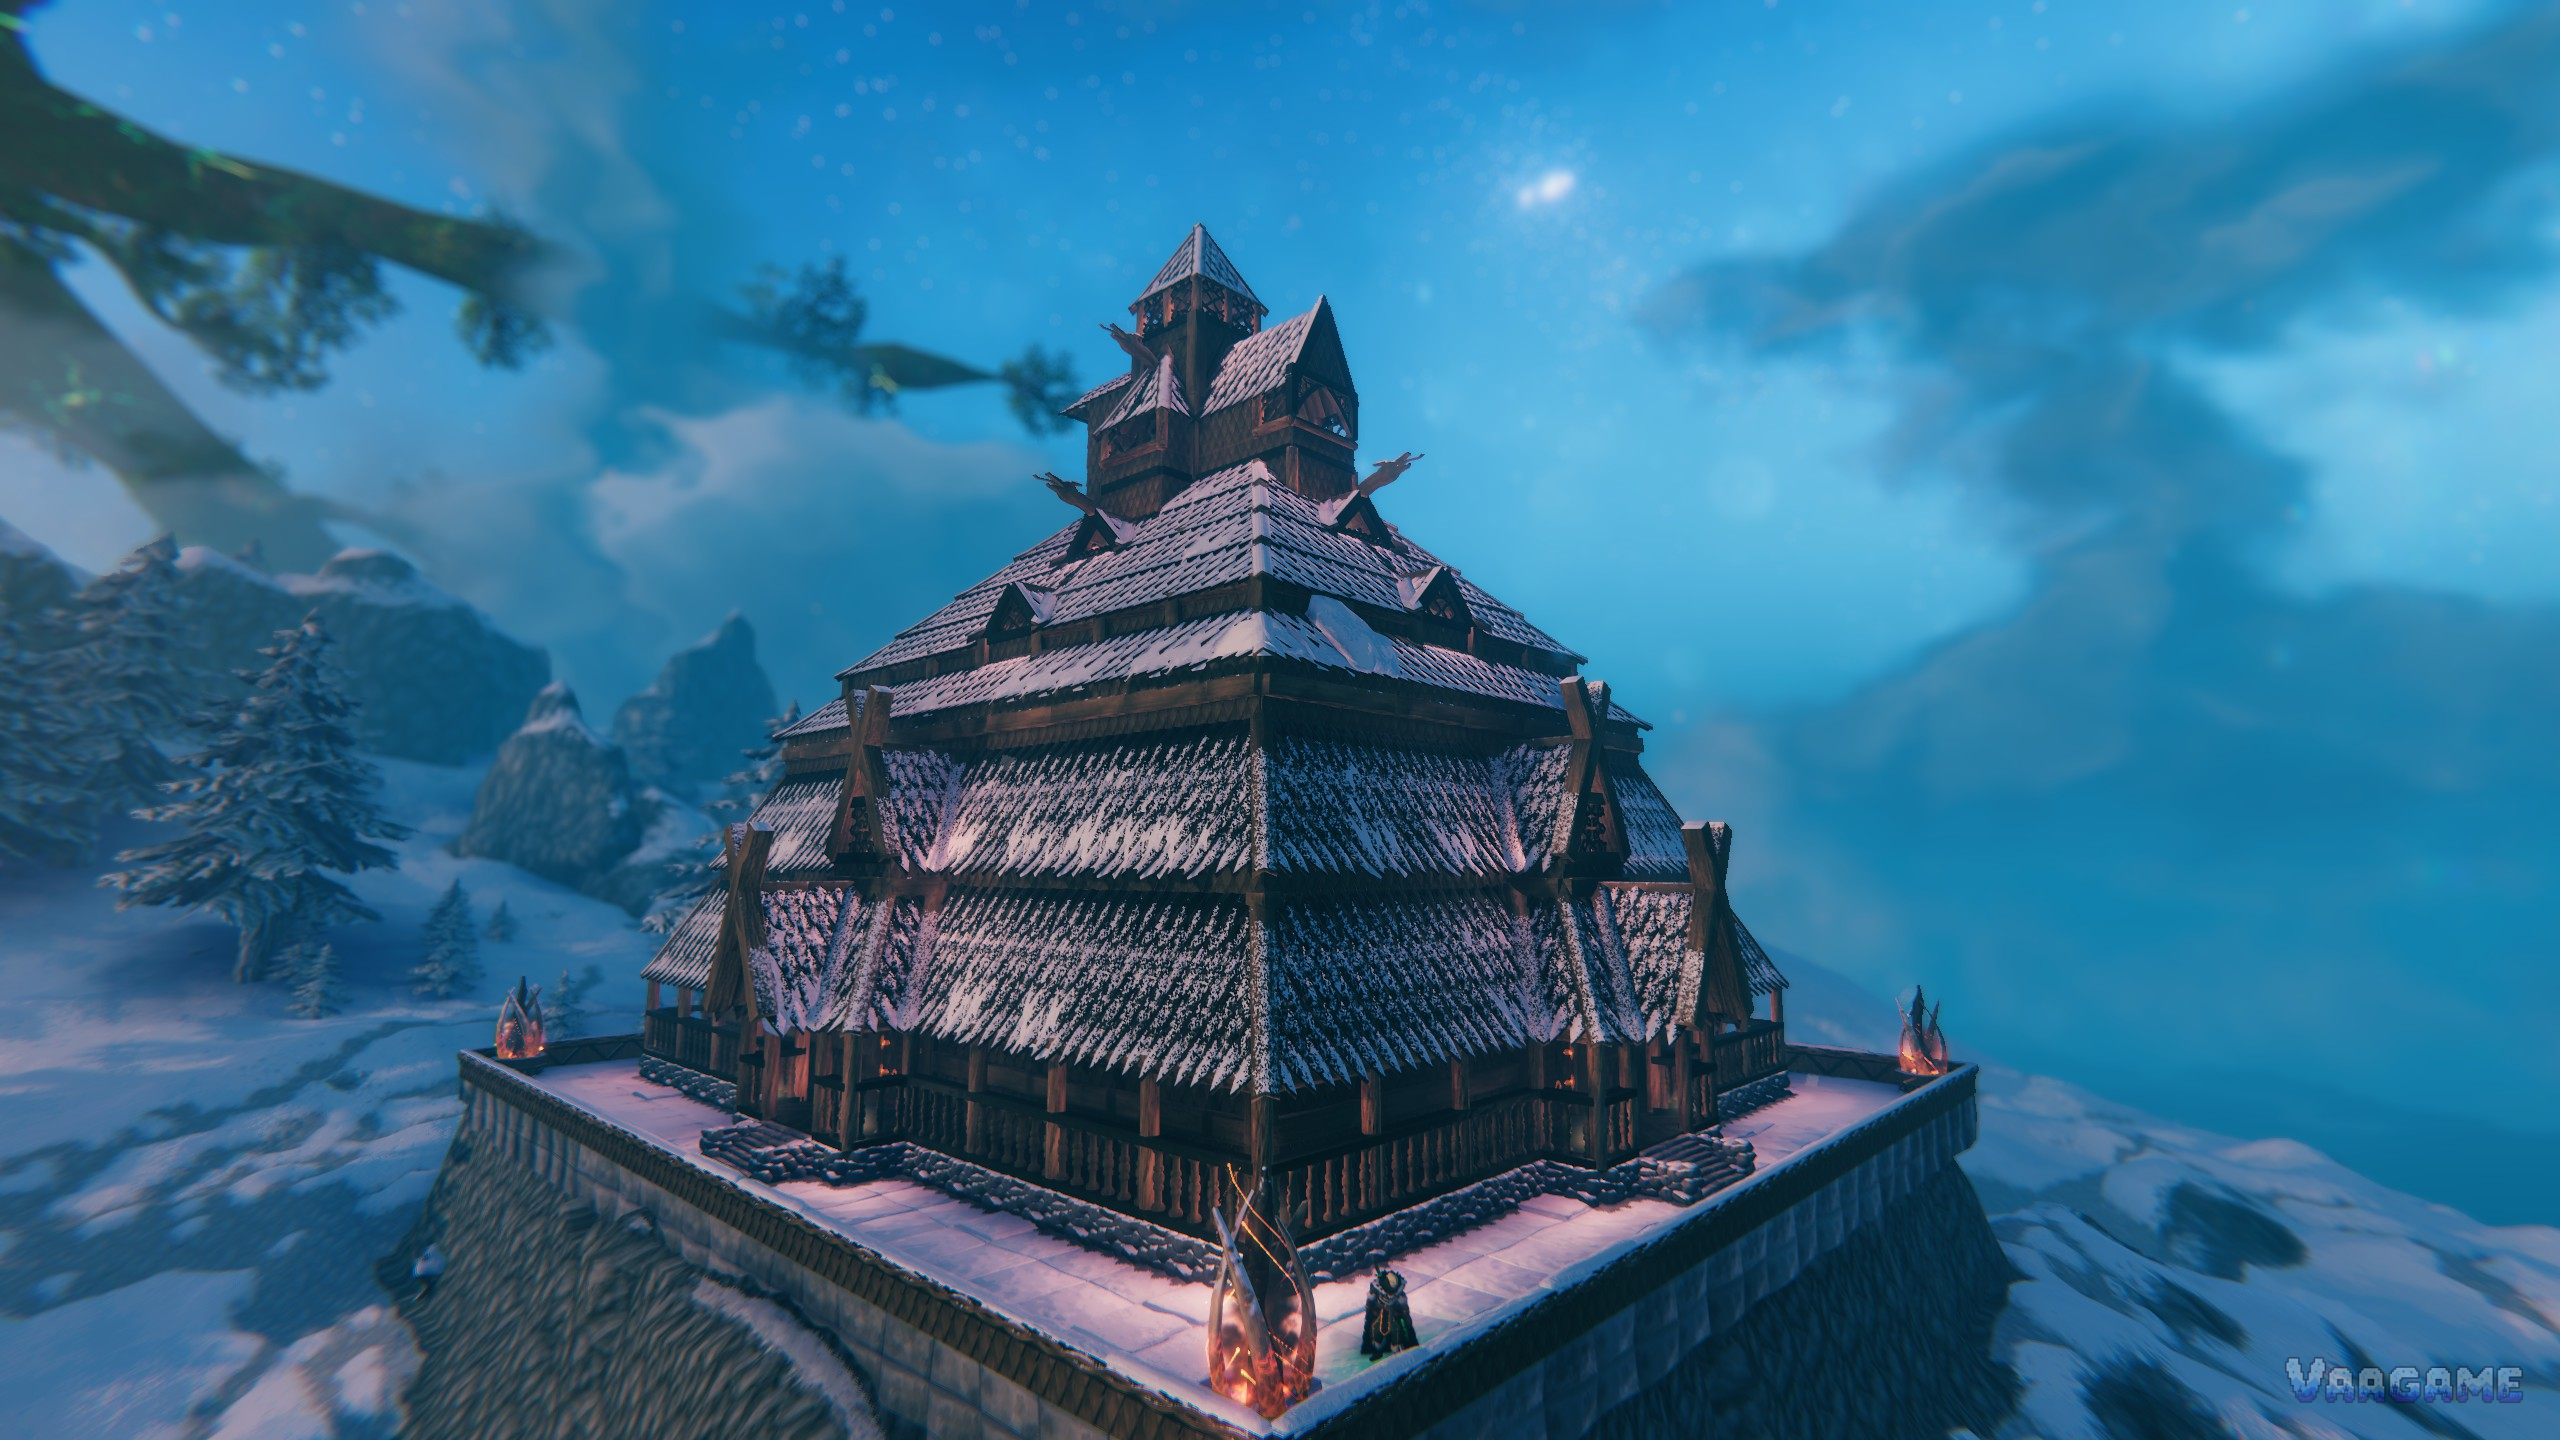
A good Valheim base is not the prettiest base. It is the one in the right place, with a moat or wall that actually stops a troll, and a layout you can repair in minutes after a raid. This guide covers where to build, how to defend, and how to grow a base from a hut into a fortress.
Where to Build: The Five Tests
Flat ground: a hoe levels ground, but starting flat saves hours of digging.
Water nearby: a coast or river gives flint early, a port later, and a natural moat edge.
Trees and biome edges close: Meadows near a Black Forest edge covers early and mid-game materials.
Room to grow: your first hut becomes a hall, a farm, a forge, and a portal hub. Leave space.
Defensible shape: a peninsula, a rise, or an island halves the directions enemies can approach from.
The classic beginner mistake is building deep in the Black Forest for the view, then discovering that trolls, greydwarves, and skeletons all live next door. Build in the Meadows first, near the forest edge, and put forward outposts in harder biomes later: a small portal hut with a bed and a chest is worth more than a second castle.
How Raids Work
Raid events are announced with a horn and an on-screen message, and the pool gets nastier as you progress: boars and greydwarves early, skeletons and trolls in the mid-game, fulings and worse later. Community documentation describes the trigger as three base structures, such as a workbench, a campfire, and a bed, within about 40 meters of each other, and community guides report raid checks roughly every 46 minutes with about a 20 percent chance each time. Treat those numbers as community-reported, not official, and build as if a raid can come tonight.
Workbench coverage also stops ordinary spawns: a workbench suppresses enemy spawns within about 20 meters, so overlapping workbench circles across your base keeps the inside quiet. That is why big bases place spare workbenches in sheds around the perimeter. Raiders still arrive during events, but nothing should be spawning inside your walls between raids.
Defense That Actually Works
The cheapest endgame defense in Valheim is a moat dug with the hoe: no iron, no stone, just labor. Ground attackers, trolls included, stop at the waterline, and a moat never needs repairs the way stake lines do. Dig it wide and deep, leave one bridged entrance, and your defense problem becomes a single chokepoint you can watch while you cook.
Sharpened stakes: cheap wood, no workbench needed, and they damage anything that walks into them. Good early, but they need repairs.
Raised earth: the hoe's raise option builds a berm that ground enemies cannot climb easily. Pair it with a moat.
Stone walls: trolls smash wood but bounce off stone, so even a modest stone ring turns a siege into target practice. Stone needs an iron pickaxe path first.
One entrance: every extra gate is another place to defend. Build one bridge, and remove its floor pieces when you leave for a long trip.
Covered livestock and farms: if raiders cannot see your animals, they usually will not target them. Roof your barns.
Inside the Walls: A Layout That Scales
Put the workbench, forge, and smelters in one crafting wing near storage, the cauldron and fermenter in a kitchen wing near the fire, and beds in a quiet wing away from the forge noise of your own imagination. Keep boss food and meads in one labeled chest, keep a portal hub room with one portal per destination, and keep a spare set of gear in a chest by the bed for corpse runs. Label chests early: a base you cannot navigate is a base you will abandon.
After the Horn: The Repair Loop
Winning a raid is half the job. Walk the perimeter after every event, repair wood at the workbench for free, replace broken stakes, and refill the moat-side chokepoint. A base that is repaired tonight survives tomorrow's raid; a base left half-broken invites the next raid to finish the job. And remember the long view: Iron Gate has said 1.0 brings no promised major expansions after the Deep North finale, so build for the game you have, not for content that has not been announced.