

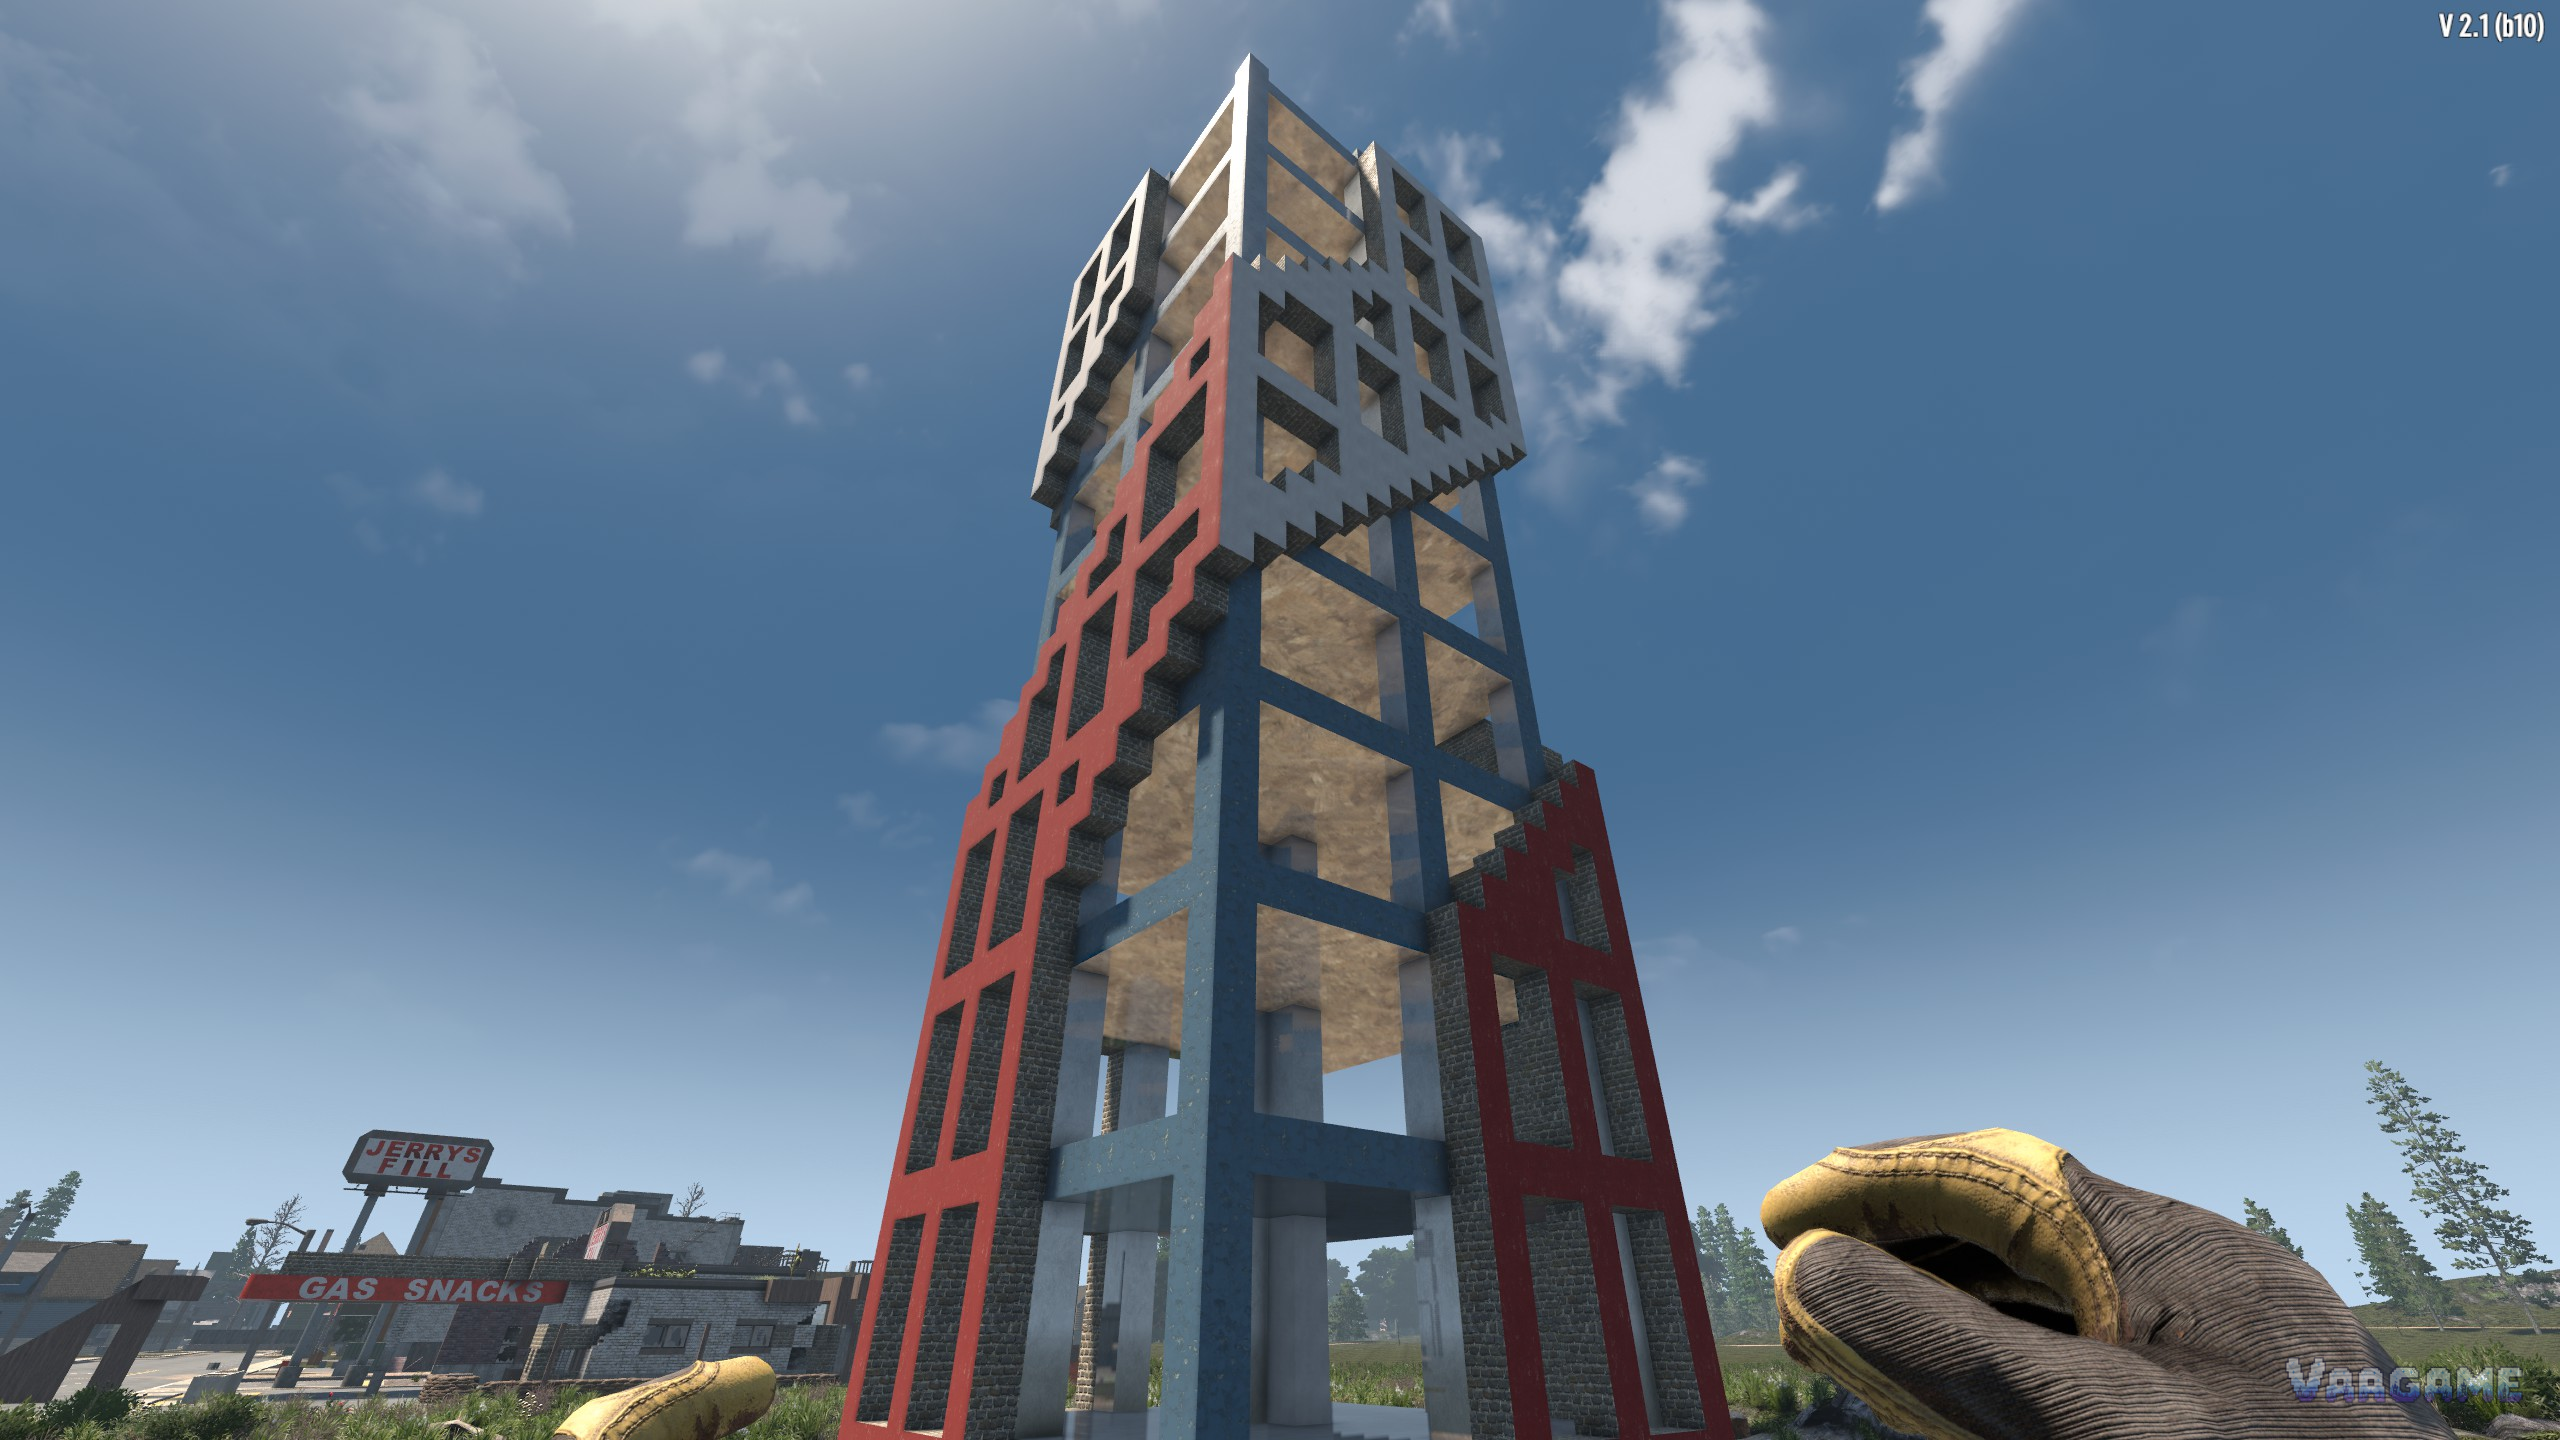
Base building in 7 Days to Die is not decoration, it is the other half of combat. Zombies do not attack your base at random: they path toward you, choose the weakest route, dig when no route exists, and punish every thin wall, unsupported roof, and forgotten side entrance. This guide starts with that pathing, because a base designed around it survives blood moons, while a base designed around looks does not, and then gives you layouts, materials, traps, and electricity in the order you actually need them.
How zombies path, and why it decides everything
Zombies path toward the player, not toward the base as an abstract target, and they take the path of least resistance, meaning the route through the lowest-health blocks. If you give them a clear, funnelled route to your fighting position, most of them will take it, and you can fight them where you are strongest. If you give them no route, they will dig or smash through whatever is nearest, which is how underground bases get excavated and sealed rooms get opened from below.
That single rule explains most base design. Hatch doors are treated as weak points zombies will target, ladders can be climbed but zombies prefer ramps, and a single obvious funnel with strong walls on either side is safer than a maze with many thin walls, because the maze gives the horde many weak routes to choose from. Demolishers, the explosive late-game threat, are the exception that punishes careless funnel design: never use shotguns against them, since pellets can trigger their chest explosion, and use precise headshots or sacrificial outer walls they will target first.
Structural stability matters alongside pathing. Blocks need support, and a large roof or tower on thin pillars will collapse under its own weight or under horde damage, sometimes with your storage inside it. Build on solid supports, upgrade the pillars and load-bearing walls first, and test a design on a small scale before committing your main storage to it. A collapsed base is not bad luck, it is usually a support decision made weeks earlier.
Zombies path to you along the lowest-health route
A clear funnel is safer than a maze of thin walls
Supports fail quietly: upgrade pillars and load-bearing walls first
Choosing a base site
Choose a site near a trader, near a road, on flat ground, with water and wood nearby, and with a building or terrain feature you can anchor to. Trader distance dominates the early game, road access dominates vehicle progress, and flat ground dominates building cost, because every slope you fight is material and time you do not spend on walls. A site that looks dramatic on a hilltop but forces you to haul everything uphill is a site that taxes every future upgrade.
Check the site the way a horde will check it. Walk every approach route, look for the weak side, the low wall, the unguarded water approach, and the neighbouring building zombies can climb to reach your roof. Check the supports of any building you take over, and check whether it is a quest target that could reset. A site with one obvious weak side you can reinforce is better than a site with three weak sides you will discover one blood moon at a time.
Separate your home base from your horde base as soon as you can. The home base holds storage, crafting stations, and farming, and should be quiet, organised, and hard to lose. The horde base holds your fighting position, traps, and repair stock, and should be compact, replaceable, and designed to be damaged. Players who fight every blood moon inside their home base eventually lose a crafting station, a farm, or a full chest to a single bad night, and that loss hurts more than any single horde fight.
Your first horde base: the stilt box and its upgrades
The simplest reliable first horde base is a stilt box: an elevated platform on sturdy pillars, reached by a single ramp or stair, with a fighting position at the top and spikes on the approach. Zombies path up the ramp instead of breaking the pillars, you fight them through a single choke point, and if you are overwhelmed you can break or block the ramp and reassess. Build it from cobblestone as soon as you can, because wood alone is a first-night material, not a horde-night material, and upgrade the pillars before you decorate anything.
Upgrade the stilt box in a fixed order: pillars and platform first, then the fighting position walls, then spikes and barbed wire on the approach, then a second exit, such as a ladder or a drop route, for the night something goes wrong. A second exit is not cowardice, it is the difference between a damaged base and a dead character, and every experienced base builder in this game has a story about the night the second exit saved a playthrough.
Do not build your first horde base directly above your main storage, and do not store your only copy of rare magazines or materials in a structure designed to be attacked. Horde bases are meant to take damage. If your most valuable chest is inside the damage zone, you have not built a horde base, you have built a loot delivery system for the horde.
Materials: what to build with, and when
Wood is for frames, scaffolding, and first-night shelter. Cobblestone is the first real horde material, with substantially more durability than wood, and it is the material your first stilt box should graduate to. Concrete and reinforced concrete are the mid-to-late materials for permanent walls and pillars, and steel is the late material for the parts of a base that must survive the heaviest nights. Building everything from your best material on day one is wasteful: build the funnel and pillars from the best material you can afford, and let cosmetic walls wait.
Upgrade in layers, not in patches. A wall that is half cobblestone and half wood fails at the wood, so finish one complete defensive layer before starting a second decorative layer. The same logic applies to pillars: one fully upgraded pillar holds more than four half-upgraded pillars, because the horde only needs the weakest support to start a collapse.
Wood: frames and first-night shelter only
Cobblestone: the first real horde material
Concrete, reinforced concrete, then steel for permanent and late parts
Traps, electricity, and turrets
Traps are force multipliers, not replacements for walls. Wooden spikes are cheap, easy to mass-produce, and effective against almost every early enemy, and they belong on the approach route, not scattered randomly around the map. Barbed wire slows the pack before the spikes, giving you more shots per approach. Blade traps and dart traps are mid-game additions that need power and maintenance, and they should guard a funnel you already control, not a funnel you hope they will control for you.
Electricity follows the same rule: electric fences slow and damage zombies at low height, and they are among the most efficient horde-night investments, but they need a generator, wiring, and fuel, and a fence with no power is decoration. Automated turrets and automatic doors are late-game force multipliers that reward a base with stable power and a clear funnel, and punish a base where turrets fire at zombies through walls you have not yet built. Build the funnel first, then electrify it, then automate it, in that order.
Keep repair in the trap plan. Every trap that damages zombies also takes damage, and a trap field you cannot reach safely during a horde night is a trap field you cannot maintain. Leave a safe repair route to your own traps, stock repair materials at the fighting position, and accept that some traps are consumables: their job is to die slowly while you shoot, not to survive the night untouched.
Mid-game layouts: corridors, pits, and towers
Mid-game horde bases graduate from a single platform to a designed corridor: a long, walled approach with a shooting position at the end, a drop or gap zombies must cross, and side walls that prevent flanking. Corridor bases are stronger than open platforms because they control where every zombie stands when you shoot it, and they let you use blade traps, electric fences, and turrets in sequence rather than all at once. The cost is material and planning: a corridor that is too long wastes resources, and a corridor with a second entrance you forgot is a corridor with a back door for the horde.
Pit bases and tower bases are the other two mid-game families. A pit base drops zombies into a hole you control, which is powerful but expensive to dig and dangerous if you fall in during a fight. A tower base gives height and vision, which is powerful for rifles and turrets, but demands excellent supports and a fallback route, because a tower with one ladder is a trap when the ladder side is attacked. Choose the family that fits your weapons: corridor for shotguns and melee, pit for traps, tower for rifles and turrets.
Fallback plans and post-horde repair
Every base needs a fallback plan written before the blood moon, not invented during it. If the funnel falls, where do you run? If the platform collapses, where is your second bedroll? If you die, what do you lose, and what is stored safely elsewhere? A fallback plan that exists only in your head under stress is not a plan, so walk it once in daylight, place the second bedroll, and stock a small emergency cache away from the main fighting position.
After every horde night, repair before you loot. Count broken spikes, damaged walls, and spent traps, restock from your fighting-position cache, and upgrade the exact wall the horde chose, not the wall you wish it had chosen. The second blood moon is a test of what you learned from the first, and the players who improve one funnel per week end up with a fortress, while the players who rebuild from scratch every week end up with a construction site.