

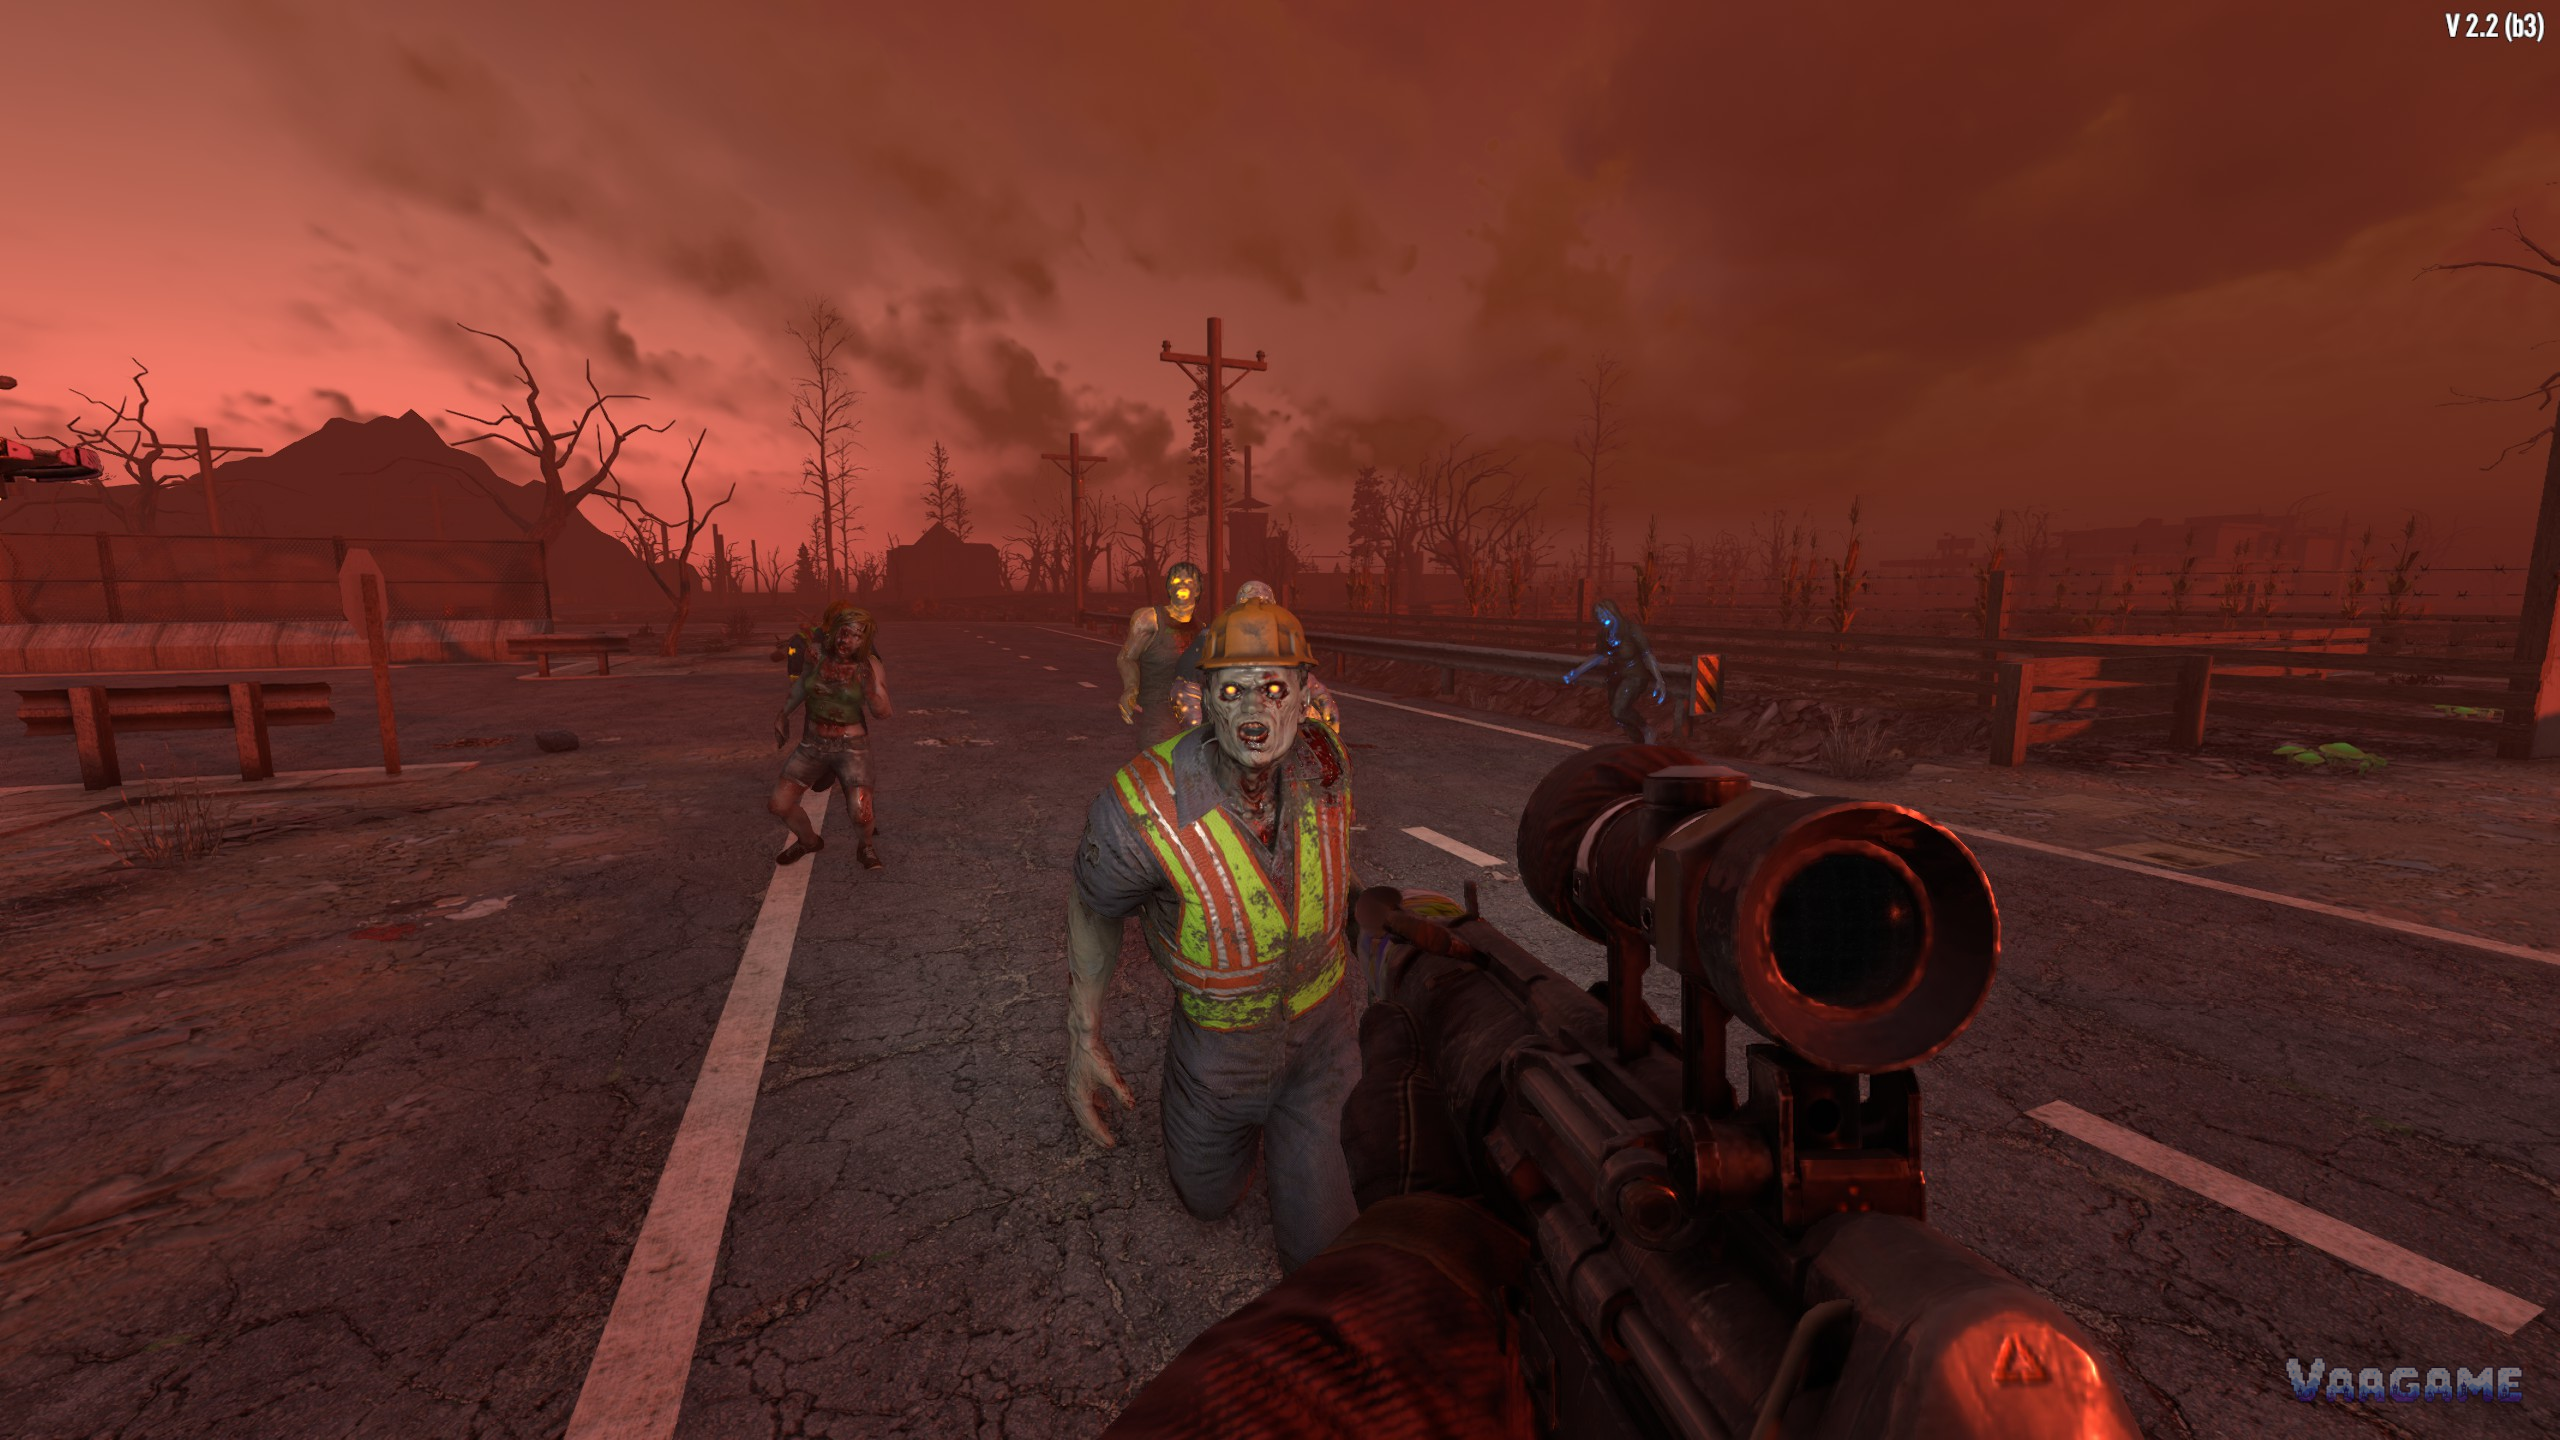
Every seventh night in 7 Days to Die, the sky turns red and the zombies come for you by name. This is the blood moon, the horde night, and it is the closest thing the game has to a boss fight: there is no single boss monster, only a night-long siege that tests your base, your ammo, and your nerve. This guide covers when the horde comes, how to build a base that funnels it instead of merely enduring it, and what to do when the plan breaks at 2 a.m.
When the horde comes and how it behaves
Horde night falls every seventh night, commonly described as running from 22:00 to 04:00, with the sky turning red as the warning. During the horde, zombies know where you are, they sprint, and they pathfind, dig, and smash blocks to reach you. Waves escalate through the night, and the horde ends at dawn. The single most important consequence is that hiding does not work: if you are inside a building, the horde will tear the building down to get to you. You survive horde night by fighting from a position you designed, not by hoping the zombies lose interest.
Your gamestage, a hidden measure of how far your character has progressed, shapes how many zombies come and how tough they are, which is why horde nights get harder even when your base has not changed. Treat every horde night as a gear check: if the last one felt easy, the next one will ask for more damage, more traps, or a better funnel. If the last one nearly broke your base, do not spend the next six days looting; spend them upgrading the exact wall that nearly fell.
Separate your horde base from your home base
The most valuable horde-night decision is made before you place a single block: do not fight the horde inside your crafting and storage base. If the horde breaks through, you lose workstations, stored loot, and your spawn point in one night. Build a dedicated horde base a short walk or ride away, keep it simple, and keep your valuables somewhere the horde never visits. Early on, a small elevated fighting platform with a single approach path beats a grand castle with five weak walls, because the horde will always find the weakest wall.
The funnel is the whole idea. Zombies pathfind toward you along the easiest route, so give them one route that is long, trapped, and exposed to your fire, and make every other route expensive: reinforced walls, deep pits, or sheer drops. A classic working layout is a raised shooting position behind iron bars, a single ramp or corridor of blade traps, electric fences, and spike traps below, and redundant support pillars so that losing one pillar does not collapse your floor. Test the funnel on a normal night by watching how ordinary zombies approach; if they ignore your corridor and chew a side wall, fix that wall before day seven.
Materials and traps in priority order
Upgrade in the order wood, cobblestone, concrete, and then forged steel for the parts that actually take hits: supports, the funnel walls, and your shooting platform. Upgrading everything at once is a trap; upgrading the three blocks the zombies chew first is the whole job. Blade traps shred groups in a corridor, electric fences slow and damage anything crossing them, spike traps punish the ground approach, and barbed wire buys you seconds. Traps need power and repair, so place a generator and spare parts where you can reach them without leaving your firing position.
First upgrade: supports and the funnel entrance, then the shooting platform floor.
First traps: spikes on the approach, then a blade trap in the corridor, then electric fences.
First consumables: bandages, splints, and stamina food, packed before 20:00.
Never forget: a repair tool and spare blocks, because horde night is a repair job with shooting.
Ammo, stamina, and the night itself
Save your best ammunition for horde night and fight the rest of the week with melee and cheaper rounds where you can. Community guides often suggest a few hundred rounds per player for an early horde and more later, but treat that as a rough planning figure, not a requirement: your real need depends on your weapon, your traps, and how good your funnel is. What matters is arriving with full magazines, a melee backup for when you must reload, and enough food and drink that stamina never becomes the reason you stop shooting. Coffee and stamina-boosting consumables are worth more than one more gun you cannot feed.
During the night, kill screamers fast. Screamers are the zombies that call in extra waves when they scream, and a single screamer left alive behind your line can turn a controlled fight into a flood. Aim for the head, keep your distance from the funnel mouth, and do not chase loot mid-horde: bodies and bags will still be there at dawn, but a player who drops off the platform to grab a bag at 01:00 often does not make it back up. When the sky lightens and the flow stops, clear the stragglers, repair immediately, and loot before the next day's work begins.
When the base breaks: escape and recovery
Every horde base needs an escape that is not the funnel. A rear hatch, a drop into a tunnel, or a ladder to a roof you can cross from gives you a second chance when a wall fails. If the fight is lost, do not die defending an empty platform: retreat, survive until dawn, and rebuild from your home base stockpile. A death during horde night costs you time and gear, but a death followed by respawning into the middle of the horde costs you the night. Keep a spare bedroll at your home base, a spare weapon there, and enough basic materials to re-establish a fighting position before the next seventh night.
A six-day checklist between hordes
Day 1 after horde: repair everything, restock traps, and note which wall took the most damage.
Days 2 to 4: gather upgrade materials and ammunition, and run trader quests for Dukes.
Day 5: upgrade the weakest wall and test the funnel on a normal night.
Day 6: pack consumables, fuel the generator, and sleep early so night seven starts organized.