

7 Days to Die has no boss monsters, no health bars over a final villain, and no boss loot table to farm. What it has instead is a ladder of enemies that punish every bad habit: feral zombies that never walk, radiated zombies that heal while you reload, demolishers that turn your own base into a bomb, and zombie animals that ambush you in the open. This guide ranks the threats that actually end runs and gives a tactic for each one, without inventing hit points or damage numbers the game does not publish.
Read the glow: how to tell what you are facing
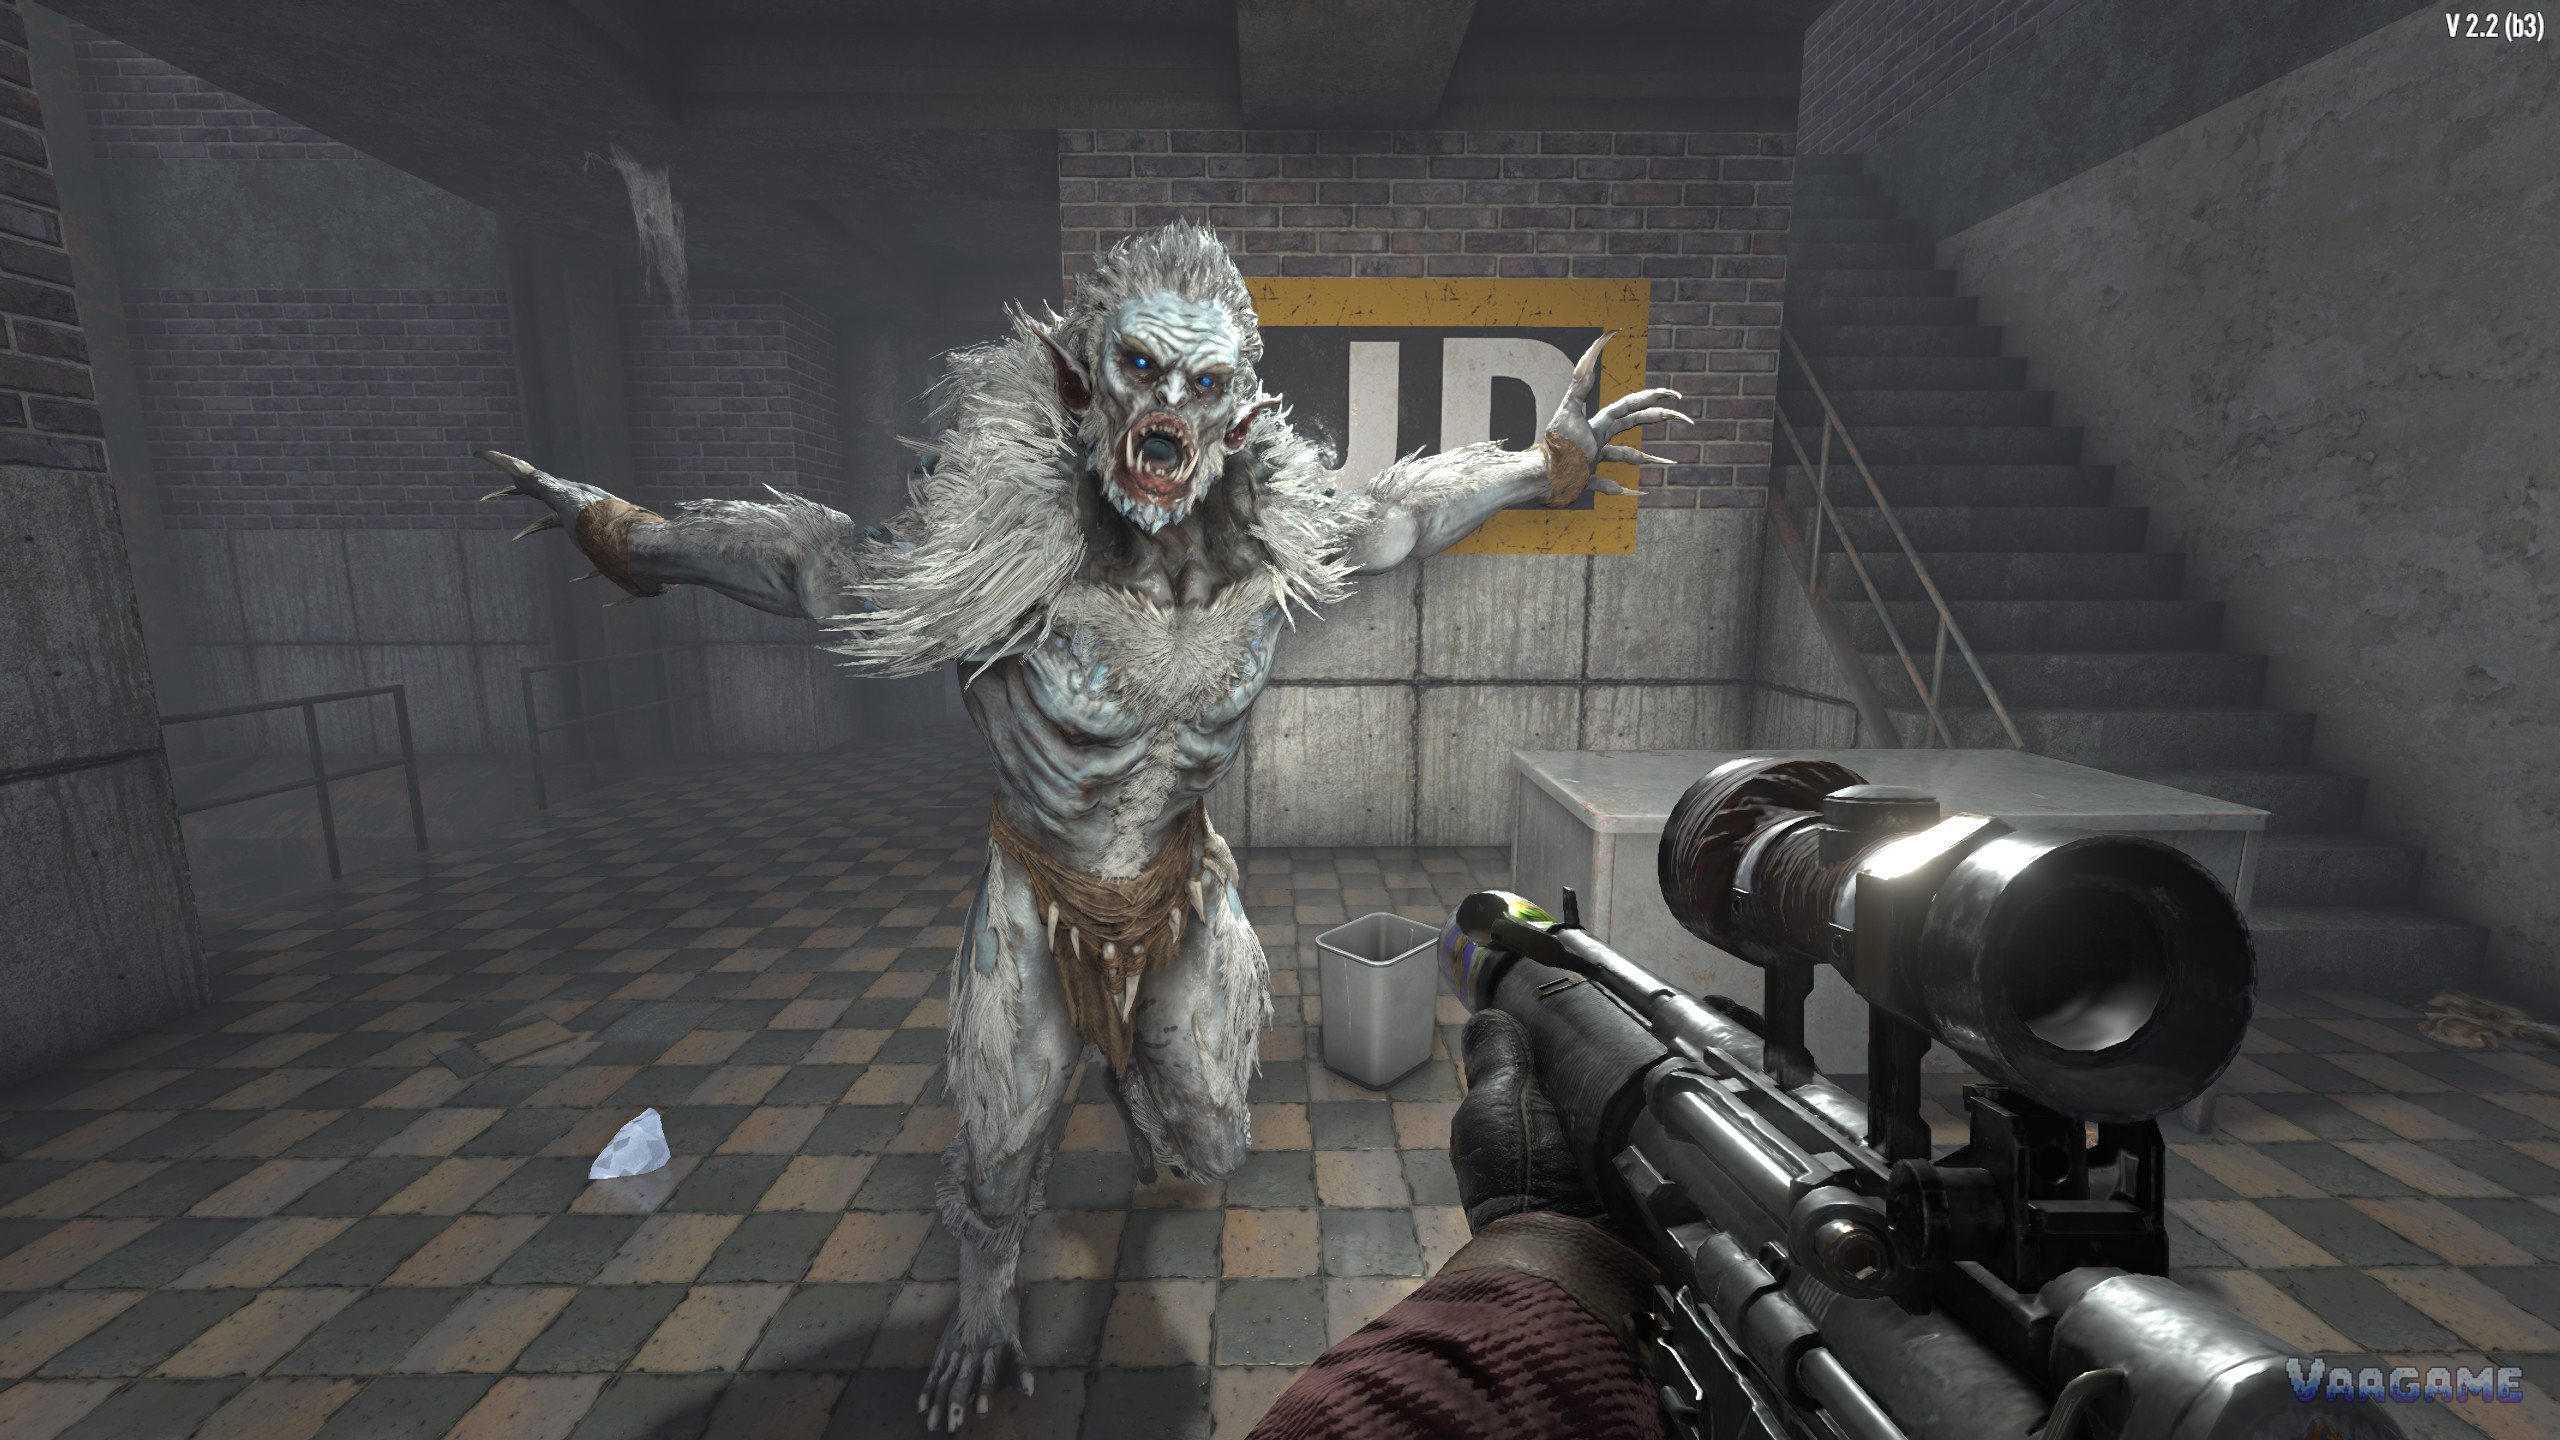
Two visual tells matter more than any stat table. Feral zombies have glowing orange eyes and sprint at all hours, day or night, while ordinary zombies only sprint at night or when enraged. Radiated zombies glow green and regenerate health, so a fight you pause is a fight you are losing. If you see green, your priority is sustained damage and not giving the zombie time to recover; if you see orange eyes in daylight, your priority is distance, because you cannot outwalk something that is already sprinting.
Feral zombies and the feral wight
Feral zombies are faster, tougher versions of ordinary zombies that always run. They appear as your gamestage rises and they show up in cities, in blood moon hordes, and wherever the game wants to end a careless looting run. The tactic is unglamorous: never fight a feral in a dead-end room, never let it close the gap while you reload, and use doorways, stairs, and fences to force it to approach you from one direction. Headshots end the fight sooner than body shots, and a feral that reaches melee range will trade damage with you in a way you will lose if you are already hurt.
The feral wight is the extreme end of this family: a tall, pale, always-feral zombie with long reach and heavy melee damage, found in cities, caves, and late horde waves. Treat a wight like a small boss without a boss label. Do not trade blows with it. Keep it at range, use the strongest weapon you have, and retreat through a doorway you have already cleared rather than backing into an uncleared room. If two wights arrive together, leave the building; no loot room is worth a fight against two of them at once.
Radiated zombies: damage that does not stick
Radiated zombies regenerate health, which changes the fight from burst damage to sustained pressure. A single shotgun blast followed by a slow reload is a gift to a radiated zombie, because it heals in the gap. Automatic weapons, damage-over-time effects, and the Rad Remover weapon mod, which community sources repeatedly recommend to stop regeneration, are the answers players reach for. Whatever your weapon, the rule is the same: once you commit to a radiated zombie, finish it. Breaking off to loot while a radiated zombie is still standing nearby is how a cleared room becomes a second fight.
The demolisher: the enemy that punishes your base
The demolisher is a hulking zombie with explosives strapped to its chest, and it is the most dangerous enemy for base builders rather than for looters. It deals very heavy damage to blocks, and shooting its chest charge sets off a rapid-beeping explosion that damages your base, you, and nearby zombies alike. The standard advice is therefore the opposite of instinct: aim for the head only, and avoid explosives and shotguns that might strike the chest trigger. Some players deliberately detonate a demolisher from far away when it is away from their walls, turning the bomb into area damage against the horde, but that is a calculated play, not a default. Never let a demolisher reach your funnel walls intact, and never panic-fire into its chest at point-blank range.
No reliable hit-point figure for the demolisher is used in this guide, because community sources disagree wildly, with figures ranging from around one thousand to several thousand. What matters in practice is not the number but the behavior: the demolisher is a priority target the moment you spot it, it must die by headshots before it reaches your walls, and your horde base should have a sacrificial outer layer that can absorb one mistake without collapsing the fighting platform.
Cops, spiders, crawlers, and screamers
The infected police officer, often called the cop or bloater, spits acid at range and can explode, which makes it dangerous in groups and miserable in corridors. Keep moving laterally so the acid misses, kill it before it closes, and never stand in a doorway while one is winding up. The spider zombie climbs walls and leaps long distances, so an overhang alone will not save you; check above you in tall rooms. The crawler stays low, is hard to hit, and ambushes through gaps that look too small to matter, so sweep low rooms with a melee swing before you loot. The screamer is a different kind of threat: kill it before it screams, because its scream calls in a fresh wave scaled to your gamestage.
Zombie animals: the open-ground threat
Zombie dogs are fast and attack quickly, zombie bears hit enormously hard, and the dire wolf is described by players as one of the strongest enemies in open ground, very fast and very damaging. The shared counter is distance and terrain: animals are most dangerous when they catch you in the open, so fight them from a vehicle, a rooftop, or a fenced position, and never try to outrun a dire wolf on foot across flat ground. Zombie eagles attack from the air, so a roof without cover is not cover. Mountain lions, hogs, and coyotes fill out the same warning: in the wild, assume something faster than you is nearby, and keep a weapon ready rather than a tool.
A priority list for any fight
First: screamers, before they can call a wave.
Second: demolishers, by headshots, before they reach your walls.
Third: radiated zombies, with sustained fire, before they recover.
Fourth: ferals and wights, at range, one at a time.
Always: keep an exit behind you, because the toughest enemy is the one behind the one you are fighting.