

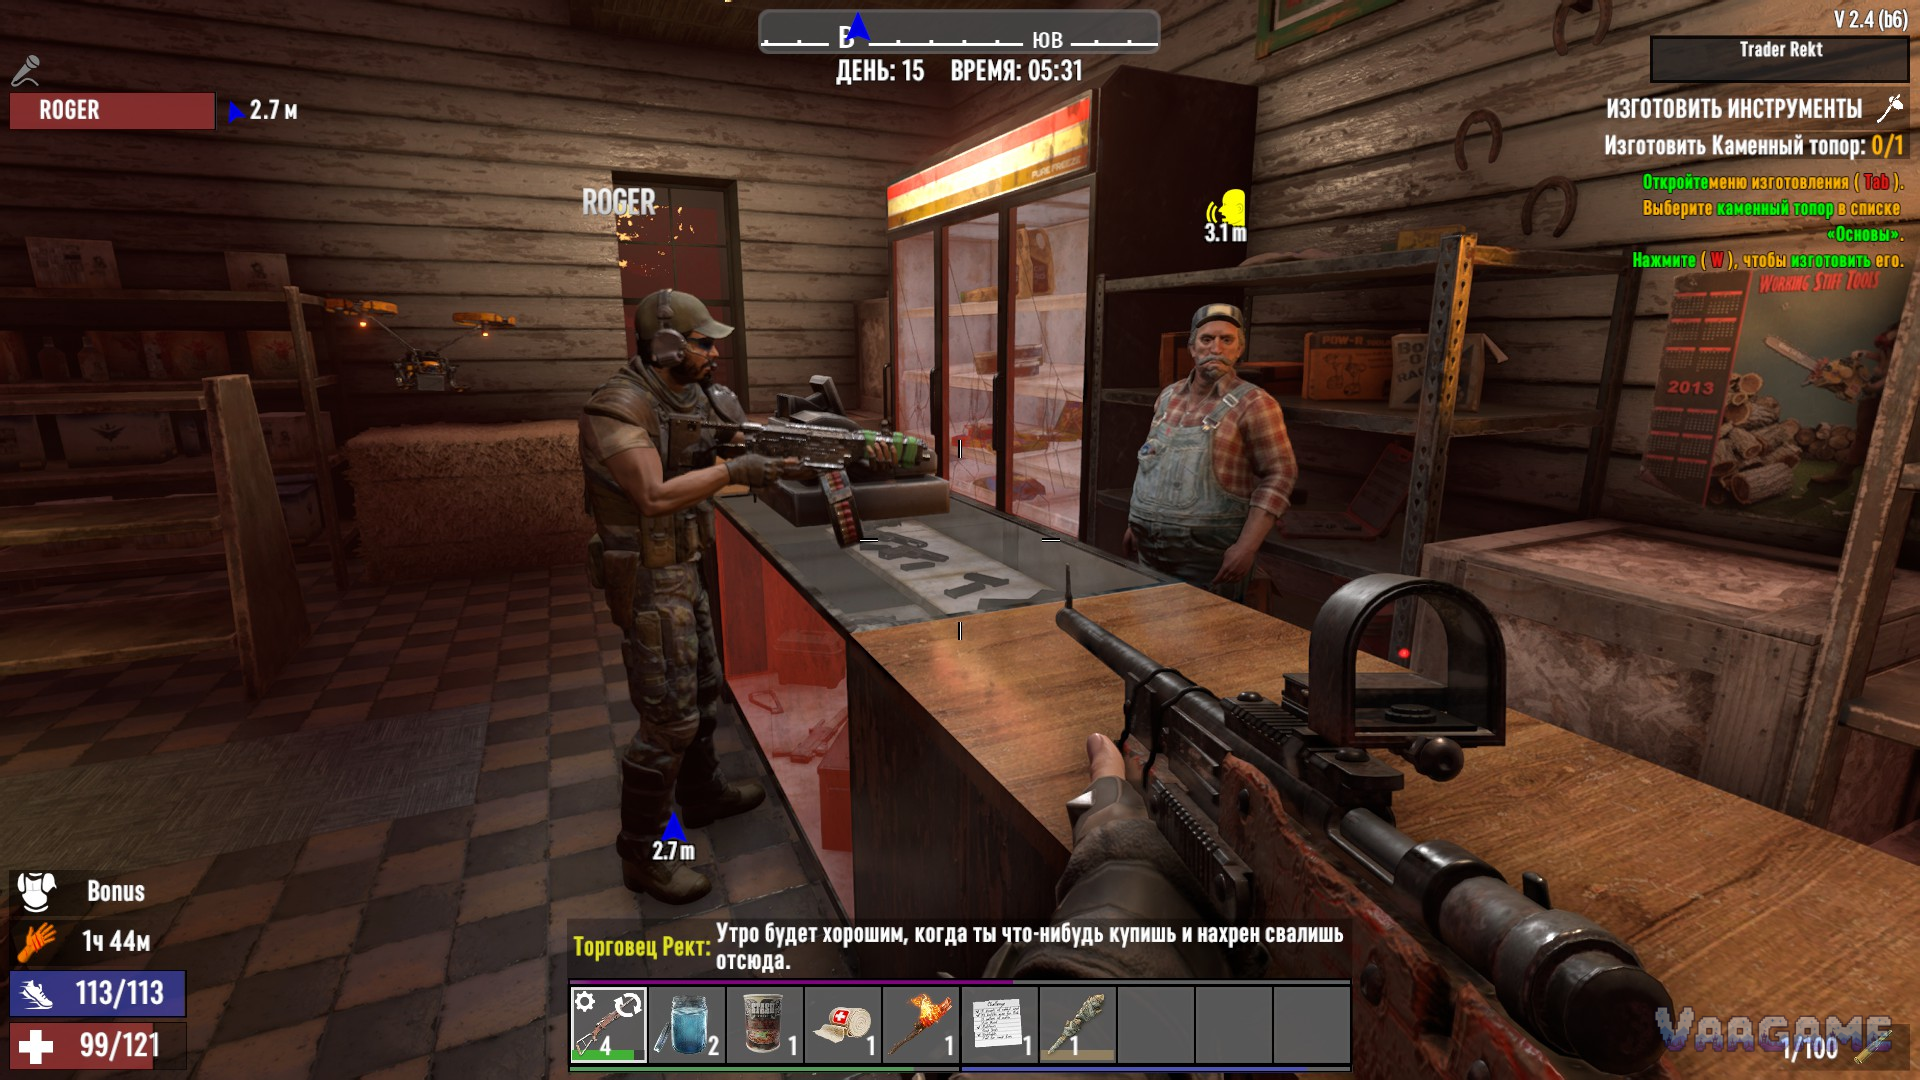
Trader quests are the closest thing 7 Days to Die has to a main story, and they are also the fastest way to turn early-game scraping into a geared, mobile survivor. There are no formal bosses in this game, so progression is measured in trader tiers, better loot, and the biomes you can survive, not in a final boss fight. This walkthrough explains how the quest system works, how to climb tiers without wasting days on travel, and how to open the trade route to every trader on the map.
How trader quests work
Every trader offers jobs from a board or dialogue menu. The standard job types are Fetch, Clear, Fetch and Clear, Buried Supplies, Infestation, Restore Power, and the special Opening Trade Routes job. A Fetch job asks you to bring back a marked supply cache, a Clear job asks you to kill every zombie inside a marked building, and Fetch and Clear combines both. Buried Supplies sends you to dig up a chest in open ground, Infestation is a harder clear with more and faster zombies, and Restore Power asks you to repair generators and clear the site. Read the job before you accept it: the distance, the building type, and the tier matter far more than the headline reward.
One mechanic changes how you should plan every job. Starting a quest resets the target building, even if you have already looted it, so the building refills with zombies and loot. That is why chaining jobs matters: accept several jobs that point at the same town or the same building, clear them in one trip, and only then ride back to hand them all in. A single long ride for one low-tier job is the most common way new players waste their first two weeks.
Tier progression: the decision that shapes your game
Completing jobs earns tier points, and higher-tier jobs are worth more points than lower-tier ones. Once you have earned enough points at your current tier, the trader offers the next tier up. In the 1.0-era system that later versions build on, each tier needs ten times its own number in points, so tier 1 needs 10 points, tier 2 needs 20 more, and so on, with higher-tier jobs contributing more per completion. Sandbox options can change tier pacing, quests per day, and trader hours, so treat the exact thresholds as defaults that your world settings may alter rather than as a promise. What does not change is the strategy: always take the highest tier you can clear safely, because low-tier jobs stop moving your progression forward once you outgrow them.
Tier progression is shared across traders, so progress you earn at one trader counts toward your tier everywhere. What is not shared is the trade route: only a specific trader can hand you the Opening Trade Routes job that reveals the next trader. Keep both facts in mind when you choose a home base. A base near one trader is convenient, but a base roughly central to several traders saves far more travel time over a full playthrough than a base tucked beside a single shop.
Take the highest tier you can clear without burning all your ammo and medicine.
Chain jobs in the same town before returning, and loot the reset building fully.
Do not spend Dukes on gear you will replace in one tier; save for vehicles and key recipes.
Keep a quest-ready kit packed: food, water, bandages, lockpicks, and a repair tool.
The five traders and the trade route order
The trade route runs Rekt, then Jen, then Bob, then Hugh, then Joel. Rekt sits in the Pine Forest and leans toward food and seeds. Jen is found in the Burnt Forest and stocks medical supplies. Bob works the Desert with tools and vehicle parts. Hugh is in the Snowy Forest and deals in weapons. Joel, in the Wasteland, is the late-game trader, with sources disagreeing over whether his emphasis is tools or high-end armor and loot, so shop his inventory yourself rather than trusting a single label. Finding a trader early does not lock you out: any trader you discover will trade with you from day one, but only the route job tells you where the next one lives.
Plan the route like a road trip, not a checklist. When Rekt gives you the job to find Jen, treat the trip as a scouting run: mark fuel, water, and safe rooftops along the way, and take a vehicle as soon as you can afford one. Each new trader also means a new biome with tougher zombies and better loot, so do not sprint to Joel while you are still struggling with tier 2 clears. The route rewards steady climbing, and the Wasteland punishes players who arrive undergeared.
A practical route through the tiers
Tier 1 is about learning the loop: small houses, short walks, and quick returns. Take Fetch and Clear jobs first, because they teach you building layouts while paying you twice over, once in quest rewards and once in loot. Tier 2 introduces Infestation jobs and bigger buildings, so start carrying more ammo and a backup melee weapon. By tier 3 you should be clearing with a vehicle nearby, a bedroll placed at a safe distance, and an exit plan for every floor, because larger buildings hide zombies behind false walls and in ceiling spaces.
Tier 4 and tier 5 jobs concentrate in harder biomes and larger towns, which means longer rides and tougher fights even when you accept them from a forest trader. This is the point where many players stall, not because the zombies are impossible, but because they keep accepting jobs one at a time and spending half their play session riding. Fix the route before you blame the difficulty: batch jobs by town, set up a small forward outpost with a bedroll and storage near a distant town, and treat the trader run as a supply run rather than a chore.
Rewards, Dukes, and what to spend them on
Quest rewards come as Dukes, the trader currency, plus a choice of item rewards at higher tiers. Secondary tables list tier rewards rising from roughly 500 Dukes at tier 1 to roughly 8,000 at tier 5, but treat those as approximate figures from community sources, not as verified current-version values, because reward tuning changes between versions. The durable advice is about spending, not about the exact payout. Dukes buy you time: a vehicle early, a crucible or key workstation recipe when you need it, and ammunition in bulk before a horde night. Dukes spent on a weapon one tier above your current one are usually wasted, because quest loot and trader stock both improve as your tier rises.
Mistakes that cost days
Accepting a distant job without checking the biome: a tier 4 job in the Wasteland is a different fight from the same tier in the forest.
Starting a quest while standing inside the target building with your loot scattered: the reset can trap you or bury your gear.
Selling everything for Dukes early, then having nothing to craft with when a quest needs a repair or a lockpick.
Ignoring the trader clock: shops close, and arriving at night with a full inventory and no shelter is a bad plan.