

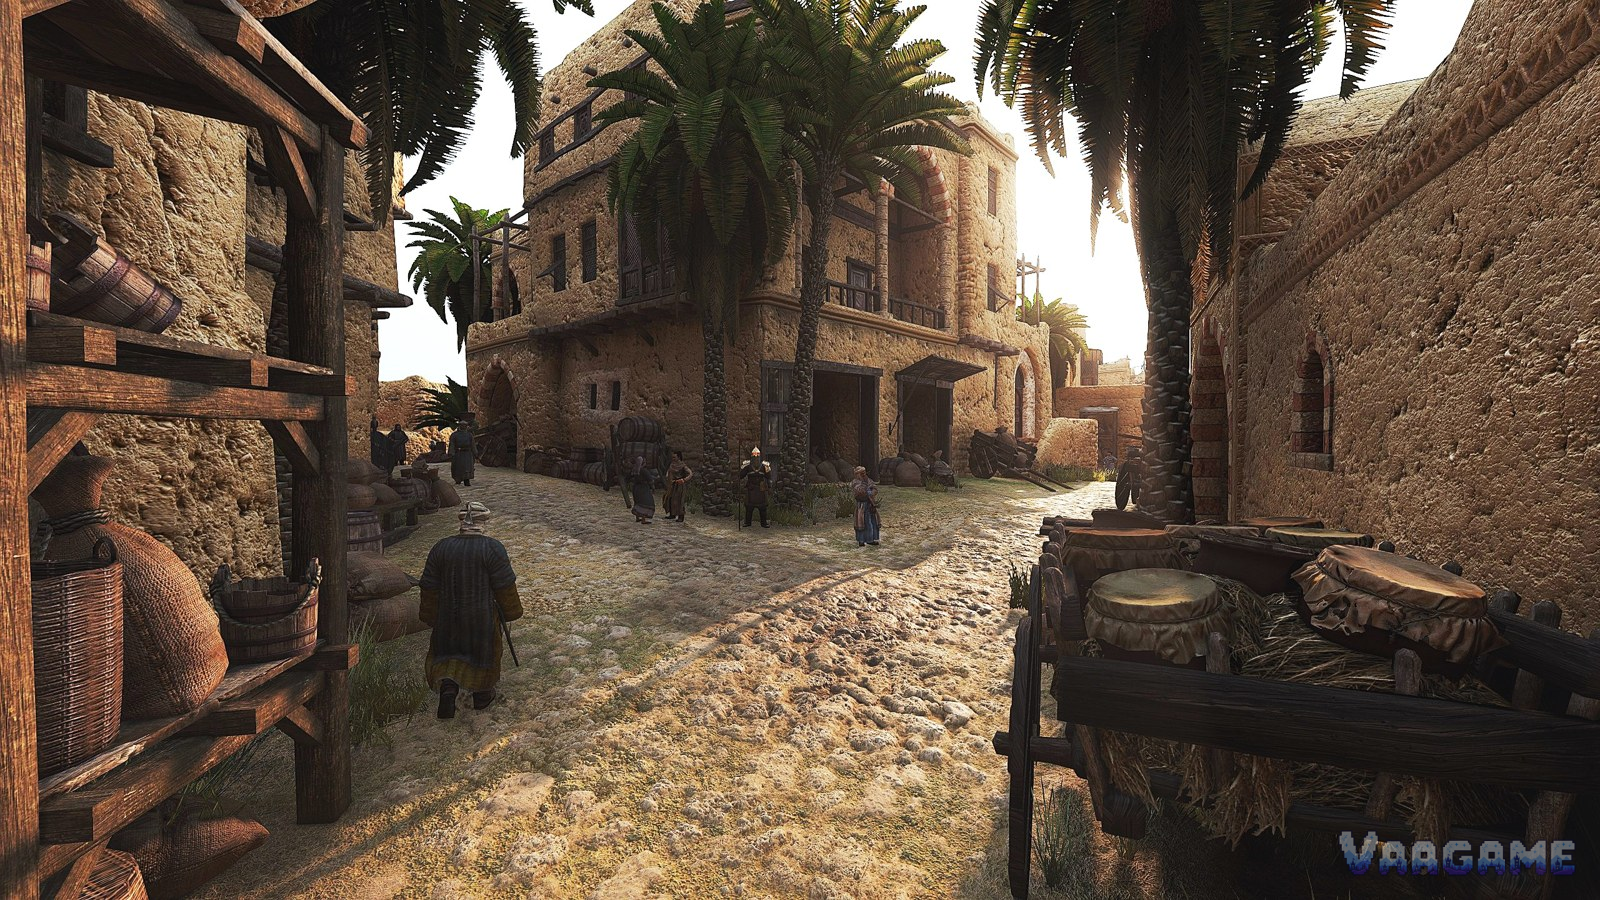
Trading in Bannerlord is not about finding one magic route. It is about reading a living market: villages produce, towns consume, wars close roads, and prices move every time you buy in bulk. Workshops and caravans turn that market into passive income, but both cost a large sum upfront, both are capped by your clan tier, and both can be lost to war. This guide covers all three systems together — how to trade by rumour and by price, the full workshop input-output table, and how to pick a caravan companion — and it states plainly where the numbers stop: daily profits depend on prosperity, input prices and war, so no fixed profit figure is promised for any workshop or caravan.
At a glance
Active income: direct trading, guided by rumours and by the prices you see in town markets
Passive income: workshops in towns and caravans led by companions, both capped by clan tier
Core skill: buy where a good is plentiful and cheap, sell where it is scarce and wanted
No fixed profit figures: prosperity, input prices, war and campaign state move every return
Last verified: October 28, 2026
1. How trading works: rumours, prices and bulk buying
Every town market shows you prices, and those prices are the market talking. Goods are cheap where they are produced in bulk nearby and expensive where they are scarce or in demand, and the gap between two towns is your profit — minus the food, wages and risk of the journey between them. Two habits separate profitable traders from broke ones. First, listen: tavern patrons and travelling caravans carry trade rumours about goods selling far above or below their usual price in a specific town, and while rumours should not be trusted blindly — prices move while you travel — they are the cheapest scouting in the game. Second, watch the price move as you buy: buying up a market stock pushes its price up against you, so the last units you buy cost more than the first, and a deal that looked good for ten units may be a loss at fifty. Check the sell price you will actually get before you commit the whole purse, and never spend so much on goods that you cannot pay the next days of wages — an unpaid party deserts, and desertion costs more than any trade run earns.
The practical loop is unglamorous and repeatable: learn two or three towns and what their bound villages produce, ride a circuit between them, buy the cheap local good, sell it where it is wanted, and note what you paid and what you got. Players who keep even rough notes — bought oil here, sold there, for this much — improve fast, because the market repeats its patterns even as individual prices move. Players who trade on memory alone keep re-learning the same lesson in every campaign. One more discipline: trade goods compete with loot, food and prisoners for the same carrying capacity, so a trade run is also a speed decision. A slow, overloaded party is a target, and no margin survives being robbed on the road.
2. Workshops: the full input-output table
A workshop is bought in a town and turns a raw material into a finished good that sells in that town market. The single most important choice is which workshop to buy where: a workshop earns when its raw material is cheap and plentiful nearby, which usually means the town bound villages produce it. Buying a brewery in a town with no grain villages is buying a shop with nothing cheap to brew. The table below is the complete mapping of raw material to workshop to product, as reported by community guides and consistent with the in-game workshop list.
Swipe horizontally to view all columns.
| Raw material | Workshop | Product |
|---|---|---|
Grain | Brewery | Beer |
Grapes | Wine Press | Wine |
Olives | Olive Press | Oil |
Cotton | Velvet Weavery | Velvet clothing |
Flax | Linen Weavery | Clothing |
Wool | Wool Weavery | Clothing |
Clay | Pottery Shop | Pottery |
Rawhide | Tannery | Leather and light armour |
Hardwood | Wood Workshop | Bows, arrows and shields |
Iron ore and hardwood | Smithy | Weapons, armour and tools |
Silver | Silversmith | Jewellery |
Workshops are bought from their current owners in towns, and you can change a workshop production to a different type for a cost if the first choice stops working — a useful escape hatch when war or a shifting market kills your input supply. Workshops also have an output choice: sell the finished good in the town market for income, or send some or all of it to your warehouse, which community guides report as a way to keep gaining Trade experience from the workshop while it earns less or nothing. The right setting depends on whether you need coins now or Trade skill for later caravans. And the warning that matters most: plan around the faction you intend to join, because a workshop in a town that becomes hostile can be seized. It is replaceable, and players report replacing lost workshops without ruin, but planning ahead saves the money and the time of starting over.
3. Caravans: a companion, a large sum, and patience
A caravan is formed by talking to a town notable, and it needs two things you cannot fake: a companion to lead it, and a large upfront sum for the caravan itself and its guards. The companion choice is the whole decision. Trade skill helps the caravan earn, Scouting helps it move and spot danger, and Roguery helps it flee with fewer losses when it is caught — community guides consistently advise against sending a companion with no Trade skill at all. Equip the companion properly before you send them out: a caravan leader in rags with a dull sword is an invitation, and if the caravan is destroyed you lose the investment and have to find the companion again.
Once running, a caravan is fully automated: it travels between settlements, trades on its own, and reports back through the campaign feed. It also gathers trade rumours as it travels, which is why experienced traders value caravans as scouts as much as earners — a caravan network tells you where the prices are without you riding every road yourself. Form caravans away from your enemies where you can: they prefer friendlier settlements and avoid hostile territory when the profit is not worth the risk, but they can still be attacked, and a caravan in a war zone is a gamble, not a plan. Do not form your first caravan with money you need for wages and food this week; form it with money you can afford to have working, out of sight, for a long time.
4. Workshops or caravans first?
Workshops first if: you want steadier income tied to one town, and you already know which raw material is cheap there
Caravans first if: you have a companion with real Trade skill to spare, and you want rumours and map-wide income
Both, in time: the two systems feed each other — caravan rumours point your own trading, and workshop towns give caravans safe markets
Neither, yet, if: paying for either would leave you without a wage-and-food reserve — go back to tournaments and quests first
FAQ
Can a caravan be lost forever? The caravan itself can be destroyed and the investment lost, but the companion can be found and recruited again. That is why the companion equipment and the starting location matter more than squeezing the last coin of profit from a risky route.
Do workshops keep earning during war? Only if their town stays friendly and their input keeps flowing. War can seize workshops in hostile towns and strangle village supply, which is why faction planning comes before workshop shopping.
Is trading alone enough to fund a kingdom? No — trading, workshops and caravans fund the army, and the army, fiefs and kingdom politics are a separate game on top. Treat trade as the engine, not the destination.
Related guides
Mount & Blade II: Bannerlord Beginner's Guide: Campaign, Clan Tiers, Wages and Your First Hours
Mount & Blade II: Bannerlord Settings and Performance Guide: Battle Size, Presets and Fixes
Bannerlord Early Money Guide: Looters, Tournaments and Your First Party
Bannerlord Combat, Troops and Formations Guide: Win Field Battles Before They Start
Bannerlord Siege Attack and Defense Guide: Engines, Breaches and Holding the Walls
Bannerlord Smithing Guide: Make Money and Craft Weapons That Sell
Bannerlord Family, Companions and Marriage Guide: Build a Clan That Outlives You
Bannerlord Kingdoms, Fiefs and Influence: How Votes, Policies and Clan Tier Work
Bannerlord War Sails Naval Guide: Ships, Sea Battles and the Nords
Bannerlord Mods Guide: How to Install Mods and the Best Mods to Start With
Next: the beginners guide explains the clan tier that caps how many workshops and caravans you can own, and the early-money guide covers the fund you need before either system pays back.