

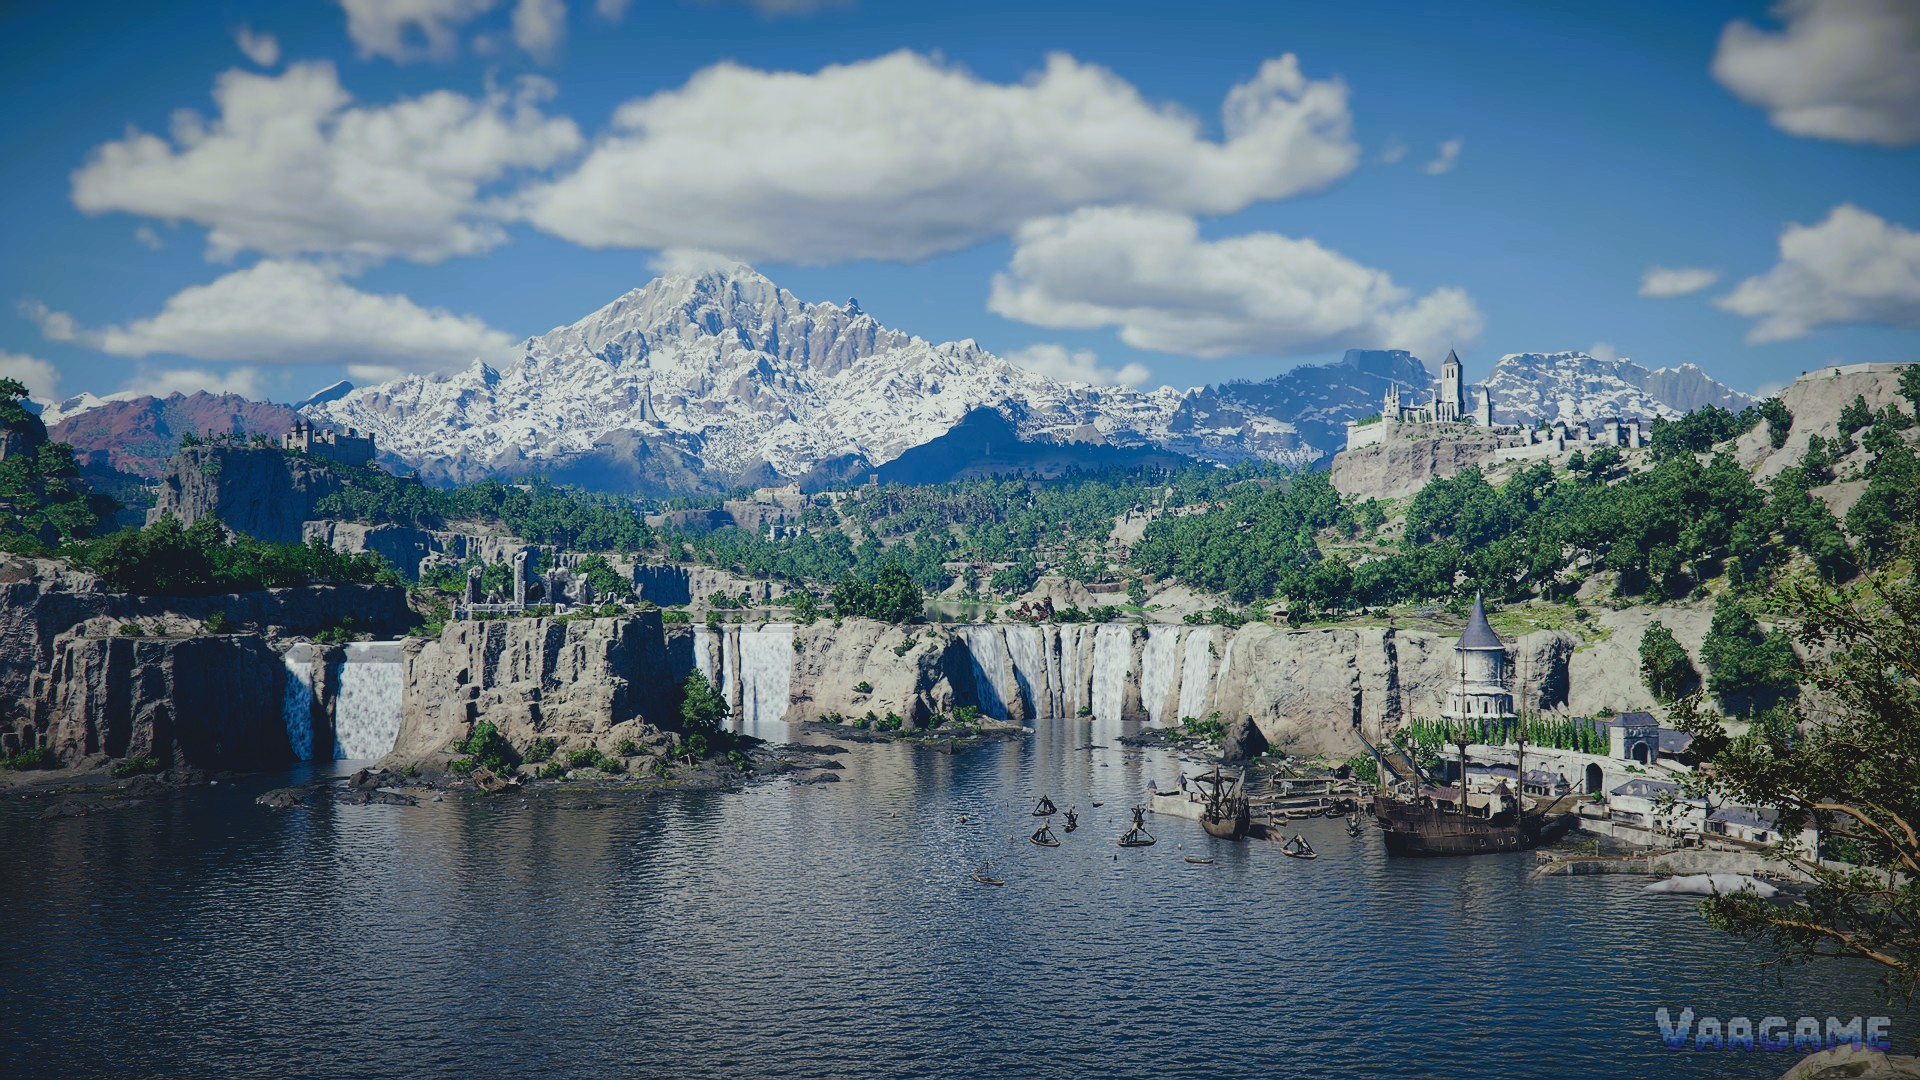
Pywel rewards curiosity more than speed: explore on foot, on horseback, and by glider, and treat fast travel as a shortcut between discoveries, not a replacement for them. This guide explains how the world is structured, how each way of moving fits a different job, and which families of hidden targets are worth detouring for.
At a glance
What this covers: Open-world exploration across the continent of Pywel
World hub: Greymane Camp, first built at Howling Hill and later moved to Pailune
Ways to move: On foot, on horseback, by glider, and by fast travel
Puzzles: Puzzles do not hold your hand (TechRadar review observation)
Target families: Sanctums, ruins, spires, constellations, labyrinths, and abysses
Base game price: Base game $69.99 in the US (SteamDB, updated 2026-10-25)
Reception: Very Positive: about 177,552 reviews, about 83.7% positive (snapshot 2026-10-26)
Last verified: 2026-10-26
Quick answer
Explore in loops from your camp, not in one straight line across the map.
Ride horses for mid-range ground; that is also how random faction encounters trigger.
Glide for height and crossings once your stamina supports long flights.
Use fast travel for long hauls, and ride or walk the last stretch so you do not skip discoveries.
If a puzzle or target resists you, note it and return later instead of forcing it.
1. How Pywel is structured: one continent, one moving camp
Pywel is a single open continent, and your camp is its moving center. Greymane Camp is first built at Howling Hill and later moves to Pailune, so plan routes around where the camp currently sits rather than around one fixed home base.
Liberating strongholds changes what is safe to cross and what opens up around it. Treat each liberated area as a new base of operations for nearby exploration, and clear outward in loops instead of sprinting from one edge of the map to the other.
2. Four ways to move, and the job each one does best
No single way of moving wins everywhere. Walking finds detail, riding covers ground and triggers encounters, gliding converts height into distance, and fast travel deletes distance entirely. The skill is matching the method to the gap in front of you.
Swipe horizontally to view all columns.
| Way to move | Best for | Watch out for |
|---|---|---|
On foot | Puzzles, interiors, and close inspection | Slow over long distances |
Horseback | Mid-range travel and random faction encounters | Skipped if you fast travel everywhere |
Gliding | Height, cliffs, and crossings once stamina is high | Short flights early on; return later with more stamina |
Fast travel | Long hauls between known points | Skips road encounters and roadside finds |
3. The exploration target families: names and general rules only
Pywel hides its rewards in recurring families of targets rather than one-off oddities. Learn to recognize a family and you can judge any new example on sight, even without a location list. This guide deliberately gives family names and general mechanics, not a complete location table.
Swipe horizontally to view all columns.
| Family | What it generally is | General approach |
|---|---|---|
Sanctums | Enclosed challenge sites tied to an achievement family | Enter prepared and expect a self-contained test |
Ruins | Old structures holding lore and loot | Search the whole structure, not just the main hall |
Spires | Tall landmarks visible from far away | Mark them from a viewpoint, then ride to them |
Constellations | Sky-linked pattern targets | Look up at night as well as scanning the ground |
Labyrinths | Maze-like interiors | Move methodically and retrace steps when lost |
Abysses | Abyss challenges; completing all of them earns Conqueror of the Abysses | Track your percentage and expect the last ones to be hard to find |
4. Puzzles that do not hold your hand
TechRadar's review observation is blunt: the puzzles do not hold your hand at all. Treat that as a design fact, not a bug. Read the room, try the mechanics the area is showing you, and test combinations instead of waiting for a prompt to spell out the answer.
A practical habit follows from that: when a puzzle resists three honest attempts, write down where it is and what you tried, then move on. You will return with more stamina, better gear, or a mechanic learned elsewhere, and the puzzle will often fall on the first return visit.
5. A practical exploration loop, and when to push the story instead
Run exploration as a loop: leave camp, sweep one region's visible landmarks and target families, return to camp to bank progress, then move on. Camp funds and donations keep the camp itself growing, and patch 2.01.00 (2026-09-04) increased camp donation silver income tenfold, so returning to camp pays more than it did at launch.
Do not let exploration become a completion trap. Player reports warn that pushing the main story only after clearing the world can make some challenges very hard to trigger again, with player-cited examples including wiping out groups of 30, mounted combat, and specific mythical animal encounters. Those examples come from player reports, not from the official achievement schema, so treat them as warnings to interleave story and exploration rather than as exact checklists.
FAQ
Do I have to explore everything before pushing the main story?
No. The safer pattern is interleaving: explore a region, push a chapter, then explore the next region. Player reports warn that clearing everything first can make some challenge triggers hard to find again.
Does fast travel skip anything important?
It skips road encounters and roadside finds, including the random mounted encounters that trigger faction tasks. Use it for long hauls and ride or walk the last stretch.
How do I reach high places if my glider flights are short?
Use foot and horse routes first, note the spot, and return once your stamina supports longer flights. Late-game high-stamina gliding changes which crossings are practical.
Are puzzle solutions marked on the map?
No. The puzzles do not hold your hand, per TechRadar's review observation. Read the environment and test the mechanics the area shows you.
Related guides
Crimson Desert Combat Basics: How Fighting Actually Works
Crimson Desert Growth Guide: Skills, Artifacts, and Builds for New Players