

Progression in Loftia farming is not measured in farm size. It is measured in what the farm feeds. A farm that feeds your cooking is further along than a farm twice its size that feeds nothing, and a farm that feeds cooking, crafting, and a community project is the real endgame of the system. This guide walks that progression in stages, because the mistake most new farmers make is building stage three before stage one ever produced anything.
Quick answer
Stage 1: one plot that produces something you cook or craft with
Stage 2: a second method plus a battery habit that keeps sessions running
Stage 3: surplus with a destination: community projects and shared builds
Layout rule: farm near home, power near farm, paths between, not decoration first
At a glance
Stage 1: plant, harvest, cook or craft with the result
Stage 2: add a method and a charging routine
Stage 3: surplus goes to community work
Not verified at launch: crop lists, growth times, yields, and any farm level system
Last verified: November 3, 2026, at the Early Access launch hour
1. Stage 1: a plot that produces
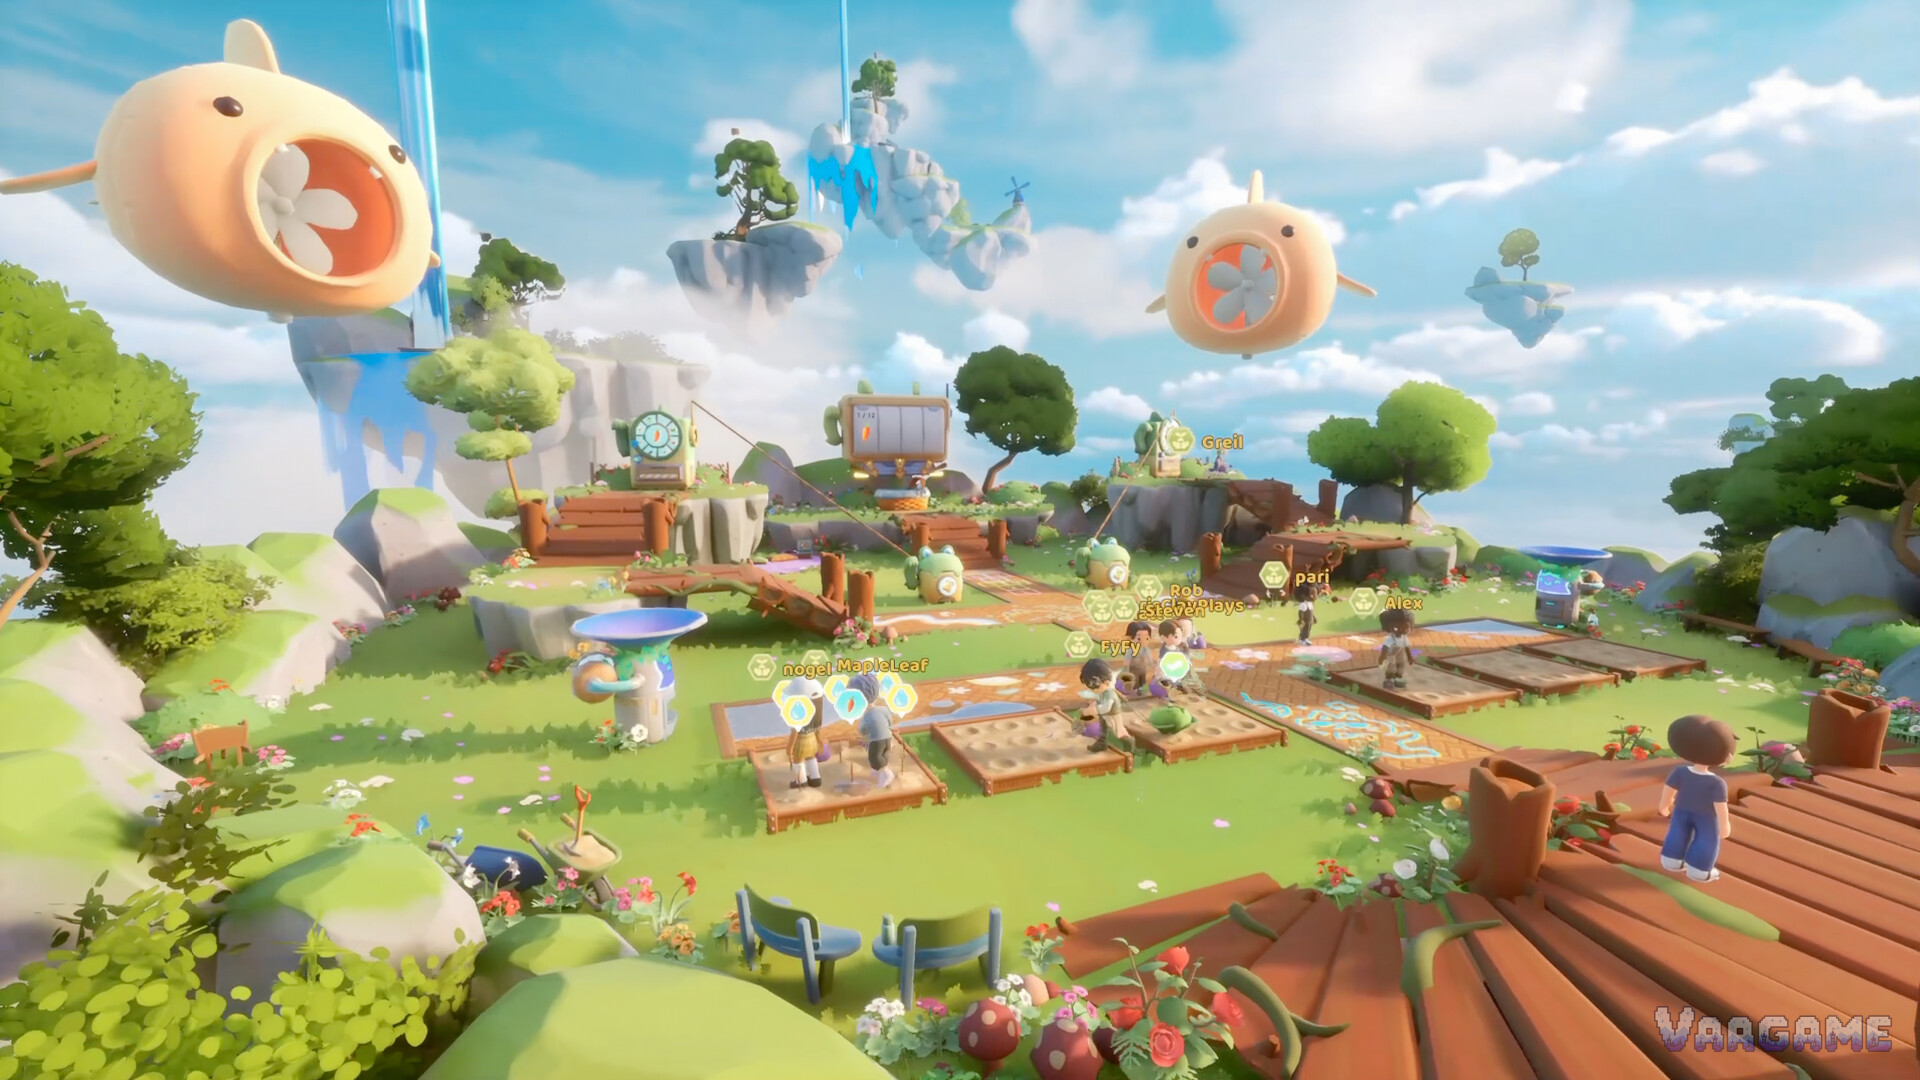
Stage 1 has one pass condition: something you planted becomes something you used. Plant near your home, harvest it, and cook or craft with it. If the harvest sits in storage, stage 1 is not done, no matter how nice the beds look. The store screenshots show the right scale for this stage: ground plots beside a house, a few beds, not a plantation. Start there, because the habit you are building is harvest-to-use, and that habit is what every later stage depends on.
2. Stage 2: a second method and a charging routine
Stage 2 adds two things at once, deliberately. A second farming method, chosen by space, and a charging routine for the batteries that power your sessions. The reason they arrive together is that a bigger farm without power planning is a bigger farm that stalls: more plots mean more crafting and cooking, which mean more battery draw, which means the solar habit from the beginner guides becomes a farming skill, not a footnote. Place panels where you farm, charge before sessions, and let weather shape the plan rather than surprise it.
3. Stage 3: surplus with a destination
Stage 3 is where farming stops being private. Community projects unlock new resources, hidden stories, and new islands when players contribute to shared builds, and a farm with surplus is a farm that can contribute on purpose rather than by accident. The progression question changes here: it is no longer what can I grow, but what does the shared world need, and what does my farm produce that answers it. That is also why stage 3 cannot be rushed: surplus without a working stage 1 and 2 is just a bigger pile of unused crops.
4. Layout decisions that make each stage work
Swipe horizontally to view all columns.
| Decision | Stage 1 answer | Later answer |
|---|---|---|
Where to farm | Ground plots near home | Add trellis and compact beds where space is tight |
Where to put power | A panel you pass on the way to the plots | Panels grouped with the farm, charged before sessions |
Paths | A clear walk from home to plots | Paths that let friends reach shared plots too |
What not to build yet | A showpiece farm with no harvest habit | Decorative beds that produce nothing you use |
Frequently asked questions
How big should my farm be?
As big as your harvest-to-use habit supports. One used plot beats ten admired beds, and scale follows the loop, not the other way around.
Should I specialize in one farming method?
Not at launch. Nothing published ranks the methods, so use the method that fits your space, add a second when the first produces, and let evidence, not a tier list, decide what you deepen.
What is the farm for, besides food?
Materials for crafting and surplus for community work. A farm that only feeds its owner is stage 1; a farm that feeds shared builds is stage 3.