

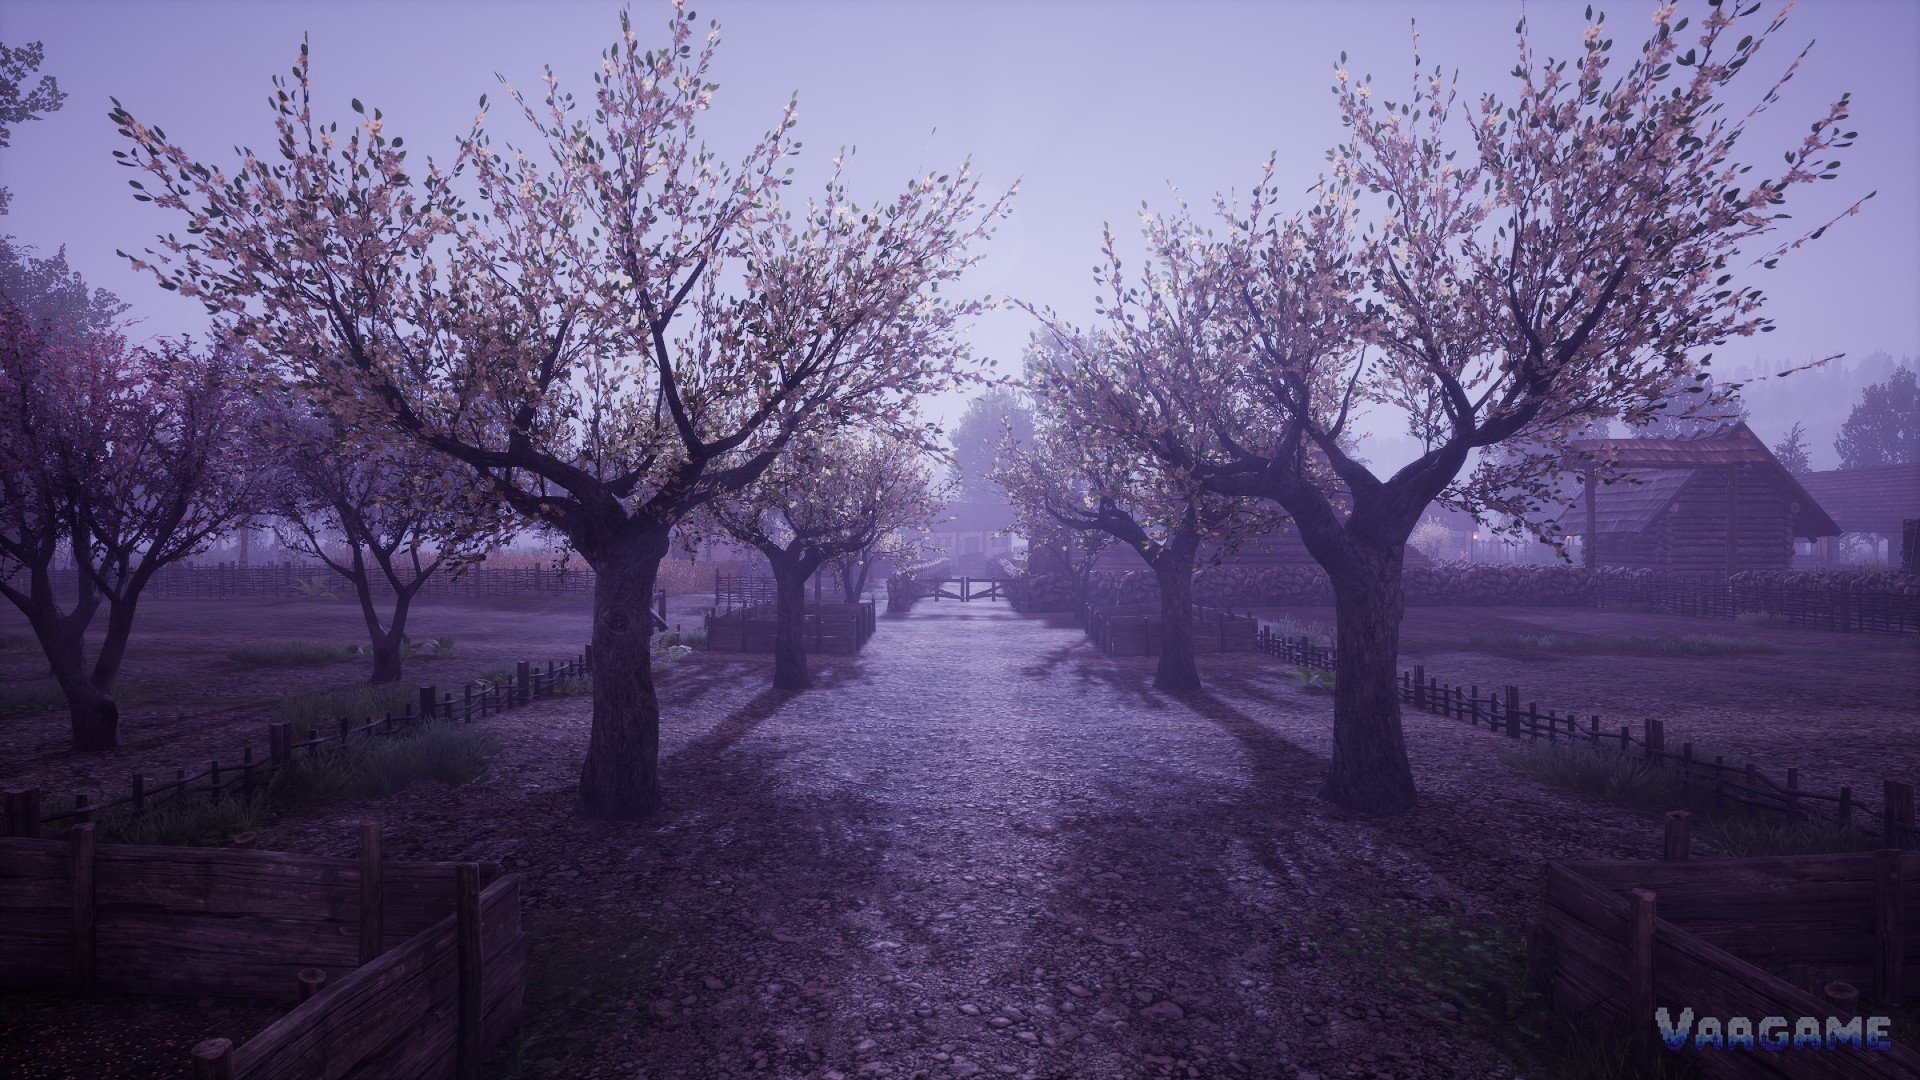
The yearly cycle is the clock that runs your village: four seasons, three days per season by default, with a longer season length available in the start settings, and winter as the season that punishes a village short on food, wood, and care for its people. Everything in this guide follows from that clock, from field work to trading trips to the winter stockpile.
At a glance
Game: Medieval Dynasty (Steam app 1129580)
Base price: $34.99, checked 2026-10-25, not on sale
Season length: 3 days per season by default, adjustable at the start, up to 30 days per season according to player guides
Maps: the Valley (solo) and the Oxbow (solo and co-op)
Version: Patch 2.7.0.4 (2026-10-07); checked 2026-10-25
Quick answer
Default season length is 3 days, and the start settings allow longer seasons, up to 30 days per season according to player guides.
Plan the year backwards from winter: food, water, wood, and housing must be ready before the cold season arrives.
The verified production examples are timber into tools and fields into food; full chain yields and crop growth periods are unverified and are declared as gaps.
Trading converts surplus into coins and coins into what your village lacks, but trader schedules and prices are unverified here.
Villager needs left unmet for long enough damage mood, and low mood can end with villagers leaving, so the economy is also a mood system.
1. Season length: the default, and the setting you choose at the start
Season length is a start setting, and that single fact shapes every plan in this guide. By default, each season lasts 3 days, so the four seasons of a default year add up to 12 days. Player guides report that the start settings allow up to 30 days per season, which stretches a year far beyond the default. The default is the reliable part of that sentence; the 30-day ceiling comes from player guides, and this guide labels it that way.
The practical difference is pace, not difficulty in the abstract. A short season forces fast decisions: fields, building, and trading trips all compete for the same few days, and a missed season is a missed harvest window. A long season gives room to build carefully, stockpile slowly, and learn the map, at the cost of a slower road to a large village. Neither pace is the correct one in general; the right choice is the pace you can sustain for a long save without losing track of winter preparation.
One warning follows directly. Do not treat a 12-day year as the only rule of the game, because it is only the default. A player who reads a guide written for long seasons and applies it to a 3-day season will run out of days; a player who plans for 3-day seasons on a 30-day setting will rush work that could have waited. Check your own setting before borrowing any seasonal timetable.
Swipe horizontally to view all columns.
| Setting | What it means | Best for |
|---|---|---|
Default: 3 days per season | Four seasons add up to 12 days in a default year | Fast decisions and short campaigns |
Longer: up to 30 days per season, according to player guides | Each season stretches, and the year stretches with it | Careful building and slow stockpiling |
2. The yearly cycle, season by season
Spring is the restart. Growth returns, fields need attention, and housing and village work pick up after winter. The visible sign is simple: orchards flower, ground work resumes, and the village stops spending winter and starts producing for the year ahead. Spring is the season for starting work early, because work started late in spring still has to fit inside the same short season.
Summer is the working season, and its advantage is time in the day rather than any single crop. Long days suit building, gathering, and trading trips, and the village can convert that daylight into stored food and materials. The risk of summer is complacency: a village that spends summer only on expansion, with no thought for the stockpile, arrives at autumn with impressive buildings and thin stores.
Autumn is the checkpoint. Harvests come in, processing should finish, and the stockpile gets its honest measurement before winter. The autumn question is not whether the village looks prosperous; it is whether food, water, wood, and housing will last through the cold season. If any of those four is short in autumn, winter is the season that will expose it.
Winter is the test the whole year builds toward. Cold, snow, and short daylight raise the cost of every trip, while the village still needs food, water, and warmth. The store page itself frames the challenge plainly: make sure that neither you nor your population starve or die of thirst. Winter rewards the village that treated autumn as a deadline, and it punishes the village that treated winter as a surprise.
Spring: restart fields and village work early.
Summer: turn long days into stored food and materials.
Autumn: measure food, water, wood, and housing honestly.
Winter: live on the stockpile and keep the village warm and fed.
3. Production chains: the verified examples, and the missing numbers
Two production chains are verified well enough to teach, and both are examples rather than complete tables. Timber becomes tools: felling trees yields logs, and a smithy workbench and anvil turn materials into wooden, stone, copper, bronze, and iron tools and weapons. Fields become food: planting and harvesting lead to cooking, with the store page itself naming crop planting as a core survival route. Those two chains explain how a village feeds itself and equips itself, and they are the chains this guide recommends building first.
The technology system sits behind both chains, and its framework comes from the community wiki rather than an official manual. Technology runs in four lines, Building, Survival, Farming, and Production, and resident activity produces technology points. Buildings unlock automatically once enough points are banked, while item blueprints cost coins. The wiki example is a bow blueprint costing 50 Survival technology points and 100 coins, and a Smithy I needing 50 Production technology points. Treat point costs as wiki figures, and treat the four-line framework as the reliable shape.
What is missing matters as much as what is present. Full production chain values, daily output per building, complete recipe lists, and crop growth periods are unverified. This guide therefore gives no yield per day, no full recipe table, and no crop calendar. A guide that prints those numbers without a verified source is inventing the most useful part of an economy guide, and this guide refuses that trade.
Swipe horizontally to view all columns.
| Chain | Verified steps | Not verified |
|---|---|---|
Timber into tools | Fell trees for logs; smithy workbench and anvil make tools and weapons | Daily output per building |
Fields into food | Plant crops, harvest, cook | Crop growth periods and full recipe list |
Technology into unlocks | Four lines; points from resident activity; buildings auto-unlock; blueprints cost coins | Full unlock table |
4. Trading and money: surplus out, needs in
Trading exists for a simple reason: no village produces everything it needs at the right time. The store page lists trading resources alongside hunting and planting crops as a survival route, and the economy of the game runs on coins. Surplus food, materials, and crafted goods leave the village as trade, and coins return to buy tools, blueprints, and whatever the village cannot yet make. That loop is the whole point of a market street, even though the image pool holds only a market scene and no trading window.
Money also carries two long-term markers that players will meet on the achievement list. One achievement asks for 1,000,000 coins held, and another asks for a tax debt of at least 5,000 coins. Those two markers show the scale of the economy: coins are a long game, and taxes are a real obligation rather than background flavor. Neither marker should be chased early. A village that cannot feed itself has no business chasing a coin total, and a village that ignores taxes will meet the debt marker by accident.
Trader schedules, trader inventories, and prices are unverified in the material for this guide, and the image pool contains no trading interface screenshot. This guide therefore gives no trader timetable and no price list, and its market picture is captioned honestly as a scene. The safe trading rule that survives without those numbers is to trade surplus, never the winter stockpile, and to convert coins into durable gaps such as tools and blueprints before spending on extras.
Sell surplus, never the winter stockpile.
Buy tools and blueprints before extras.
Treat taxes as a real cost in every yearly plan.
5. Winter preparation and the village mood check
Winter preparation is a checklist with four lines, and autumn is the time to run it. Food must cover the cold season, water must be secured, wood must be stored for warmth and building, and housing must be ready for the people who will live through winter. The store page survival indicators are food, water, health, and stamina, and winter tests all four at once. A village that checks those four lines in autumn has done the real winter work; a village that discovers a gap in winter pays for it in the hardest season.
Villager mood turns the economy into a people problem. Villagers need housing, food and water, and wood and other supplies stored in the right warehouses, and the player guides consulted here report that mood falling far enough leads to villagers leaving with their families. The exact mood values and thresholds rest on second-hand guides only, with no official formula found, so this guide states the direction and not the numbers: unmet needs damage mood, and damaged mood threatens the workforce that runs the production chains.
The yearly routine that ties this guide together is short. Set a season length you can sustain, work the two verified chains, trade surplus for gaps, measure the stockpile honestly in autumn, and enter winter with food, water, wood, and housing already secured. The gaps declared along the way, crop periods, chain yields, trader prices, and mood formulas, are the places where a future update to this guide should add numbers only after verification.
FAQ
How long is a season in Medieval Dynasty?
By default, each season lasts 3 days, so a default year runs 12 days. The start settings allow longer seasons, up to 30 days per season according to player guides. Do not treat the 12-day year as the only rule; it is only the default.
What should I stockpile before winter?
Food, water, wood, and ready housing. Those four lines are the winter checklist, and autumn is the season to measure them honestly. Winter tests food, water, health, and stamina at the same time, so a gap found in winter is far more expensive than a gap found in autumn.
Can I trade my way out of a bad harvest?
Trading helps, but only within limits. It converts surplus into coins and coins into gaps, and it cannot replace a missing winter stockpile if the whole village is short. Sell surplus, protect the winter stores, and buy tools and blueprints before extras.
Why do villagers leave, and how do I stop it?
Player guides report that unmet needs damage mood, and mood falling far enough leads to villagers leaving with their families. The exact thresholds are unverified, so this guide gives no mood number. The reliable defense is the same as the winter plan: housing, food and water, and stored supplies, kept up across the whole year.
Related guides
Medieval Dynasty Hunting Set Crafting Guide: Outfits, Weapons and Materials
Medieval Dynasty Achievements Guide: All 44 Achievements and How to Unlock Them