

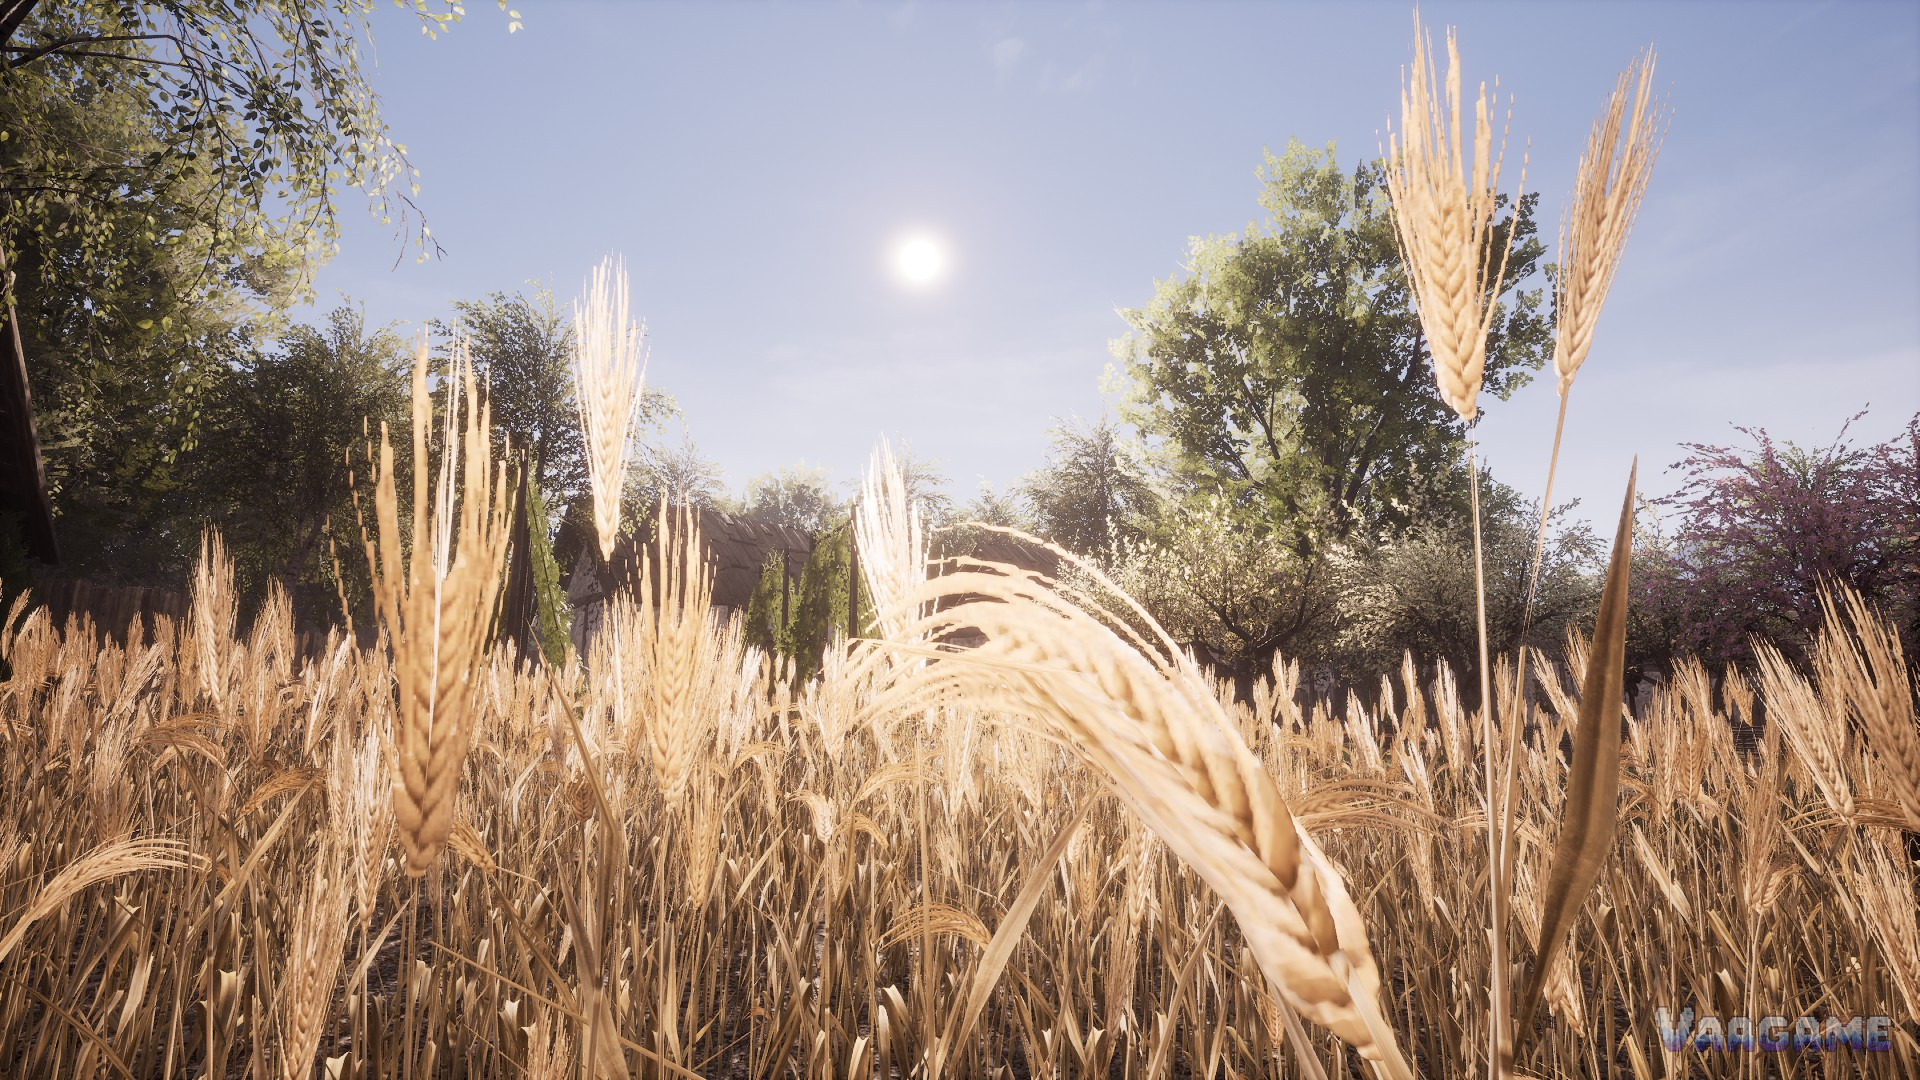
A village in Medieval Dynasty eats from its fields, its pens and its hunting, and the fields are the only one of the three that you can plan like a calendar. Lay fields near food storage, work them inside the season, and add animals only after shelter and winter feed are ready, and the village stops living harvest to harvest.
At a glance
Food sources: Fields, livestock pens, hunting and trading, per the store page loop of planting crops, hunting animals and trading resources
Season length: Default 3 days per season, adjustable at game setup
Field achievement: Harvest a field bigger than 6x6
Farming skill: Farming is one of six skill lines, each to level 10
Version and check date: Latest patch 2.7.0.4, 2026-10-07; facts checked 2026-10-25
Gap note: Crop growth times, per-building daily yields and complete recipe tables were not verified, so this guide gives field order and timing discipline, and it gives no yield numbers
Quick answer
Put fields beside food storage, because every harvest walk costs time in a 3-day default season.
Work the field inside the season and harvest before the season turns; a late harvest is a lost harvest.
Start with one field you can fully work, and grow it past 6x6 only when labour and storage keep up.
Add livestock after pens, shelter and winter feed exist, and start with a small pen you can feed every day.
Sell or trade surplus only after the village stockpile for the next season is full.
1. Fields first: location beats size
Put the first field beside food storage and within easy reach of housing. Harvest is a carrying job, and a field far from storage turns every harvest day into a walking day. In a default season of 3 days, that walking time can cost the harvest itself. A small field beside storage that is fully harvested beats a large field far away that is half harvested when the season turns.
Keep field plots separate. One plot for the staple crop, one plot for a second crop, and a small herb plot beside the village, like the circular herb garden in the screenshots, all let each plot be worked on its own schedule. Mixed plots force one schedule on crops that may need different timing, and a single schedule is how a village loses one crop while saving another.
Farming is a skill line in its own right. It is one of six lines, Extraction, Hunting, Farming, Diplomacy, Survival and Production, each running to level 10, and the achievement list confirms Farming at level
10. Assign field work to villagers who will repeat it, because repeated field work is how the farming line rises, and a higher farming line is how the same field feeds more people over time.
2. Work the season, and harvest before it turns
Treat each season as a deadline. The default is 3 days per season, and season length can be adjusted at game setup, with player guides reporting a maximum of 30 days per season. Whatever length you choose, the rule is the same: field work that belongs to a season must be finished inside that season. Write the season plan as labour first and crops second, because a crop plan without labour to carry it out is a wish list.
Harvest timing is the highest-value decision in farming. Ripe wheat in sunlight, like the field in the screenshots, is ready work, and the villager with a sickle shows the labour it takes. Schedule harvest labour before the season turns, move the harvest to food storage the same day, and check the stockpile after the harvest rather than assuming it. A harvest sitting in the field is not food yet.
Aim for a field bigger than 6x6 as a milestone, because the achievement list names harvesting a field bigger than 6x6. Treat that size as a goal for a field your labour and storage can already handle, and grow into it step by step. A 6x6 field that is fully harvested is a milestone, and a larger field that is half harvested is a warning.
3. Livestock: pens, shelter and winter feed before animals
Buy or bring in animals only after three things exist: a fenced pen, shelter from weather, and feed that covers the animals through winter. The screenshots show the shape to copy: a fenced pen with sheep and pigs beside haystacks, a farmstead yard with a pig pen and chickens, and a cattle pen beside a bridge and village. Each picture is the same lesson in different animals: containment, feed and shelter in one walkable place.
Start small and count every animal in the feed plan. A goose in a fenced yard, chickens in a farmstead yard and sheep in a pen all need daily care, and a small pen fed every day is a working livestock line, while a large pen fed some days is a drain on the same food stockpile the village eats from. Add animals one pen at a time, and check feed after each addition the way the village guide checks beds after each new house.
Place pens where water, storage and housing meet. Animals near water and near the food storage shorten every feeding trip, and animals near housing let villagers check them during normal village work. A pen at the far edge of the map, far from water and storage, costs walking time on every feeding day, and feeding days never stop.
Swipe horizontally to view all columns.
| Animal group | Pen setup from screenshots | Feed rule |
|---|---|---|
Pigs and chickens | Fenced farmstead yard near the house | Count in the daily feed plan before adding more |
Sheep and pigs | Fenced pen with haystacks nearby | Hay and feed on site before animals arrive |
Geese | Fenced yard with a sheltered spot | Small yard animals still need daily care |
Cattle | Cattle pen near water, bridge and village | Water and storage within a short walk |
4. From harvest to table: storage, cooking and surplus
Move every harvest to storage the same day, and keep food storage separate in your head from timber and tool storage. Villagers need food and water from storage, and the beginner guide explains that supplies must sit in the matching storage buildings. A harvest that stays in a field or in a carried load is not village food, and a stockpile that nobody checks is not a plan.
Cooking turns field output into village meals, and the community wiki points to Meat with Gravy as an early high-nutrition food example. Use that example as a direction, and cook from what the village actually has, rather than chasing a recipe the stockpile cannot support. A simple cooked meal from stored food beats a perfect recipe with missing ingredients, because the village eats every day and the perfect recipe does not.
Trade and sell only the surplus. The store page loop includes trading resources, and the market street in the screenshots shows where surplus produce and herbs go. Fill the stockpile for the next season first, then carry the remainder to market. Selling food the village still needs for winter is a short gain that becomes a winter shortage, and winter shortages are the most expensive mistake in this game.
5. Hunting and fishing as side food, and the gaps in this guide
Hunting and fishing sit beside fields, and they never replace a harvested field. The community wiki lists hunting weapons from bows and crossbows to spears, knives, cudgels and throwing stones, and lists wild animals including rabbit, deer, boar, wolf, bear, fox, lynx, badger and wisent, with traps and fish such as perch and pike. Use hunting for meat and materials, and use the lakeside fishing pier in the screenshots as a side food source, while the field plan carries the village.
Be realistic about hunting effort. Wild animals move, predators fight back, and a hunting trip costs a day that field work also needs. Hunt when the field plan allows it, and never let a hunting trip leave a ripe field unharvested. The field feeds the village on schedule, and hunting adds to that schedule when time allows.
Gap statement: crop growth times, daily yields per building, animal breeding times, feed amounts and complete recipe tables were not verified in the fact pack, so this guide gives no numbers for them. It also gives no crop-to-season table, because no verified mapping was available. Field order, harvest timing, pen placement and the surplus rule above are the safe advice until verified numbers exist.
6. A harvest-day checklist
Run the same checklist on every harvest day, and the harvest stops depending on memory. Morning: confirm labour, tools and a clear cart route from field to storage. Midday: harvest the ripe plot first, and move each load to food storage the same day instead of stacking it at the field edge. Evening: check the stockpile, and write down in plain terms whether food rose, fell or held steady.
Check storage space before the harvest starts, because a full store turns a good harvest into a carrying problem. If storage is nearly full, move older stock to cooking or trading first, and free space for the new harvest. A harvest with nowhere to go is work done twice, once to cut it and once to move it again.
7. When to stop expanding food production
Expand food production only when three plain checks pass: the stockpile is rising, a field or pen is fully worked with labour to spare, and storage has free space for the next harvest. When all three pass, one more field or one more pen is a safe addition. When any check fails, the village is already at its working size, and the next job is to run the existing fields and pens better.
Stopping is a decision, and it protects the village. A new field opened while an old field goes unharvested does not add food, it adds work that steals labour from the harvest. Pause expansion, finish the harvest, restock the store, and expand again only when the checks pass. A village that knows when to stop grows every season, and a village that never stops grows only until its first missed harvest.
FAQ
How big should my first field be?
As big as your labour and storage can fully work, and grow it past 6x6 as a milestone when both keep up. The achievement list names harvesting a field bigger than 6x6, so that size is a goal, and a fully harvested smaller field beats a half harvested larger one.
When should I add livestock?
After a fenced pen, shelter and winter feed exist, and start with a small pen you can feed every day. Animals added before feed exists draw on the same stockpile the village eats from, so pens and feed come first.
Should I sell food at the market?
Sell only surplus, after the stockpile for the next season is full. Trading resources is part of the store page loop, and the market street is where surplus produce goes, but food the village still needs for winter must stay in storage.
Does this guide give crop yields or growth times?
No. Crop growth times, daily yields, breeding times and feed amounts were not verified in the fact pack, so this guide gives field order, harvest timing and pen placement instead of invented numbers.
Related guides
Medieval Dynasty Village Building Guide: Houses, Buildings and Layout
Medieval Dynasty Villagers and Quests Guide: Recruitment, Needs and Mood