

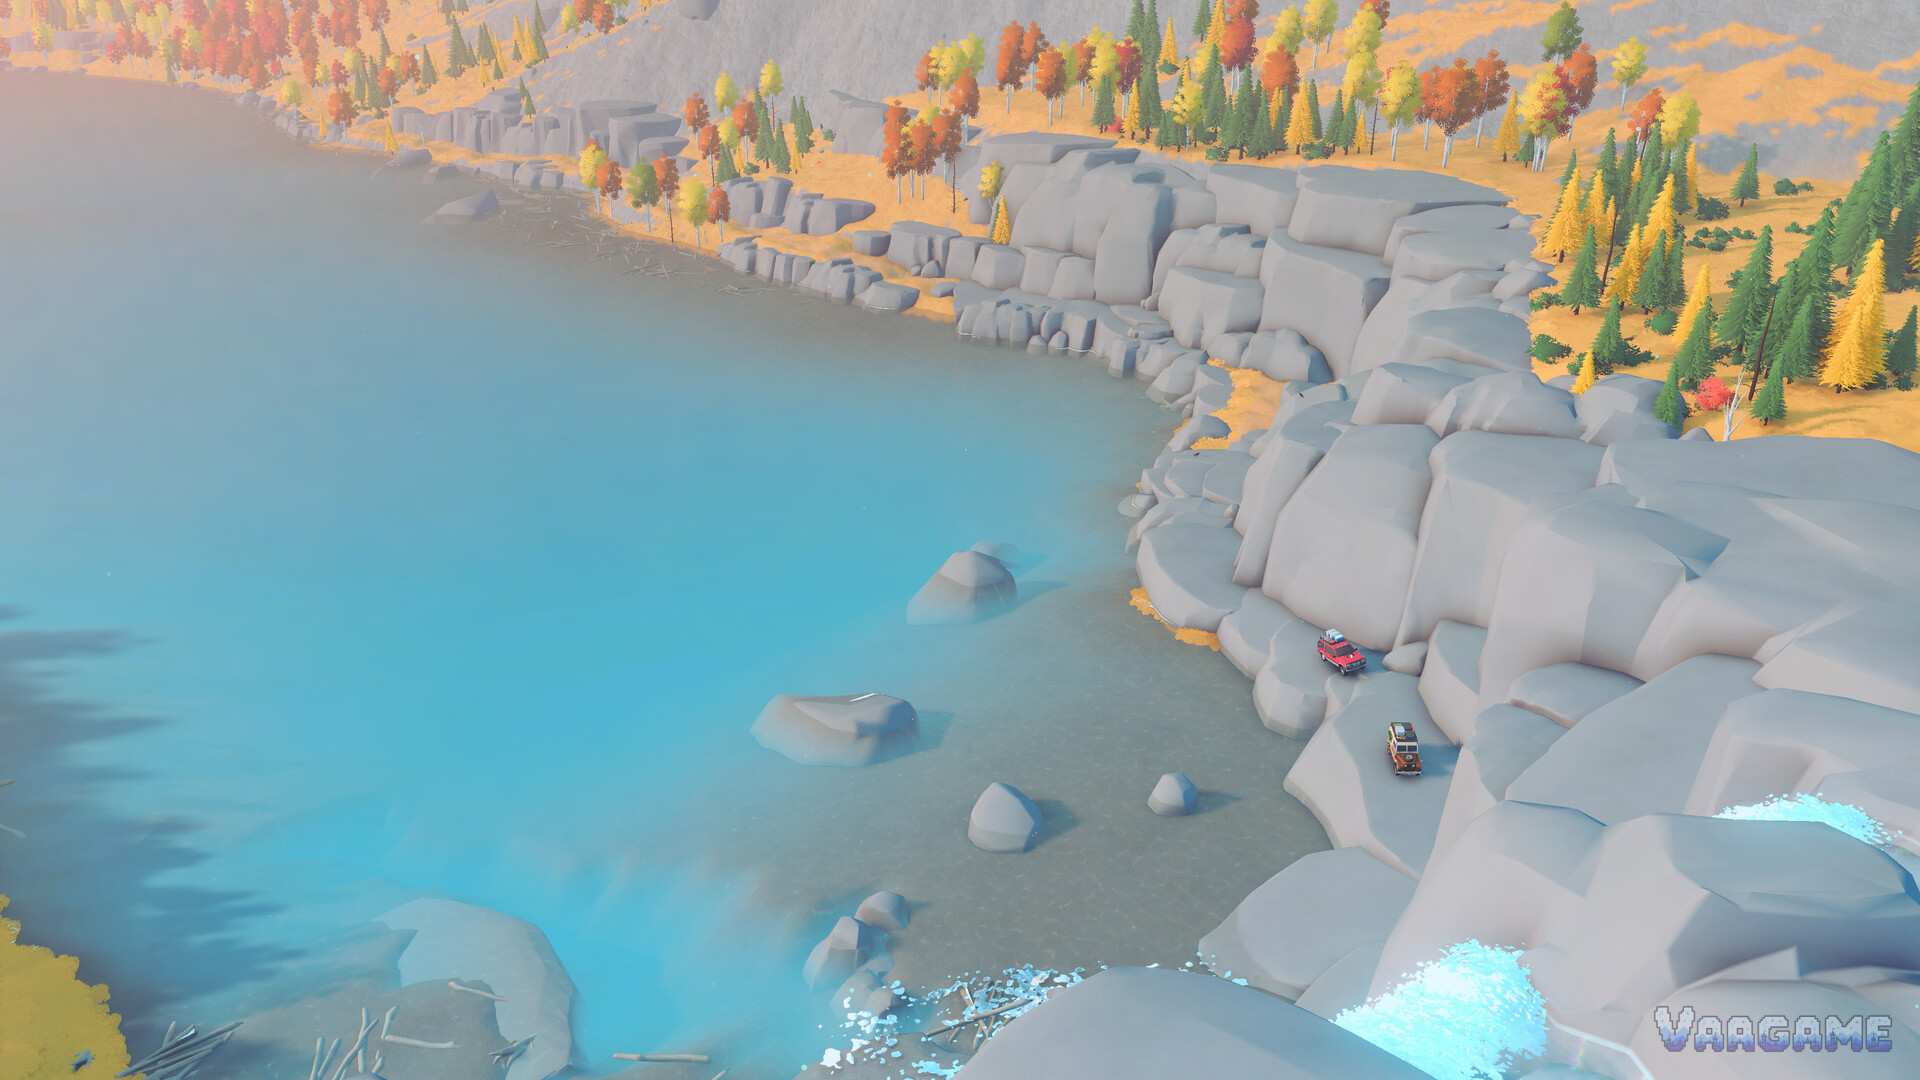
Pebbles are easy to earn in over the hill and easier to scatter. The upgrade menu offers three performance lines — engine, tyres and waterlogging protection — plus inventory slots and your recovery equipment, and everything looks essential at once. This guide gives you the order that experienced players converge on, and the reasoning behind it, so the framework still works when your route differs from ours. One honesty note before the list: exact upgrade prices are not reliably documented anywhere yet, so this guide deliberately contains no prices — any list that does should be read with suspicion.
At a glance
Buy first: Engine and tyres — they widen the terrain every vehicle you own can attempt
Buy early in lake country: Waterlogging protection — deep water stalls and damages engines, and Canada is full of rivers
The quiet best buy: Inventory slots — a carried spare slot is a recovery option you always have with you
Equipment order: Complete the five-piece recovery kit before duplicating anything
Buy any time: Cosmetics — they cost Pebbles and change nothing mechanical; spend when the wallet is healthy
Also free: Upgrades and equipment can be found in the world — exploration is a second income
1. The three performance lines, in terrain terms
Judge every upgrade by the terrain it unlocks, not by the stat it raises:
Stronger engine. Buys you gradients: the climbs that currently need a winch assist become drives, and heavy work — towing a meteorite or a stranded vehicle — stops being marginal. It is the upgrade whose absence you feel most often, which is why it leads the order.
Better tyres. Buys you surfaces: wet rock, mud, sand and snow all tax grip differently, and tyres are the only line that answers all four. On technical ground a tyre upgrade regularly outperforms an engine upgrade, because power you cannot put down is just wheelspin with better marketing.
Waterlogging protection. Buys you water: the engine protection that keeps deep crossings from stalling and damaging the motor (Polygon's launch coverage flagged it for exactly this). Its value is regional — enormous in Canada's lake country, situational in the desert — so its place in your order slides with your map.
None of the three is a trap purchase; the order is about which wall you hit first. For most players that wall is a climb (engine), then a surface (tyres), then a river (protection).
2. Inventory slots: the quiet best buy
Your recovery kit — winch aside, the planks, jack, portable anchor and bell — lives in inventory slots, and slots are themselves purchasable capacity. An extra slot is not glamorous, but it converts directly into options: the portable anchor you no longer leave behind, the second plank that turns a washout into a road. Recovery failures in this game are usually option failures — the right item was at camp — so slot purchases quietly delete whole categories of stuck. Rank them just behind your first performance purchase, and ahead of any cosmetic spending.
3. Equipment order: complete the kit
The five-piece rescue system (detailed in this collection's winch guide) works as a set, so acquisition order is simple: complete the set before deepening it. Planks for gaps and soft ground, the jack for rolls, the portable anchor for bare rock, the bell for weather — each covers a failure mode the others cannot. Duplicates and spares matter later, when hard trails chain failure modes together; in your first region, coverage beats depth. Remember too that carried items replenish at campsites — equipment spending and campsite planning are the same system viewed from two ends (the cabins guide covers the network side).
4. Where upgrades happen — and the free alternative
Upgrades and equipment are bought from merchants and mechanics out in the world (Emerald Lake's Mechanic and Crazy Gunther are your first examples), paid in Pebbles earned from discoveries and objectives. But shopping is only half the supply chain: per the official description, upgrades and equipment are also found in the world — which quietly changes the economics of the early game. A player who explores thoroughly is subsidised twice, once in Pebbles and once in found gear, so the "correct" first purchase is often simply whatever your exploration has not already handed you.
This is also where the honest note from the beginner guide bears repeating: because exact prices are undocumented, any spending framework — including this one — should be judged on its terrain logic, not on arithmetic. If a verified price list emerges later, the order here may shuffle by value; the terrain reasoning will not change.
5. A spend order you can actually follow
For a first region, in order:
Engine or tyres — whichever wall you hit first (climbs vs surfaces); most players meet the climb first.
The other one. The pair together reclassify most early terrain from "project" to "drive".
One inventory slot. Carry the whole kit, everywhere, from now on.
Waterlogging protection — before your lake-country ambitions outgrow the shallows; earlier if you have already flooded once.
Complete any missing kit piece, then deepen spares for chained trails.
Cosmetics whenever the wallet shrugs. Crates hand much of this layer to you free anyway (see the crates guide).
In Algeria the order mutates predictably: tyres and engine stay on top (sand and mesas), water protection slides down (rivers become oases — precious, not threatening), and slots stay exactly where they were, because the desert spends kit faster than Canada does.
6. The found-gear adjustment
One refinement keeps the framework honest across a whole campaign: re-sort the order every time the world hands you something. Found equipment — the second supply chain from section 4 — is not a bonus on top of the plan; it changes the plan. Find a tyre upgrade in a valley crate run and the next purchase becomes the engine without debate; find protection before your first flood and the lake-country urgency drains out of the list, leaving the slot to buy itself sooner. Players who re-sort spend less overall, because they never buy what the map was about to give them. The framework is a priority queue, not a shopping list — treat every discovery as a reason to re-read it.
FAQ
What is the very first thing I should buy? For most players: the engine, because the first wall most routes hit is a gradient. If your early failures are surfaces instead — spinning on wet rock, bogging in sand — buy tyres first. The order flexes; the logic (terrain first, cosmetics last) does not.
Can upgrades be found for free? Yes — the official description states that upgrades and equipment are found out in the world as well as bought. Exploration is a genuine second supply chain, which is why thorough discoverers feel richer than their Pebbles balance suggests.
Do I ever need exact prices to plan? Not at launch. No reliably verified price list exists yet, and the priority framework in this guide is built to work without one. Treat any precise price table published in launch week as unverified.
Does water protection matter in Algeria? Less — oases and desert rivers are anchors rather than threats — but it does not become useless, and it stays bought once purchased. Just let tyres and engine lead the desert order.
Should I save Pebbles instead of spending? Spend on capability; save only against a known target (a slot, the next performance line). Pebbles sitting in the wallet unlock nothing, and the game's earn loops — discoveries, objectives, meteorites — keep refilling it as you travel.
Related guides
over the hill Beginner's Guide: The Winch, Your First Upgrades and What To Do First
over the hill Meteorites and Pebbles Guide: Finding, Hauling and Spending the Currency
over the hill Vehicles Guide: Confirmed Cars, How Unlocking Works and the Fleet Owner Grind
over the hill Winch Guide: Self-Recovery, Anchor Points and Getting Unstuck