

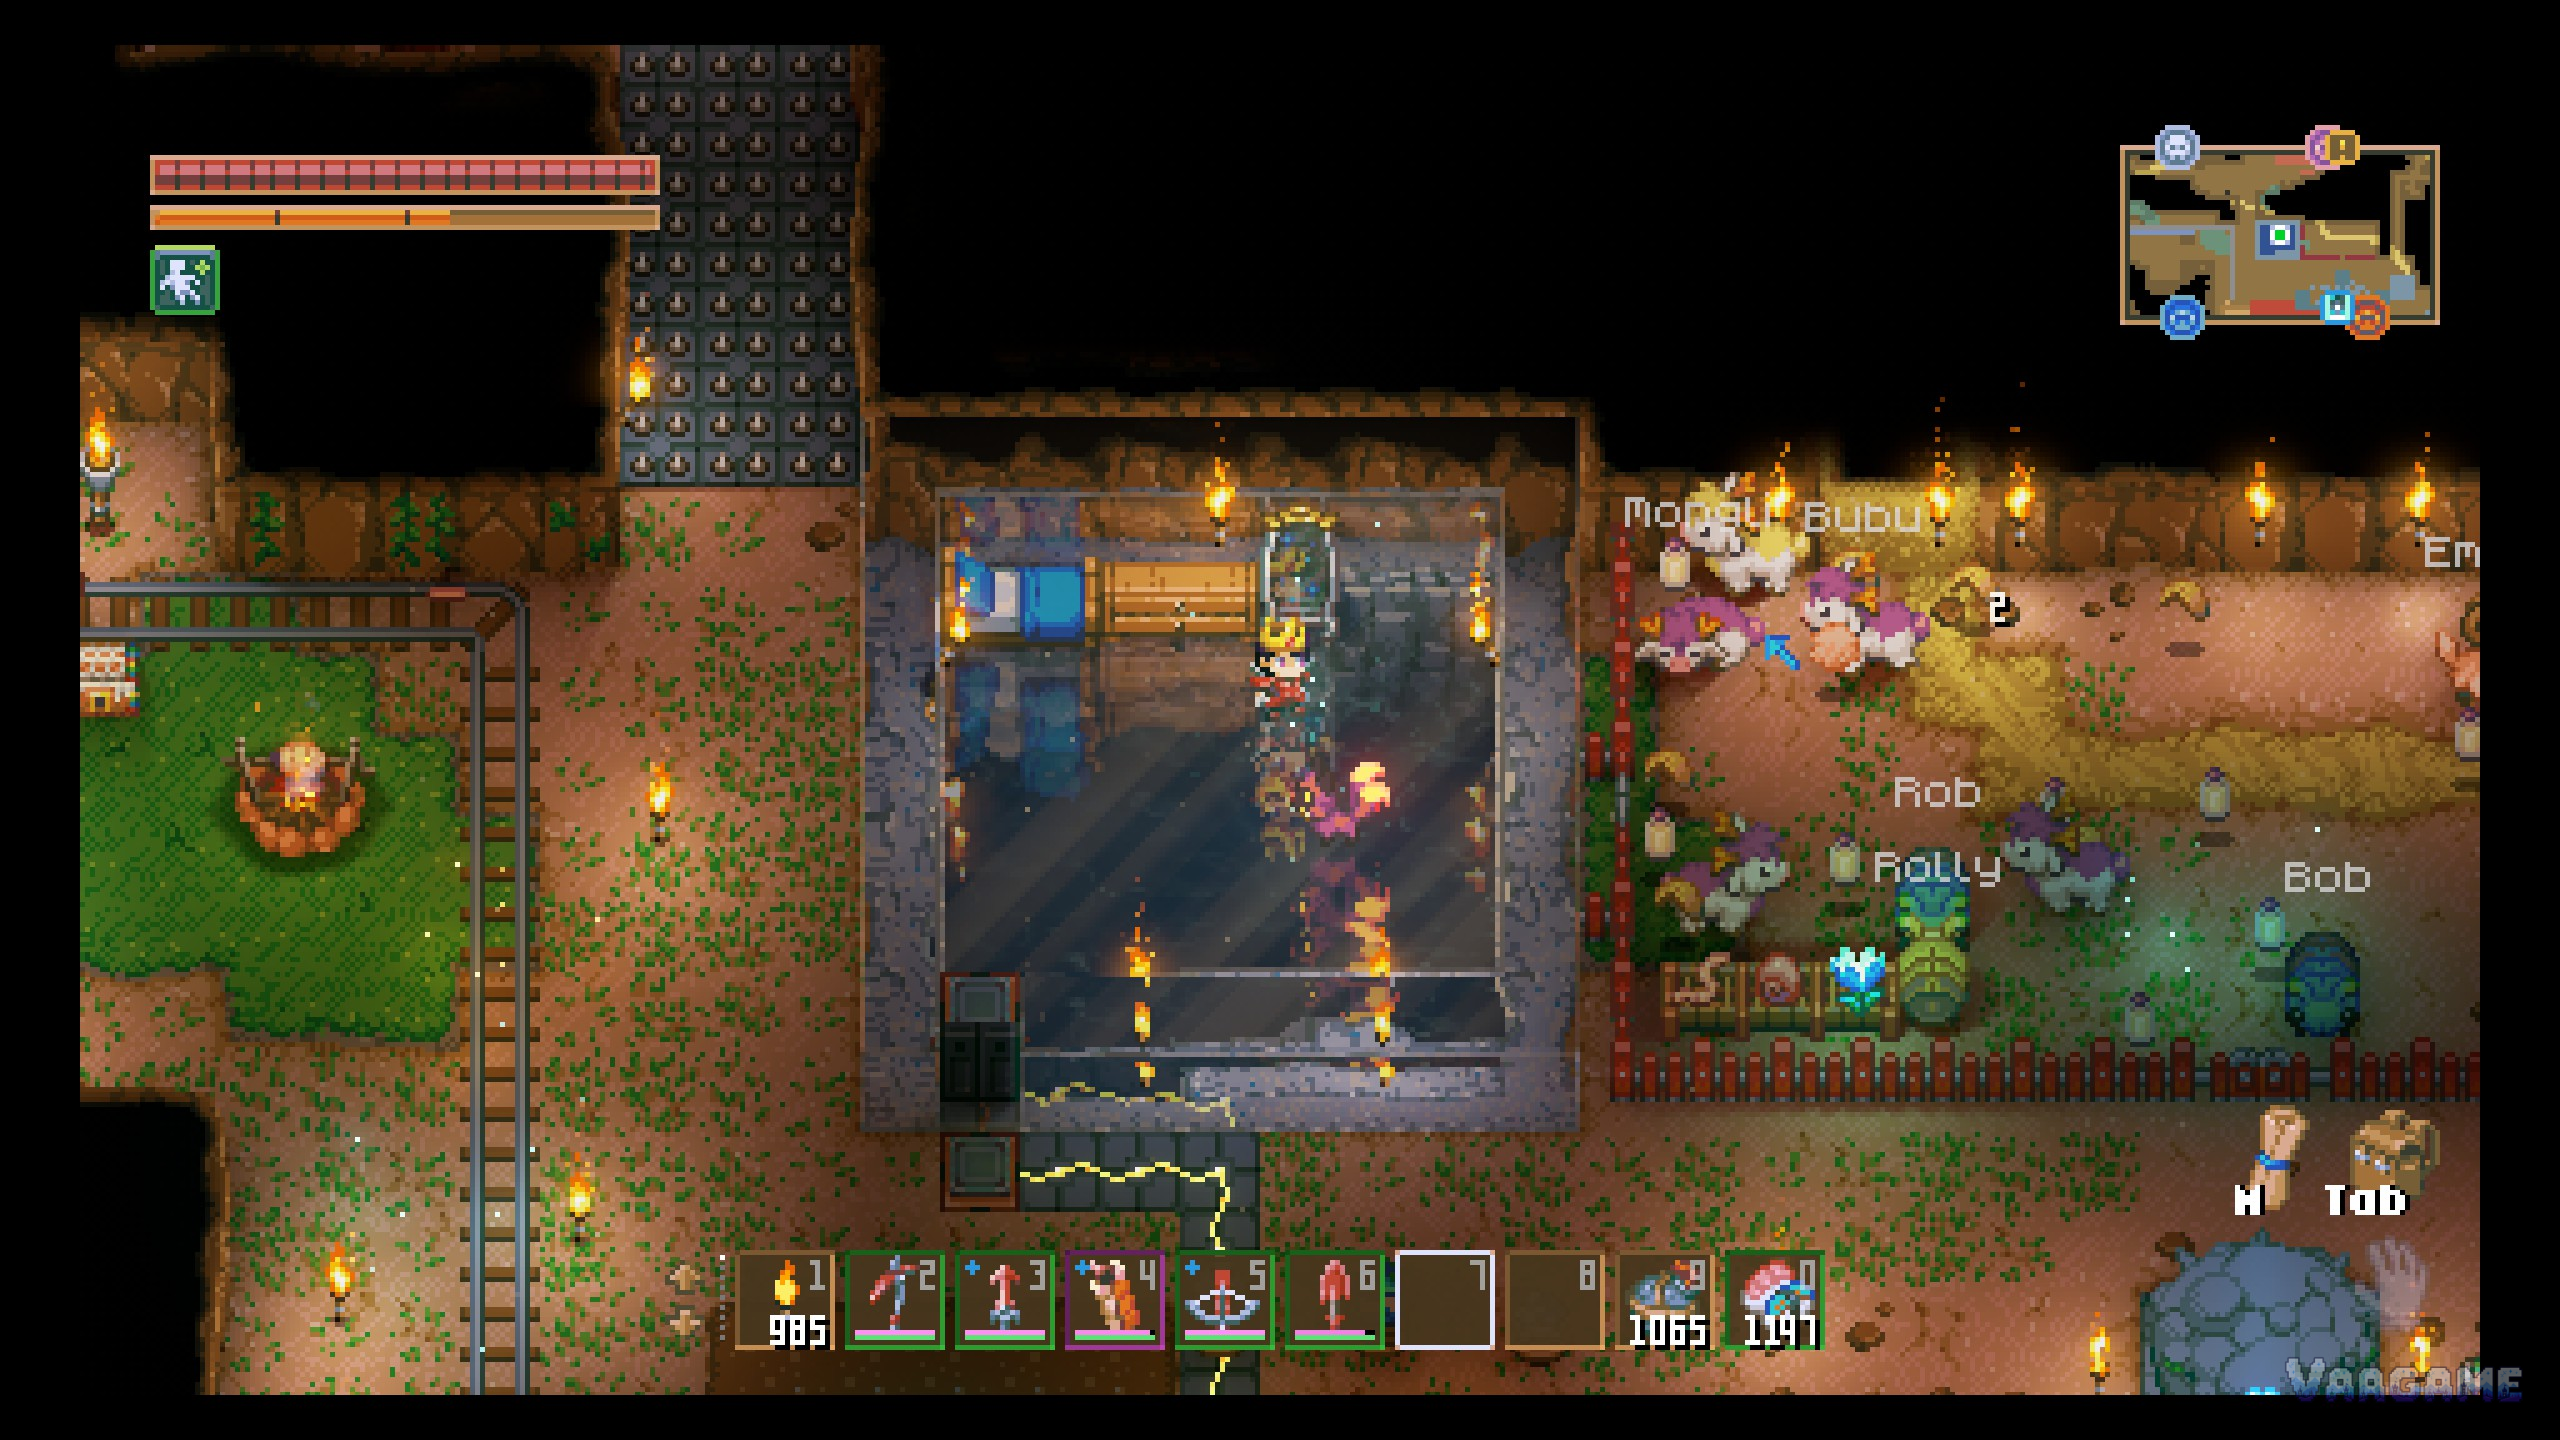
Your Core Keeper base is a farm, a ranch and, since update 1.3, a stable at the same time: the same base that grows your crops can pen seven species of cattle for a steady supply of milk, wool and other produce, hatch pets that follow you into every biome, and saddle any of those cattle into a mount you can ride across the map. None of it is locked behind the late game. The tools come from an early workbench, the first two species graze a short walk from the Core, and the whole system runs on food you already know how to grow and catch. This guide covers all seven cattle and where they live, how to lure, leash and box them home, the feeding and breeding rules that keep a pen producing, both saddles and the riding rules, and the full pet path from egg to level 10 companion.
Quick answer
Your ranch tools: Build a Livestock Workbench early, then use food in hand, a Leash or a Cattle Transport Box to bring animals home
Your production rule: A full stomach is the whole system, with 4 units of capacity and one production cycle for every 2 units eaten
Your breeding rule: Two adults of the same species, each fed 30 times in total, produce a calf, and the calf grows up after eating 8 times
Your mount rule: Fit any cattle with a Saddle and it becomes a mount; the Racing Saddle is the faster option, and removing the saddle restores the animal
Your pet rule: Eggs hatch in a powered Egg Incubator in 30 minutes, and the pet that emerges levels from 1 to 10 beside you
At a glance
Cattle species: 7, Moolin, Bambuck, Strolly Poly, Dodo, Kelple, Drohmble and Orex
Key station: Livestock Workbench, crafted at the Basic Workbench
Bringing cattle home: Lure with held food, lead with a Leash, or carry in a Cattle Transport Box
Feeding: Drop food on the ground, fill a Feeding Tray, or hand-feed
Breeding: Same species, 30 feeds each, then a calf; calves mature after 8 feeds
Mounts: Saddle or Racing Saddle on any cattle species, added in update 1.3
Pets: Melee, Ranged and Support types, hatched from eggs, levels 1 to 10
New in 1.3: 3 new pets, Hoppet, Azeos Jr. and Cattiva, plus the new cattle species Orex
1. Seven cattle, seven home ranges
Every cattle species follows the same core loop: it eats its preferred food, and eating turns into produce. What changes from species to species is where the animal lives and what it wants in its stomach, so a ranch is really seven small supply lines sharing one fence design.
Swipe horizontally to view all columns.
| Cattle | Found | Preferred food | Produces |
|---|---|---|---|
Moolin | Meadow sub-biome | Any growable plant | Meadow Milk |
Bambuck | Meadow sub-biome | Any growable plant | Wool |
Strolly Poly | Forgotten Ruins, Desert of Beginnings | Any critters, glowing type excluded | Strolly Poly Plate |
Dodo | Azeos' Wilderness, Desert of Beginnings | Any critters, glowing type excluded | Dodo Egg |
Kelple | Sunken Sea | Any kelp, caught by fishing | Kelp Dumpling |
Drohmble | Oasis sub-biome, Desert of Beginnings | Any growable plant | Blasting Dung |
Orex | Moss sub-biome, Forgotten Ruins | All critters, glowing type excluded | Orex Truffle |
Read the food column as two diets. The plant eaters, Moolin, Bambuck and Drohmble, run on crops from your own farm, which makes them the cheapest animals to keep. The critter eaters, Strolly Poly, Dodo and Orex, run on the insects and small creatures you catch while exploring. Kelple sits between the two systems: it eats kelp, and kelp comes from fishing. One naming trap deserves a flag here: the Dodo Egg in the produce column is a food ingredient laid by a Dodo. It has nothing to do with the pet eggs in Section 5, and putting one in an incubator gets you nowhere.
2. Bringing them home
Wild cattle stay where they spawn until you move them, and the game gives you three ways to do it, from improvised to permanent. The setup takes one extra workbench:
Craft a Livestock Workbench at the Basic Workbench, costing 8 Wood, 2 Copper Bar and 1 Fiber, and place it at your base. Saddles, leashes, boxes and feeding trays all come from this station.
Lure with food in hand. Hold an animal's preferred food and it will follow you and eat from your hand. This costs nothing and works over short distances, which makes it the right tool for the Meadow pair near spawn.
Lead with a Leash. Craft a Leash at the Livestock Workbench for 8 Fiber, attach it and walk the animal home at your pace. A leash turns a wandering escort into a controlled trip.
Box it for the long haul. Craft a Cattle Transport Box at the Livestock Workbench for 6 Plank, 2 Tin Bar and 3 Iron Bar, pack the animal into the box and carry it back in your inventory. For distant species such as Drohmble in the Oasis or Orex in the Moss, boxing is the method that survives the journey.
Build the pen before the collecting trip, not after it. A fenced area near your farm with a Feeding Tray inside (Section
3) means each animal walks, or unpacks, straight into a home that already feeds it, and nothing wanders off while you fetch the next one.
3. Feeding and breeding: the stomach runs the ranch
Feeding has three channels, and a good pen uses the second one. You can drop food on the ground where animals will find it, hand-feed an animal directly, or fill a Feeding Tray, crafted at the Livestock Workbench for 10 Wood and 5 Copper Bar, so the whole pen eats on its own schedule. The tray is the only option that keeps production running while you are away mining.
Underneath all three channels sits one stomach model. Each animal's stomach holds 4 units of food, every 2 units eaten completes one production cycle and yields one item of its produce, and a newborn starts with 1 unit already inside. That model sets your ranch rhythm: a tray that never empties keeps every animal cycling, and a tray that runs dry stops the whole pen at once.
Breeding follows the same eating logic, just with a longer counter:
Keep two adults of the same species together in the pen.
Feed both of them, repeatedly. When each of the pair has eaten 30 times in total, the pair produces a calf.
Raise the calf. Calves produce nothing; after a calf has eaten 8 times, it grows into an adult and joins the production line.
Mixed-species pens are allowed and practical: species share fences happily. The catch is dietary, so a mixed pen needs a tray stocked with every food its residents eat, crops for the plant eaters and critters for the hunters, or the unfed species simply stops producing and never reaches its breeding count.
4. Saddles and riding: every animal is a mount
Update 1.3 turned the ranch into a stable. Any cattle of any species becomes a mount the moment you fit it with a saddle, and both saddles are crafted at the Livestock Workbench:
Swipe horizontally to view all columns.
| Item | Crafted at | Materials |
|---|---|---|
Saddle | Livestock Workbench | 8 Iron Bar, 3 Tin Bar, 8 Fiber |
Racing Saddle | Livestock Workbench | 12 Solarite Bar, 5 Gold Bar, 8 Fiber |
The rules around riding are deliberately simple:
Fit the saddle to the animal and it becomes a rideable mount. Remove the saddle and it goes back to being ordinary cattle.
Open your inventory while mounted to reach the mount interface, where you can rename the mount.
Set its dismount behaviour to one of three options: stay in place, roam freely, or follow you on foot.
Pack it away when travelling. A mount can be carried in your inventory, so your ride crosses the world with you and deploys where you need it.
Choose between the two saddles on budget and pace. The Saddle is an iron-age purchase you can make long before the outer biomes, while the Racing Saddle costs Solarite from the Shimmering Frontier and is simply the faster of the two. Pick your favourite animal for the Racing Saddle and let the rest of the herd cover transport near home.
Of the three dismount behaviours, follow is the quiet winner: a mount that walks after you is a mount you never have to backtrack across a biome to recover.
5. Pets: from egg to level 10 companion
Pets start as items. Somewhere in the world is a pet egg, and every companion you will ever have comes out of one through the same five steps:
Get a pet egg through one of the four routes below.
Craft an Egg Incubator at the Copper Workbench, costing 8 Copper Bar and 8 Glass Piece, place it and connect it to power.
Put the egg in and wait. In a powered incubator the egg cracks after 30 minutes, giving you a Cracked Egg.
Use the Cracked Egg to hatch your pet, then equip it in the pet slot so it follows you.
Raise it from level 1 to
10. Pets can be renamed, and each pet's talent is assigned randomly at hatching, so two pets from identical eggs can grow up different.
Pets come in three types, and the type decides what yours does beside you:
Swipe horizontally to view all columns.
| Type | Behaviour |
|---|---|
Melee | Fights up close alongside you |
Ranged | Attacks your enemies from a distance |
Support | Supports you without attacking on its own |
Eggs reach you through four routes, and a long-running world will use all of them:
Boss eggs: Slime-family bosses drop the Oozy series of eggs, and Azeos drops the Glimmering Egg.
Merchant stock: The Curious Egg is sold by the Bearded Merchant.
World containers and pickups: Digging spots, crates and vessels, pedestals and scene chests across the biomes all hide eggs.
Fishing loot: Some eggs, the Hoppy Egg among them, come up as fishing loot rather than catches.
The three new pets of 1.3
Hoppet hatches from the Hoppy Egg, a Ranged pet. The egg turns up as loot from seawater fishing, sits in Seashell Chests in Sunken Sea scenes, and drops from the Searpent and the Large Beached Jelly.
Azeos Jr. hatches from the Glimmering Egg, also Ranged. That egg comes from a single source: Azeos the Sky Titan drops it, so this companion is a trophy of that Titan fight.
Cattiva hatches from the Lazy Egg, a Melee pet and the lazy resident of the Desert of Beginnings the 1.3 notes hinted at. The egg waits in Oasis scene containers in the desert, in the Cultist Chests of the Oasis temple and house scenes and in Oasis Flower Vessel containers.
Common ranch and pet mistakes
Swipe horizontally to view all columns.
| Mistake | Fix |
|---|---|
Treating a Dodo Egg as a pet egg | The Dodo Egg is a food ingredient laid by Dodo cattle; pet eggs come from bosses, merchants, containers and fishing loot, and only those belong in an incubator |
Stocking a mixed pen with one food | Each species eats its own diet, so fill the Feeding Tray with every food your pen's residents need, crops and critters alike |
Killing the Meadow Moolin and Bambuck | Both species spawn only at world generation and never respawn; breed spares before any cull, or the loss is permanent |
FAQ
Can every cattle species be ridden?
Yes. Fit a Saddle or a Racing Saddle to an animal and it becomes a mount, whichever of the seven species it is, Moolin, Orex or any of the rest. Removing the saddle returns it to ordinary cattle.
How long does a pet egg take to hatch?
30 minutes in a powered Egg Incubator. The egg cracks into a Cracked Egg on its own once the timer runs down; use the Cracked Egg to hatch the pet, then equip it in the pet slot.
Do pets fight for you?
Melee and Ranged pets do: Melee pets fight up close and Ranged pets attack from a distance. Support pets are the exception, since they help without attacking on their own.