

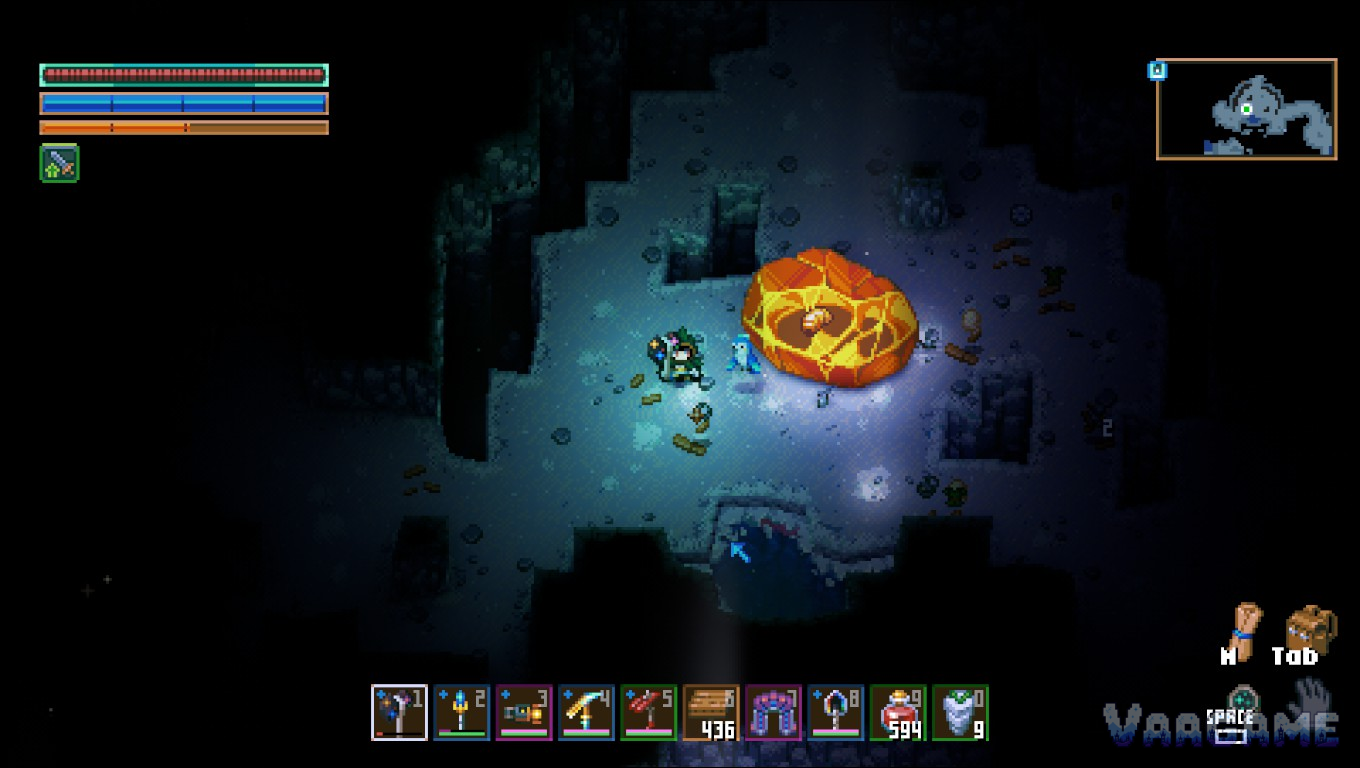
The Core's shopping list has exactly three items on it: the Glurch Eye from Glurch the Abominous Mass, Ghorm's Horn from Ghorm the Devourer, and the Stolen Crystal Heart from Malugaz the Corrupted. Beat those three bosses in that order, feed each relic to the statue waiting back home, and the Core powers up. This guide covers all three fights end to end: how each boss is found, what gear tier each one expects, how the scanner chain at the first statue turns the second and third hunts into direct trips, and the mistakes that waste the most time along the way, from chasing Ghorm around its ring to building a base in the one place no base survives.
Quick answer
The order: Glurch, then Ghorm, then Malugaz, because the first statue crafts the scanners that locate the other two
The gear: Tin for Glurch, iron for Ghorm, and iron again for Malugaz, since iron is the ceiling before the Core wakes
The relics: Glurch Eye, Ghorm's Horn and the Stolen Crystal Heart, one for each statue around the Core
The method: Walk to Glurch, intercept Ghorm on its ring, and summon Malugaz in his throne room
At a glance
Swipe horizontally to view all columns.
| Boss | Location | Recommended gear | Relic |
|---|---|---|---|
Glurch the Abominous Mass | Slime clearing in the Undergrounds, about 65 tiles from the Core | Tin gear | Glurch Eye |
Ghorm the Devourer | Ring track about 250 tiles out, crossing the Clay Caves and the Forgotten Ruins | Iron gear | Ghorm's Horn |
Malugaz the Corrupted | Throne room in the Forgotten Ruins, summoned at a rune | Iron tier, the ceiling before the Core wakes | Stolen Crystal Heart |
1. Before you leave: statues first, scanners second
Every part of this route runs through the statues around the Core, so understand the loop before the first fight: kill a boss, carry its relic home, set the relic into its statue, and the statue switches on as a crafting station. The first activation matters most. The lit Glurch statue is where the Ghorm the Devourer Scanner (3 Ancient Gems and 3 Mechanical Parts) and the Malugaz the Corrupted Scanner (5 Ancient Gems and 5 Mechanical Parts) are crafted, which means the route has a hard first step and two guided ones. There is no version of this run where skipping Glurch saves time.
Two smaller preparations pay off in all three fights. First, eat properly. Cooked dishes restore far more than raw finds and carry buffs on top, and walking into a boss fight on an empty hunger bar is a self-inflicted handicap; the food, farming and cooking guide covers that system in full. Second, respect the one piece of geography this route teaches the hard way: Ghorm's ring track, covered in Section
2. Anything built on it gets demolished, so site your base well inside the ring and treat the track itself as a road you visit, never a plot you settle.
2. The two bosses the scanner chain connects
Glurch and Ghorm are linked by a simple mechanic: the first boss's statue builds the tool that finds the second. Work them in order and neither hunt involves any blind searching at all.
Glurch the Abominous Mass
Glurch the Abominous Mass is a giant orange slime holding court in a slime clearing in the Undergrounds, roughly 65 tiles from the Core. No scanner exists for this fight, and none is needed: the approach announces itself. When the screen starts to shake and heavy thumping reaches you through the ground, Glurch is close. Clear the ordinary slimes around the clearing first, keep your torch light down, and go in wearing tin gear or better, the entry point the wiki recommends for this fight.
The fight itself is a gear check with a simple shape: a very large slime, a clear arena, and a boss that punishes standing still in front of it. Keep moving around it, take your hits when it settles, and let your food buffs do their quiet work. When Glurch falls it drops the Glurch Eye. Carry it home, set it into the statue above the Core, and before you hunt anything else, craft both scanners at that statue: the Ghorm Scanner for 3 Ancient Gems and 3 Mechanical Parts, and the Malugaz Scanner for 5 of each. Gathering those parts now, at a lit base, is far easier than scavenging for them mid-hunt. Glurch can also be fought again later using a summoning idol, so a lost first attempt or a return visit for its drops costs you nothing permanent.
Ghorm the Devourer
Ghorm the Devourer is an enormous grub that circles the Core endlessly on a ring track roughly 250 tiles out and about 8 tiles wide, ploughing through the Clay Caves and the Forgotten Ruins on every lap and smashing everything in its path. Use the Ghorm Scanner crafted at the Glurch statue to find the track, then pick your intercept point with care: a stretch of track you can reach quickly, with the ground around it cleared before the boss arrives.
The method is interception. Stand on the track and fight Ghorm as it passes through your position, because the boss is far faster along its ring than you will ever be chasing it. Iron gear is the recommended standard here, and the step up from the Glurch fight is real: finish your iron set before you take this fight on, rather than arriving in a half-built tin kit and hoping. When Ghorm goes down it drops Ghorm's Horn, which fills the statue to the left of the Core.
3. Into the Forgotten Ruins: the summoned boss
The third hunt changes shape. Glurch was walked to and Ghorm was intercepted, but Malugaz has to be called. His arena is a throne room inside the Forgotten Ruins, the stone biome of Cavelings and hard grey walls, and the Malugaz Scanner from the Glurch statue pinpoints it, which turns a maze of ruins corridors into a single destination. Stock up before you go in: this is the longest trip of the three, through the toughest early biome, and it ends in the hardest of the three fights.
Malugaz the Corrupted
Malugaz the Corrupted waits in the throne room, and reaching the fight takes one extra step, because he is summoned rather than simply found. Out in the ruins you will collect Crystal Skull Shards; combine the shards into the Skull of the Corrupted Shaman, carry the skull to the throne room, place it on the rune there, and Malugaz answers the call. Treat the shard hunt as part of the boss fight itself: arrive with the skull already assembled, and the room becomes an arena instead of a second errand.
Come in iron tier gear, which at this point in the game is the best you can own: iron is the equipment ceiling until the Core is powered, so a full iron set, cooked food and a clear floor are the whole preparation checklist. When Malugaz falls he drops the Stolen Crystal Heart, the third and final relic, named for what it is: the crystal heart at the centre of this route's story. Its statue stands to the right of the Core.
4. Hand in the three relics: the Core wakes
With the Stolen Crystal Heart set into the Malugaz statue, the set completes: all three statues lit, the Core powers up, wakes, and gives you your next directions, and the Great Wall sealing the starting region opens onto the outer world. The three statues keep working after the ceremony, too: each one remains a crafting station with its own recipes, from the scanners at the Glurch statue onward. What each station crafts, and how the chain continues into the outer world's boss scanners, is covered in full in the Core power-up guide in the related guides below.
That is the early game complete. The route that got you here, tin to iron, scanner to summoning, is the template the rest of Core Keeper repeats at larger scales: a new biome, a new gear tier, a new boss, a new door. The full boss roster waiting beyond the wall is a much longer list than three names.
Common mistakes
Swipe horizontally to view all columns.
| Mistake | Fix |
|---|---|
Chasing Ghorm around its ring | Stand on the track at a cleared intercept point and fight as it passes; the boss completes a lap far faster than you can follow it |
Taking on Ghorm before your gear set is finished | Ghorm is an iron gear fight: complete the iron set first, exactly as the tin set came before Glurch |
Building your base on Ghorm's track | The track demolishes everything on it, buildings included: build inside the ring and treat the route as a road, not a plot |
FAQ
Can I fight Glurch again?
Yes. The first encounter needs no summoning, and rematches are started with a summoning idol, so Glurch stays available for return visits after its statue is lit.
Will Ghorm destroy my base?
It will destroy anything standing on its track, which it smashes through on every lap of its roughly 250 tile ring. Bases built away from the track are never touched, so the fix is purely about where you build.
I cannot find Malugaz. What am I missing?
Use the scanner. The Malugaz the Corrupted Scanner is crafted at the activated Glurch statue for 5 Ancient Gems and 5 Mechanical Parts, and it pinpoints the throne room in the Forgotten Ruins. Remember that the fight itself then needs the Skull of the Corrupted Shaman, assembled from Crystal Skull Shards, placed on the room's rune.
Can I fight the three bosses in a different order?
In practice, no. The scanners that locate Ghorm and Malugaz are crafted at the Glurch statue, so Glurch has to fall first, and the gear ladder points the same way: tin for Glurch, iron for the other two. The intended order is also the comfortable one.