

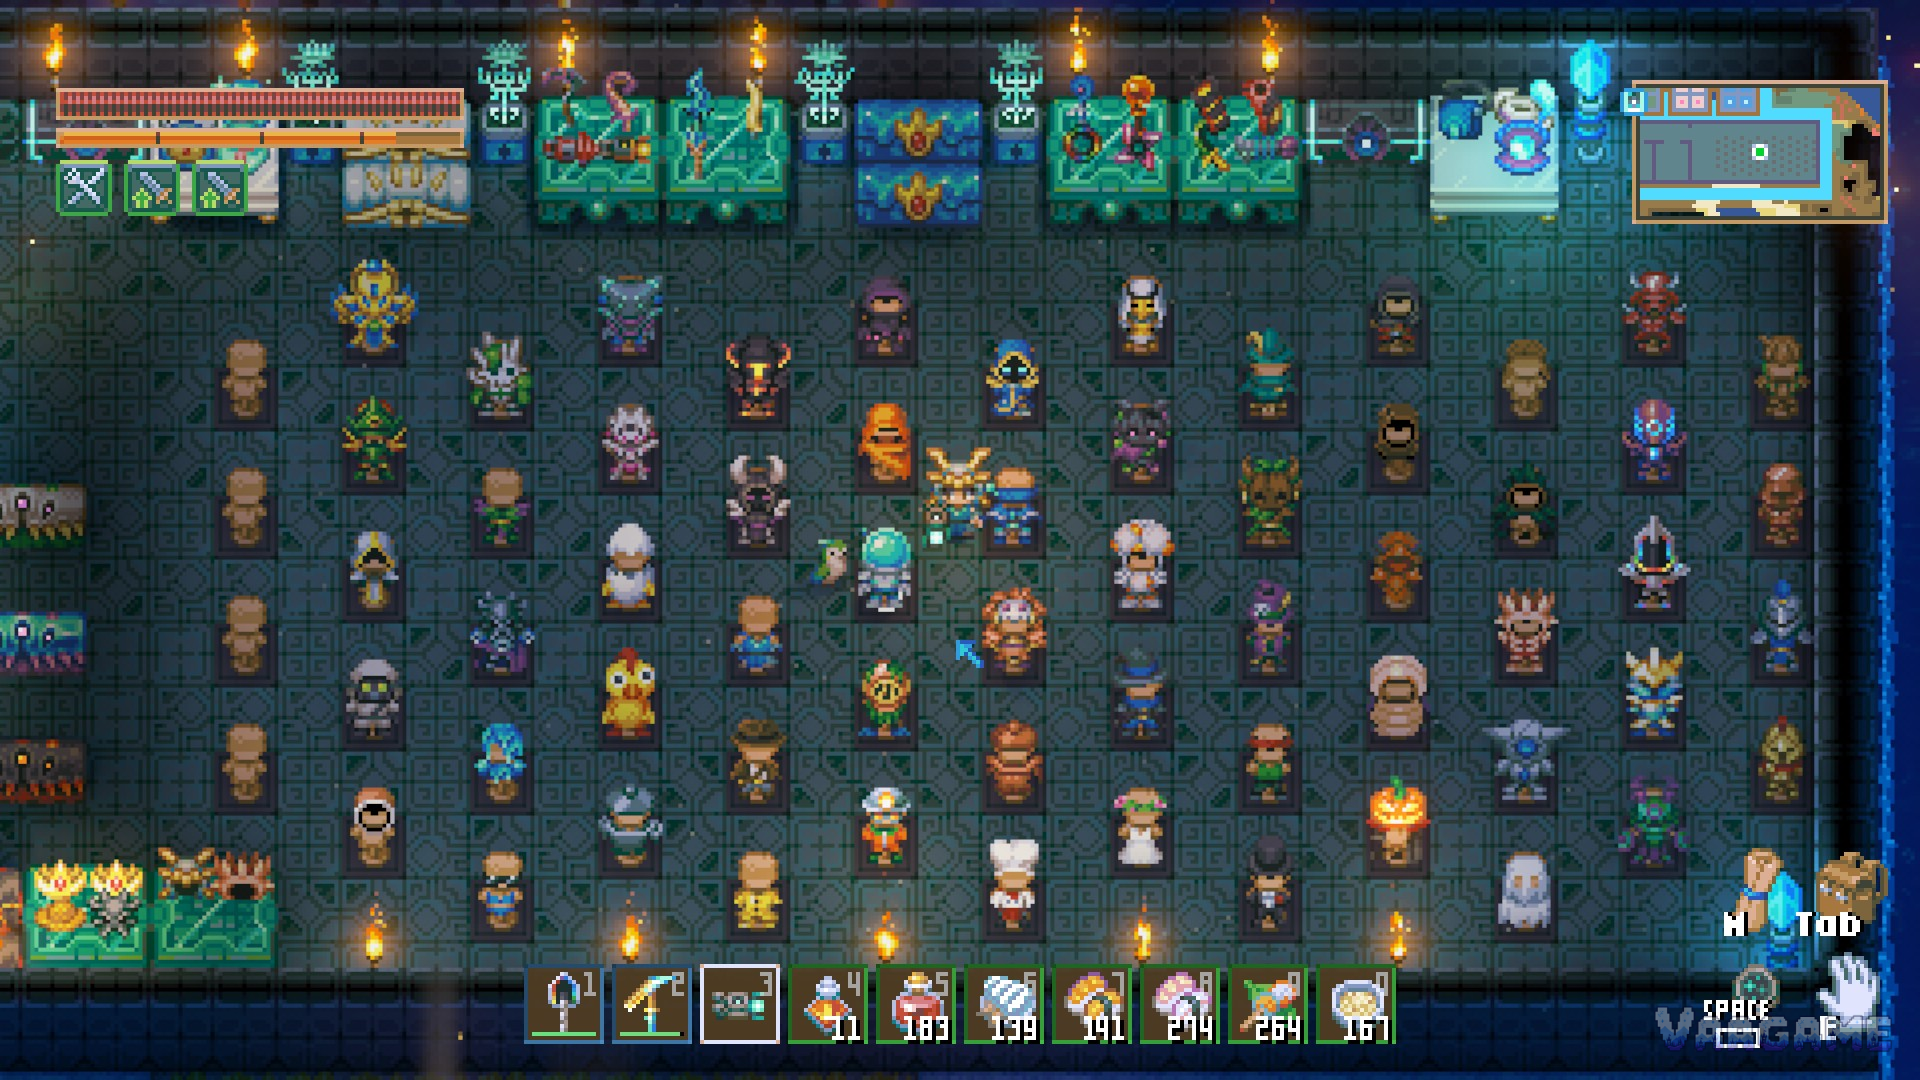
The gear ladder is the game itself in Core Keeper: build a better workbench, craft a stronger pickaxe, crack a harder wall, and smelt the ore behind it into the next tier. Wood, copper, tin and iron carry you to the powered Core, then Scarlet, Octarine, Galaxite, Solarite and Pandorium carry you across the outer world to the end of the Passage. This guide maps the whole climb in one place: all nine materials, all eight workbenches, all seven anvils and all three smelting stations, plus the two traps that catch returning players, gold and Relucite, which sit beside the ladder rather than on it.
Quick answer
The ladder has nine materials: Wood, Copper, Tin, Iron, Scarlet, Octarine, Galaxite, Solarite, Pandorium, in that order
The workbench line has eight stations: Basic, Copper, Tin, Iron, Scarlet, Octarine, Galaxite, Solarite, and each new bench keeps every earlier recipe
Pandorium is the exception at the top: It has no workbench and no anvil, and its gear comes from special stations such as the Rift Statue
Smelting climbs in three steps: The Furnace handles copper, tin and iron, the Smelter Kiln handles gold, Scarlet and Octarine, and the Fury Forge handles Galaxite, Solarite, Pandorium and Relucite
At a glance
Materials: 9 tiers, from Wood to Pandorium
Workbenches: 8, from the Basic Workbench to the Solarite Workbench
Anvils: 7, from the Copper Anvil to the Solarite Anvil
Smelting stations: 3 on the main line, the Furnace, the Smelter Kiln and the Fury Forge, plus the Glass Smelter on a side line
Early ceiling: Iron is the highest tier reachable before the Core is powered
Gold: An ingredient at the iron tier, used in recipes such as iron gear, with no bench or anvil of its own
Relucite: An extension tier from update 1.2 in Breaker's Reach, outside the nine-step main ladder
Players: Solo, or online co-op for 1–8 players
1. The ladder at a glance
Read the table from top to bottom and you have the shape of a full run. Each row pairs a material with the biome that yields it, the workbench that turns it into tools and gear, and the station that smelts its ore. Two rows need a second look. Wood is gathered by hand from the roots around the Core and needs no smelting at all. Pandorium, at the far end, is smelted in the Fury Forge like the other high-end ores, and then leaves the workbench system behind entirely, as Section 4 explains.
Swipe horizontally to view all columns.
| Material tier | Source biome | Workbench | Smelting station |
|---|---|---|---|
Wood | The Undergrounds, roots around the Core | Basic Workbench | None, gathered and used directly |
Copper | The Undergrounds | Copper Workbench | Furnace |
Tin | Clay Caves | Tin Workbench | Furnace |
Iron | Forgotten Ruins, gold usable at this tier | Iron Workbench | Furnace |
Scarlet | Azeos' Wilderness | Scarlet Workbench | Smelter Kiln |
Octarine | Sunken Sea | Octarine Workbench | Smelter Kiln |
Galaxite | Desert of Beginnings | Galaxite Workbench | Fury Forge |
Solarite | Shimmering Frontier | Solarite Workbench | Fury Forge |
Pandorium | The Passage | None, special stations such as the Rift Statue | Fury Forge |
The build order inside each tier never changes: mine the ore, smelt it into bars, build the next workbench at your current one, then craft that tier's pickaxe before anything else. The pickaxe comes first because it is the key to the following row. Two bench recipes show the pattern at both ends of the line. The Copper Workbench is built at the Basic Workbench from 8 wood and 6 copper bars, a price any first mining trip covers. The Solarite Workbench, the final bench, is built at the Galaxite Workbench from 70 Gleam Wood, 30 Galaxite bars and 40 Solarite bars, which is why the Shimmering Frontier gets mined hard before its own bench exists.
The ladder also changes pace halfway up. The first four tiers all live inside the starting ring, minutes apart, and a single base beside the Core serves the whole climb to iron. The outer tiers are expeditions. Scarlet country sits beyond the Great Wall, which only opens once the Core is powered, and its ore is useless until the Smelter Kiln stands ready at home. The Sunken Sea tier assumes a boat. The desert tier hides its ore inside sandstone. Plan each outer tier as a campaign with a mining phase, a smelting phase and a crafting phase, and the table above becomes a schedule rather than a shopping list.
2. How a gate feels in your hands
The game rarely announces a tier gate with text. It announces it through your pickaxe, and learning to read that signal saves hours.
A wall that will not crack means your tier is too low. Mining damage lands, the wall shudders, and nothing gives. That feedback is the ladder working as designed: the biome in front of you assumes the previous tier's tools, finished and equipped. The fix is always the same loop backwards, back to the last biome, finish its workbench, craft its pickaxe, and return. Grinding at a resistant wall with an under-tiered pickaxe is the slowest progress in the game.
Sparkles in a wall point at value. Glittering flecks in rock mark buried ore and open spaces beyond it, as the early-game guidance notes. When you are hunting a specific tier, follow the sparkles rather than strip-mining at random: a glittering stretch of Forgotten Ruins stone is a promise of iron, and the same signal in desert sandstone points at Galaxite.
The copper pickaxe trap comes first. The starting ring places the Clay Caves and the Forgotten Ruins on opposite sides of the Core, across the chasm that rings the Undergrounds. New players regularly bridge toward the Ruins first, meet grey stone that largely resists a copper pickaxe, and assume they need to grind harder. The Ruins are an iron source guarded by a tin gate. Circle the other way, take tin from the Clay Caves, build the Tin Workbench, and the same walls open up. Order matters more than effort at every gate after this one too.
3. The smelting line: three stations
Ore becomes bars at three stations, and each station is itself a tier product. Place all three near your workbenches as they arrive, because high-end trips will use the whole line in one visit home.
Furnace
The Furnace is the starter smelter, built at the Basic Workbench from 20 dirt blocks, so it costs nothing you value. It smelts the three opening ores: copper, tin and iron. Every early upgrade flows through it, from the bars that build the Copper Workbench to the iron bars that close out the opening ring.
Smelter Kiln
The Smelter Kiln takes over where the Furnace stops, smelting gold, Scarlet and Octarine ore. It is built at the Iron Workbench from 5 tin bars and 5 iron bars, which makes it part of your preparation for leaving the ring: build it before you haul Scarlet home from Azeos' Wilderness, and the first load of outer-world ore goes straight into bars. Note where gold sits in this list. Gold ore appears back at the iron tier, in the Clay Caves and the Forgotten Ruins, and waits for this later station to become bars.
Fury Forge
The Fury Forge is the high-end smelter, built at the Octarine Workbench from 30 Octarine bars and 15 Scarlet bars. It smelts Galaxite, Solarite, Pandorium and Relucite ore, covering the desert, the Shimmering Frontier, the Passage and Breaker's Reach in one station. Once it stands in your base, smelting stops being a progression question for the rest of the run: every remaining ore on the ladder has a home.
4. Anvils, and where gear actually comes from
Workbenches carry tools, stations and most crafting, while weapons and armour run on a parallel line of anvils. The anvil line has seven stations: Copper Anvil, Tin Anvil, Iron Anvil, Scarlet Anvil, Octarine Anvil, Galaxite Anvil and Solarite Anvil, each made from bars of its own metal. Read the two lines together and the pattern is clear. There is no Wood Anvil, because wood gear is handcrafted starter equipment, and the anvil line ends at Solarite, one step before the top material.
That missing final step is deliberate. Pandorium has no workbench and no anvil. Its ore comes from the Passage, the outermost region, where fossil blocks demand late-game digging equipment, and its bars come out of the Fury Forge. Its equipment is then crafted at special stations, with the Rift Statue named in the Solarite bar's uses as the station that produces Pandorium head, chest and leg pieces. Treat a Pandorium set as a project built across several stations, rather than a single bench upgrade you queue up at home.
One side line deserves a single sentence so it stops confusing the count: the Glass Smelter, built at the Copper Workbench from 5 copper bars, turns sand blocks into glass pieces. Glass feeds crafting and display projects, and the Glass Smelter belongs to that side line, with no place in the metal ladder above.
5. Skipping tiers, and the three misreads
Can you skip a tier? In practice, no, and the ladder is built so that skipping saves nothing. Each workbench is built at the previous one, each pickaxe is the key to the next biome's walls, and the smelting station for a new ore is a product of an earlier bench. What you can do is move through a tier quickly: mine only what the next bench, the next pickaxe and one armour set require, then push on. The three misreads below are where players lose the most time.
Gold is an ingredient, in the iron tier's kitchen. Gold appears alongside tin and iron country and feeds recipes at the iron tier, including iron gear that calls for gold bars. It has no workbench, no anvil and no tier of its own, and waiting for a "gold tier" to unlock means waiting for a step that does not exist. Smelt it in the Smelter Kiln when that station arrives and spend it as the high-value ingredient it is.
Relucite sits beside the ladder. Relucite is the ore of Breaker's Reach, the biome added in update 1.2 beyond the Passage, and the Fury Forge smelts it alongside the top main-line ores. That shared forge makes it look like a tenth tier. It is an extension tier for that late region, handled through its own specialist stations, and the main ladder still ends at Pandorium. Count nine tiers when you plan the main climb, and treat Relucite as endgame material you meet after it.
An old bench loses nothing. From the Copper Workbench onward, every new workbench includes all recipes from the benches before it, with earlier tiers switchable at the side. Upgrading your main bench never deletes your access to copper-era or tin-era recipes, so replace the old bench in your workshop with confidence and keep the floor space.
Common tier mistakes
Swipe horizontally to view all columns.
| Mistake | Fix |
|---|---|
Treating gold as its own tier and waiting for a gold workbench | Gold is an ingredient at the iron tier: smelt it in the Smelter Kiln and spend it in recipes, no gold bench or anvil exists |
Counting Relucite as the tenth tier of the main ladder | Relucite is the Breaker's Reach extension tier from update 1.2: the main ladder ends at Pandorium, and Relucite smelts in the Fury Forge |
Keeping every old workbench out of fear of losing recipes | Each new workbench includes all earlier recipes: upgrade the main bench and reclaim the floor space |
Hauling Scarlet ore home with only a Furnace in the base | Scarlet needs the Smelter Kiln, built at the Iron Workbench: build the kiln before the first outer-world mining trip |
FAQ
Is gold its own tier?
No. Gold becomes usable at the iron tier and serves as an ingredient, including in iron gear recipes that call for gold bars. It has no workbench and no anvil of its own, and its ore is smelted later, in the Smelter Kiln, alongside Scarlet and Octarine.
Does a new workbench replace my old recipes?
No. From the Copper Workbench onward, each new bench includes all recipes from the tiers before it, and earlier recipe sets stay selectable at the bench. Upgrading replaces the station in your base, and your access to older crafting stays intact.
What do I do when a Solarite wall will not crack?
Go back one tier and finish it. Solarite sits in the crystal walls of the Shimmering Frontier, a band around the outer biomes, and those walls assume late-game digging equipment built from the tiers below. Complete the Galaxite tier's workbench and tools, bring current-tier gear rather than a favourite older set, and the same wall becomes a mining site instead of a roadblock.
Why is there no Pandorium workbench?
Because the top tier leaves the bench system behind. Pandorium ore from the Passage smelts in the Fury Forge, and Pandorium equipment is crafted at special stations such as the Rift Statue. The Solarite Workbench is the final bench of the main line, and the Solarite Anvil closes the anvil line.