

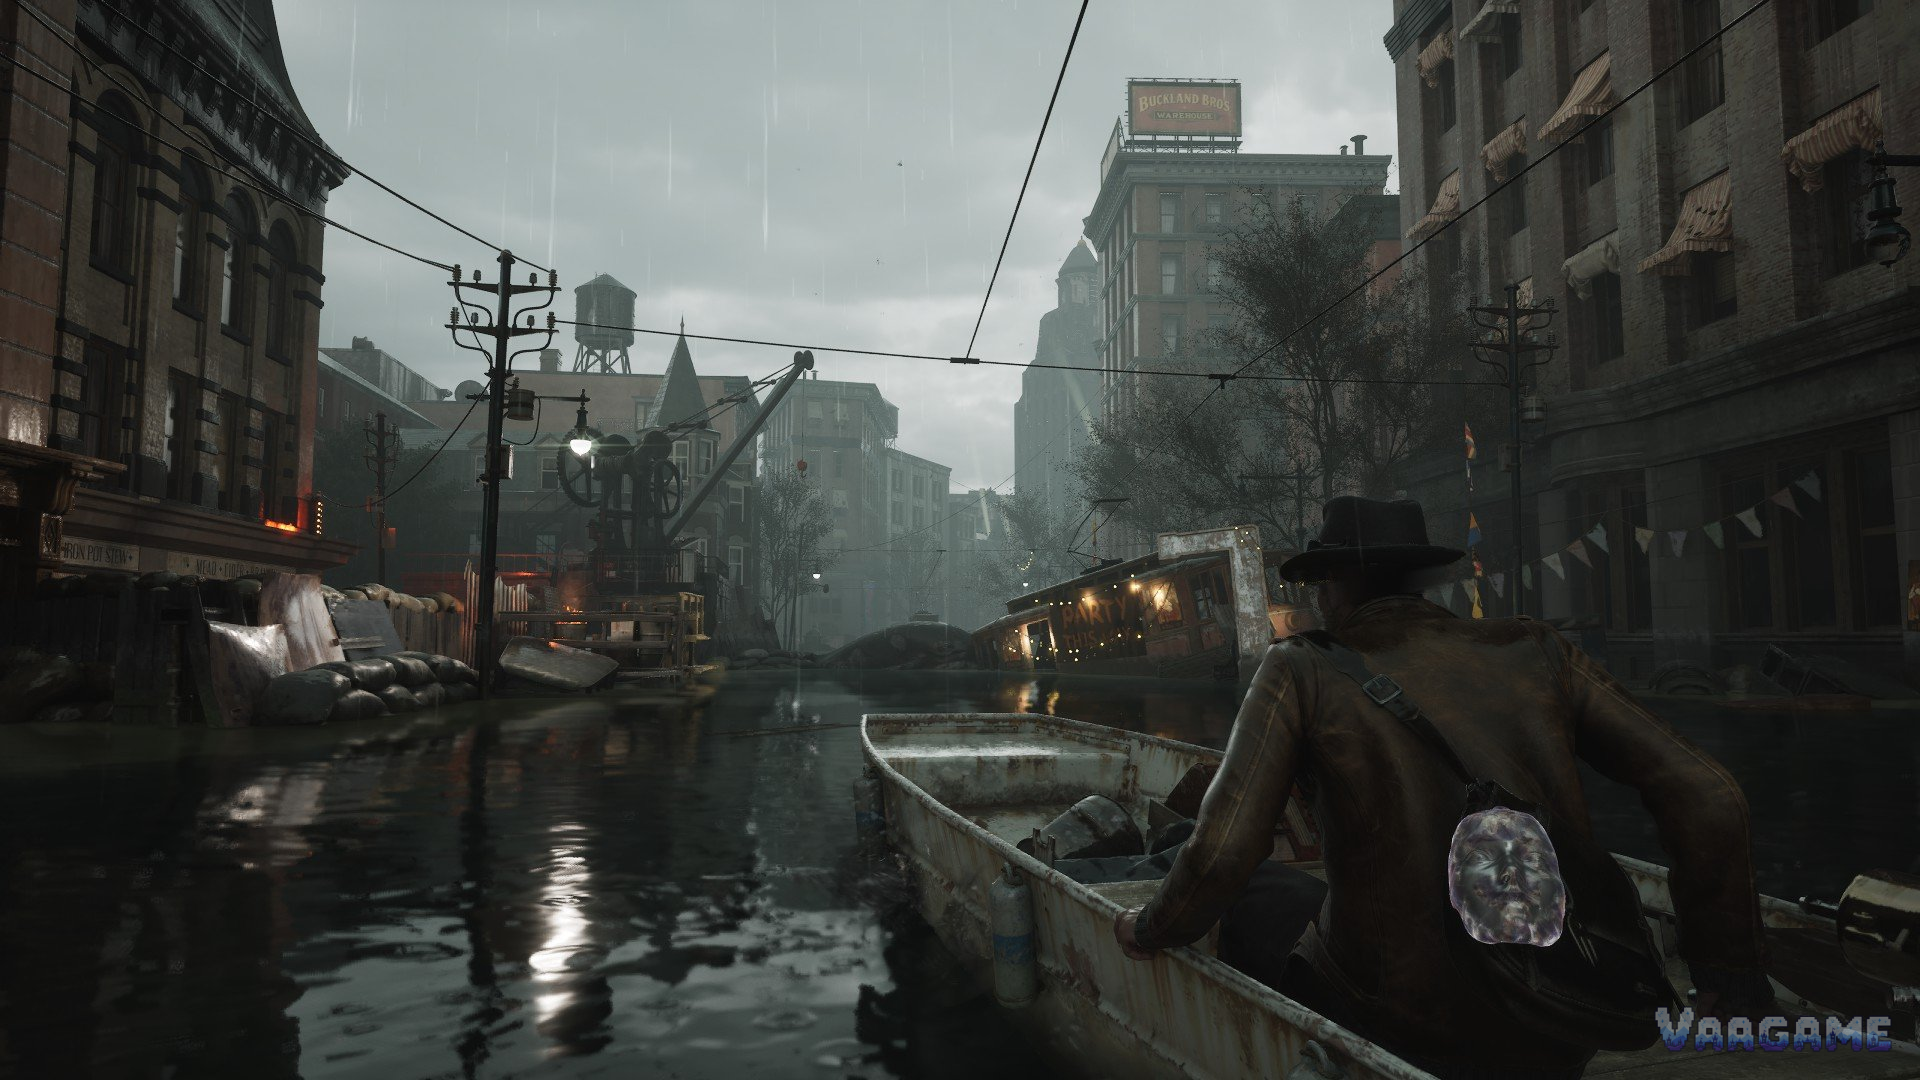
The Sinking City 2 is a survival horror game with no sanity meter, no crouch, and no stealth, so there is no hidden system that will save you for playing cleverly in the shadows. Survival is a string of small, visible decisions: whether a fight is worth a bullet, whether a material becomes ammunition or medicine, whether a crate is worth its pen, and whether a room is worth clearing before you move on. Get most of those decisions right and the game feels tense but fair. Get them wrong in the same direction for an hour and you arrive at a boss with an empty inventory.
At a glance
No sanity, no stealth, no crouch: do not plan around systems the game does not have.
Core combat loop: shoot glowing pustules on limbs and torsos, then stomp a downed enemy instead of spending another bullet.
Healing tiers: small, significant, and full recovery, plus Night Ore for the mask and a disposable pen for crates.
Inventory: 6 expansions, 2 each in Chapters 2, 3, and 4, all inside Emergency Relief Crates, against 13 crates and 13 pens in total.
Difficulty: 4 combat settings and 2 investigation settings, set independently, with puzzles unchanged and no difficulty achievement.
Investigations are optional and never gate story progress, but they pay Dream Essence, which is the Talent currency.
Fight or run: the first decision in every room
Ammunition is deliberately scarce, and every bullet carries weight, so the first decision in a room is whether the fight is worth anything at all. The game itself gives you the answer in most rooms: if an enemy blocks a door, a key, or a crate, fight it; if it merely stands between you and a room you have already cleared, run past it and save the bullet. Reviewers agree on the phrasing: sometimes the smartest decision is to leave trouble behind and preserve supplies for unavoidable fights. Running is not cowardice in this game, it is inventory management with legs.
When you do fight, aim for the system the game built, not the one you brought from other shooters. Headshots are not the shortcut here. Enemies grow glowing pustules on their limbs and torsos, and shooting those stuns and deals large damage. When an enemy falls to its knees, or overshoots you while you dodge, a stomp finishes it outright, which is the single cheapest kill in the game. Stomping also clears Slither clusters on the floor, which would otherwise spawn more enemies, so a stomp is crowd control as well as a finisher. Kill the host and the worms will seek a new body, so do not assume a room is safe because one body dropped.
Boss and arena fights bend the scarcity rule, and you should know that before you panic about them. Reviewers note that certain boss fights and big arena battles have respawning loot pickups, explained by an in-game note, so you cannot be softlocked by running dry mid-boss. Do not let that knowledge make you wasteful everywhere else: the arena refill exists to keep a boss fight possible, not to make ammunition free, and the rest of the game still charges full price for every bullet.
Crafting: ammo or medicine, never both from the same material
Crafting is bare-bones on purpose, and its tension is that ammunition, healing items, and other consumables all compete for the same scarce resources and the same limited inventory. The listed ammunition types are frag grenades, handgun ammo, revolver ammo, rifle ammo, shotgun ammo, and submachine gun ammo. Do not reuse recipes from the 2019 game: check the sequel’s own recipe display for material costs, which this guide does not invent. The practical rule is to keep resources flexible until your weapons and recurring encounters show a real gap, then craft toward that gap, rather than converting everything into one ammo type by default.
Healing has three tiers, and the choice between them is a decision, not a reflex. Dolorocide Pills, Harold Melville’s Dolorocide, restore a small amount of health. Regenerine Tonic, Akeley’s Experimental Tonic, restores a significant amount. The Lifesaver Kit, Herbert West’s Patented Lifesaver Kit, restores health completely. Available descriptions give no health-point numbers, so this guide states the tiers qualitatively and does not invent values: use the small tier for chip damage, the significant tier after a real fight, and the full kit only when a full bar is the difference between surviving the next room and not. Two items are not healing at all, and confusing them wastes a slot: Night Ore recharges the Night Shade, and the E.R.C. Activator Pen opens a high-security crate.
The Alchemical Abundance Talent changes the crafting math in one measurable way, and it is worth stating exactly. With it equipped, one craft yields plus 2 handgun rounds, plus 2 submachine gun rounds, plus 1 shotgun shell, and plus 1 rifle round, against base yields of 10, 11, 6, and
4. Frag grenades stay at one per craft either way, so the Talent adds nothing if grenades are your main craft. That makes Alchemical Abundance a strong pick for handgun and submachine gun players, a marginal pick for rifle and shotgun players, and a wasted slot for grenade players, which is exactly the kind of loadout honesty the Talent guide asks for.
Inventory and crates: spend pens in the right order
The grid inventory fills fast, and safe room storage chests only help when you are standing next to one. The permanent fix is six Inventory Expansion Packs, two each in Chapters 2, 3, and 4, all inside Emergency Relief Crates. Every crate needs one single-use Activator Pen, and there are thirteen crates and thirteen pens in the whole game, so the math works only if pens go to the right crates. An unused pen travels with you between areas; a used pen is gone the moment its crate opens. If a crate refuses to open, you do not have a pen on you, which is the whole diagnosis.
The recommended spending order is a recommendation, not a game rule, and it follows from what each crate type does for the rest of the run. Inventory expansions first, because every later crate is easier to carry home with a wider grid. Weapon attachments second, because a part you own for the rest of the run beats a consumable you spend in one room. Dream Essence and consumables third, since they are valuable but replaceable, and since a crate you skip for a pen you do not have can be revisited with a later pen, as long as its chapter has not closed. Chapter 2 alone hides two expansions, one in the star-marked cell in the church yard and one in the building past the graveyard door, each needing its own key and pen, so do not leave Chapter 2 without both.
Saving follows the same safe-room logic. Safe rooms are magically protected, let you save manually, and hold storage chests for coordinating equipment, and sailing between key locations is another save point. That makes the safe room the natural decision point for the whole guide: before you leave one, decide your loadout, your crafted stock, and your pen spending, because the flooded streets between safe rooms are where those decisions get tested, not where they get revised.
Difficulty and investigations: choose the friction you want
Combat and investigation difficulty are separate settings, and they change different things. Combat offers four options: Sweet Dreams, with optional invulnerability and immortality, Restless Slumber as normal, Hard Night, and Sleep Demon. Investigation offers two: Breezy, where important information is highlighted and evidence icons carry matching symbols, and Brainy, where important information is not highlighted and all evidence icons look the same. Puzzles themselves are unchanged by either setting. There is no achievement tied to difficulty, so the choice costs nothing except pride, and the honest recommendation from reviewers is normal combat with Brainy investigations for a first run, since the investigation layer is already the lighter half of the game.
Investigations deserve a decision of their own, because they are the one system players most often skip and then regret skipping. The Investigation Space collects notes you find, and connecting related clues with matching symbols completes a group and pays Dream Essence. The official store description is explicit: optional investigations never gate progress, but they unlock safer routes, hard supplies, and upgrades. Skipping them does not block the story, but it does starve the Talent system, which is why a player who skips every investigation arrives late-game with a thin loadout and blames combat balance for an economy problem. Do the investigations in chapters you are already sweeping for crates, and the Dream Essence arrives without a separate grind.
The Printing Press choice, covered in full in the weapons guide, belongs here as a reminder of what a decision costs. All gold gives a shotgun part, all silver gives Dream Essence, and the press cannot be solved twice. It is the only decision in this guide that cannot be revisited in the same run, which is why it is worth making deliberately at the press, not discovering afterward in a guide. Every other decision here can be revised at the next safe room, which is the real reason safe rooms matter more than any single fight.