

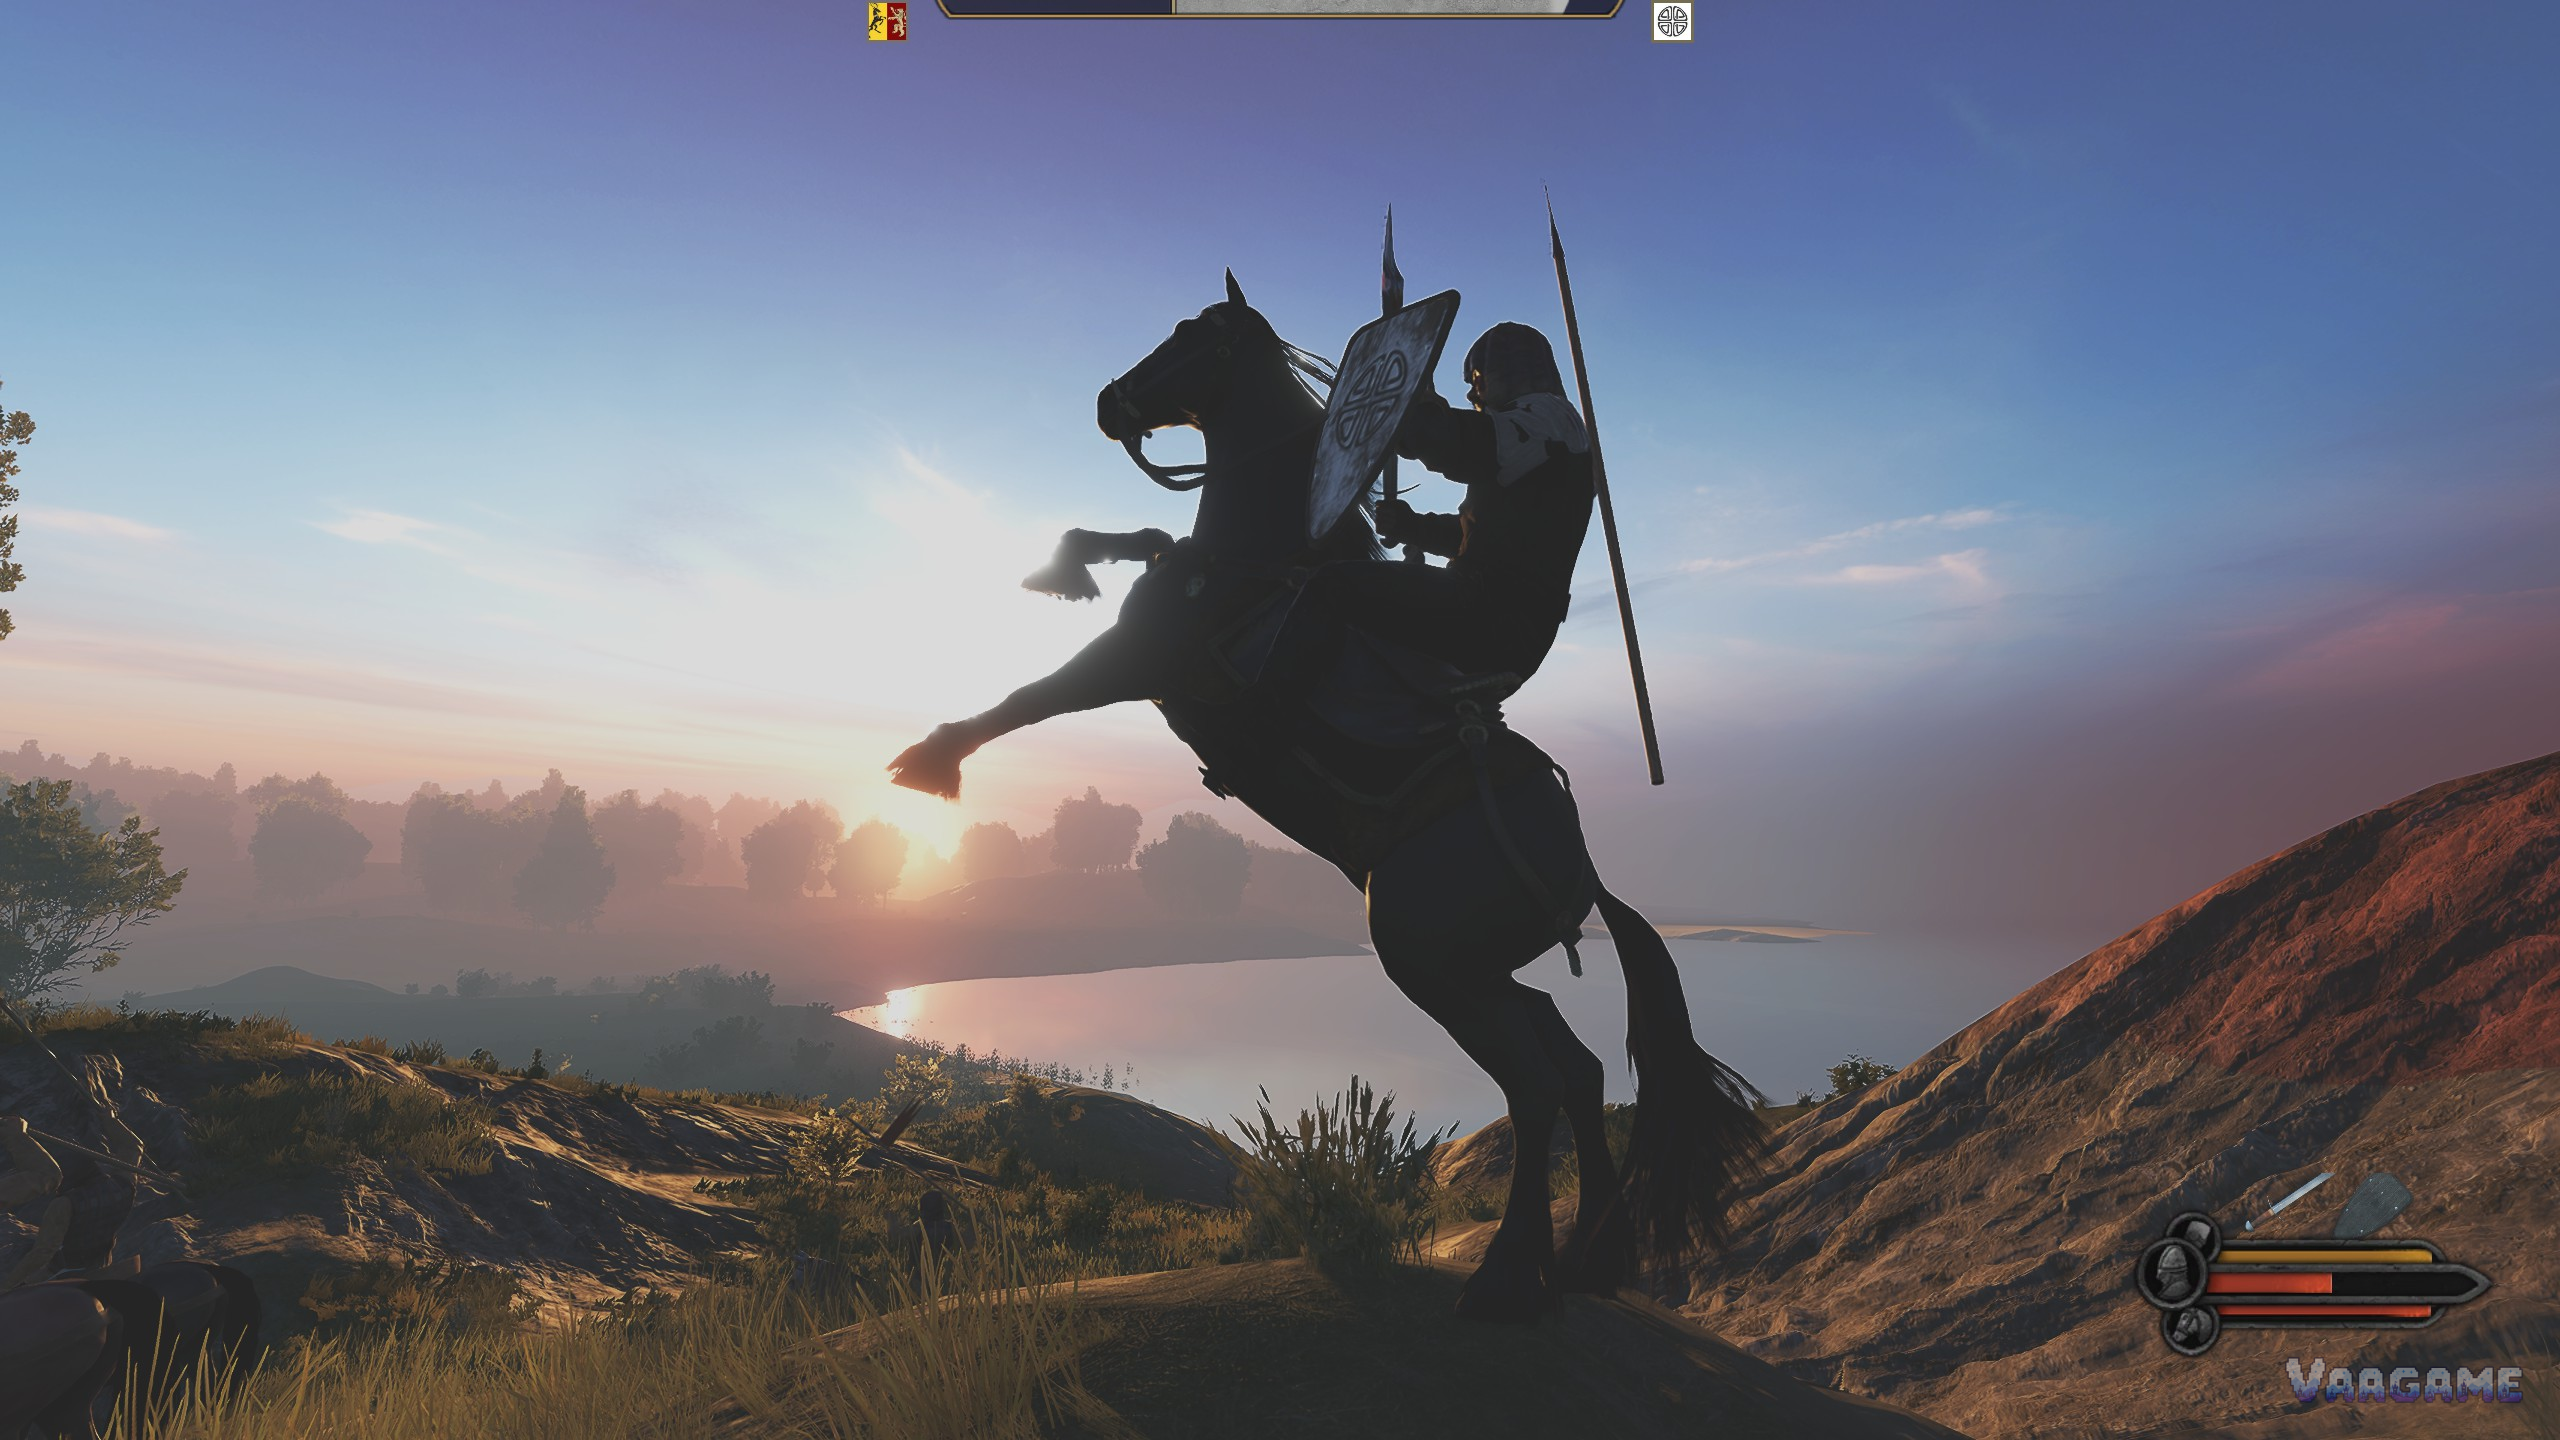
Most field battles in Bannerlord are decided before the first arrow flies. The army you bring, the ground you choose, and the orders you give in the first seconds matter more than how well you personally swing a sword. This guide covers the troop types, the upgrade trees, and the formation orders that turn a mixed band of recruits into an army that holds together. It covers the single-player campaign; multiplayer modes use the same combat feel but different army building, and are only mentioned here in passing.
At a glance
Game: Mount & Blade II: Bannerlord, by TaleWorlds Entertainment
Price: $49.99 on Steam (checked October 28, 2026); prices vary by region and sale
Basis: single-player campaign, version line v1.4.x; War Sails content is noted only where it changes the topic
Scope: field battles, troop trees, formation orders, and army composition
Last verified: October 28,
2026. Exact figures without a reliable source are left out and marked as pending below
The four troop jobs
Every troop in Bannerlord does one of four jobs. Infantry holds ground and absorbs charges. Archers and crossbowmen deal damage from range and punish enemies who stand still. Cavalry breaks formations, chases routers, and threatens flanks. Horse archers harass, kite, and pull enemies out of position. A healthy army has all four, because each one covers another weakness: infantry without archers gets shot to pieces, archers without infantry get run down, and cavalry without infantry support gets surrounded once its charge ends.
Culture is the second axis. Each of the eight base-game cultures fields its own troop tree with its own strengths: Vlandian crossbowmen and heavy cavalry, Battanian archers, Sturgian infantry, Khuzait horse archers, Aserai versatile cavalry and infantry, and the three Empire cultures with disciplined mixed lines. The War Sails expansion adds the Nords as a ninth culture with its own mariner troops. Recruit from the culture whose strength matches the gap in your army, not just from whichever village is closest.
Troop trees and upgrades
Recruits do not stay recruits. Each culture has a branching upgrade tree: a recruit can become an archer, an infantryman, or a rider, and each branch splits again at higher tiers toward specialized roles. Upgrades cost experience, which troops earn by fighting, and higher-tier troops cost more in daily wages. The practical rule is to upgrade a core of veterans first and keep a tail of cheap recruits behind them: veterans win fights, recruits fill losses, and an army of only elites will bankrupt you between battles.
Do not judge a troop by its tier alone. A mid-tier spearman in a shield wall is worth more against cavalry than a high-tier swordsman caught in the open, and a horse archer is only as good as the open ground you give it. Match the troop to the job and the map: forests and hills punish cavalry, open plains punish slow infantry, and river crossings punish everyone who tries to fight in the water.
Formations and orders that actually matter
Bannerlord gives you named formations for a reason: Line for maximum firepower and a wide front, Shield Wall for receiving a charge, Loose for spreading out under arrow fire, Circle for a last stand when surrounded, Column for moving fast on the march, and Skein for a refused flank. The habit that separates decent commanders from bad ones is simple: put infantry in Shield Wall or Line, archers on a rise behind them in Loose formation, cavalry held back on a flank, and do not press charge until the enemy has committed to your line.
Three orders do most of the work. Advance and Hold Position decide whether your line meets the enemy or waits for it; charging too early is the classic beginner mistake, because a scattered army fights as individuals. Follow and Charge let you pull cavalry back after a charge instead of watching it die in the middle of the enemy army. And the single most underused order is telling your archers to hold fire until the enemy is in range, so they do not waste arrows on distant targets. Exact troop statistics and wage figures are pending verification and are deliberately left out of this guide rather than guessed.
A simple army to aim for
If you are starting out, aim for a simple mix and adjust from there: a solid infantry core that can hold a line, archers numbering roughly a third of the army, and a cavalry wing large enough to threaten a flank but small enough that its wages do not eat your campaign budget. Add horse archers only once you can afford to lose them, because they are expensive and they die fast when caught. Above all, fight on ground you chose: a hill for your archers, a forest edge to anchor a flank, and never a river crossing against a prepared enemy.
Common mistakes
Charging your whole army at the start, which turns a battle into a brawl you cannot control
Leaving archers on flat ground in front of your infantry, where cavalry reaches them first
Upgrading every recruit and then wondering why the army costs more than the loot it wins
Fighting every battle the enemy offers instead of refusing bad ground
FAQ
Do I need to fight in person, or can I let my troops handle it?
You fight alongside your troops in Bannerlord battles, and you can also issue orders while fighting. Sending troops in without orders works against bandits, but against a real army it wastes your best advantage, which is that you are the only commander on the field who can react.
Which culture has the best troops?
There is no single answer, because each culture is best at a different job. Khuzait horse archers dominate open plains, Battanian archers dominate forests, and Vlandian heavy cavalry dominates a flank charge. Build around the job you need, not around a tier list.
How do I stop my cavalry from dying?
Hold cavalry on a flank, charge it into flanks and routers rather than braced infantry, and pull it back after each charge. Cavalry that stays in melee after its charge ends is cavalry you are about to lose.