

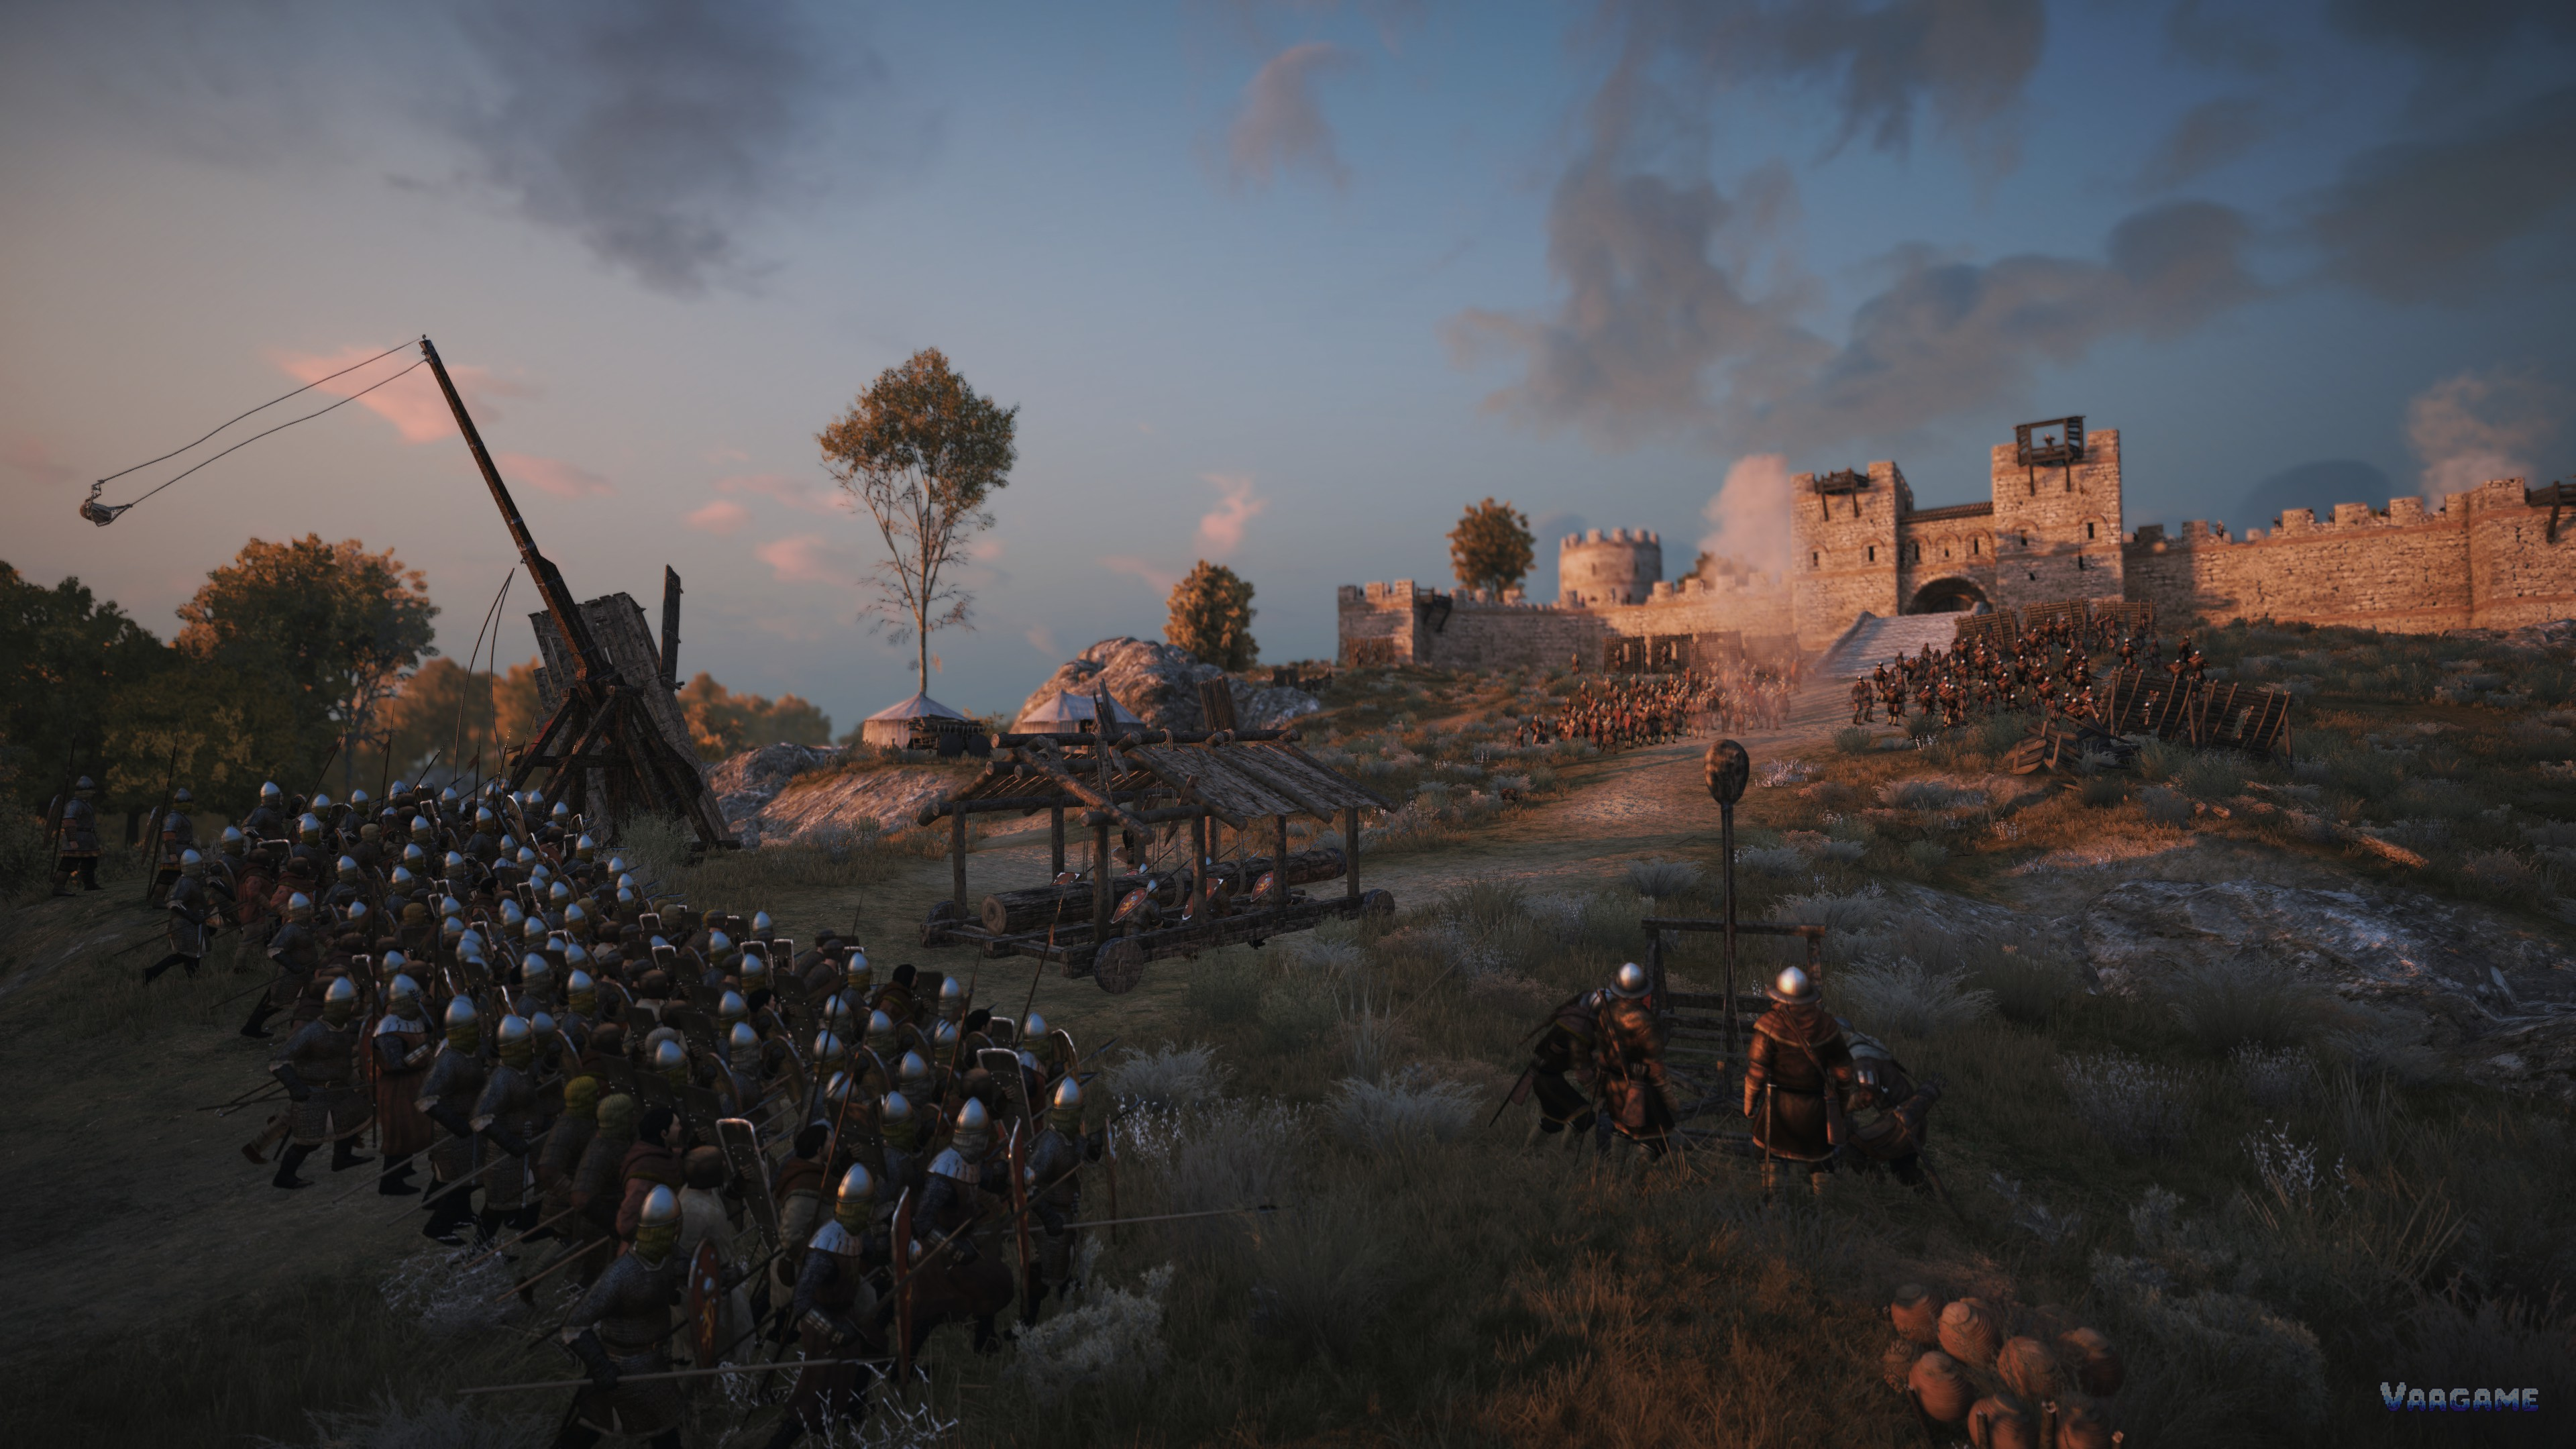
A siege in Bannerlord is not a bigger field battle. It is a slow preparation phase followed by a short, violent assault, and most sieges are lost in the preparation phase: the wrong engines, an assault launched before a breach, or a garrison that was never scouted. This guide covers both sides of the wall, attacking and defending, so you know what the enemy is about to do to you as well as what you are about to do to them.
At a glance
Game: Mount & Blade II: Bannerlord, by TaleWorlds Entertainment
Price: $49.99 on Steam (checked October 28, 2026); prices vary by region and sale
Basis: single-player campaign, version line v1.4.x; War Sails content is noted only where it changes the topic
Scope: siege camp engines, assaults, and defense of walls, gates and keeps
Last verified: October 28,
2026. Exact figures without a reliable source are left out and marked as pending below
The siege camp: where sieges are won
When you besiege a town or castle, you set up a siege camp and build engines over time: trebuchets to smash walls and enemy engines from range, ballistas and fire ballistas to kill defenders on the walls, a siege tower to deliver troops onto the battlements, and a battering ram to break the gate. Defenders build their own engines in reply and may sally out to burn yours. The camp phase is a race: every day you spend building is a day the enemy spends repairing, reinforcing, or calling a relief army.
Bring the right army to a siege, not just a big one. You need archers to suppress the walls, infantry to climb and hold, and enough food for a camp that eats while it waits. Exact engine build times and food consumption figures are pending verification and are left out here rather than guessed; the rule of thumb is to assault only when you have either a breach, a tower at the wall, or a gate about to fall, and never on hope alone.
Attacking: breach, tower, or gate
There are three ways through a wall, and a good assault uses at least two of them at once so the defenders cannot mass everywhere. A breach opened by trebuchets lets your infantry pour in at ground level, which is the safest route. A siege tower puts troops directly onto the battlements, but the tower is a target all the way to the wall and the troops at its top fight outnumbered until the rest arrive. A battering ram breaks the gate, but the gate is a choke point: the defenders know exactly where you are coming through, and they will be waiting with everything they have.
During the assault, keep your archers shooting at the walls while infantry goes up, and send your own character where the fight is hardest rather than where it is safest. Once inside, the fight moves to the streets and then the keep: defenders fall back in stages, and a siege is only over when the keep falls or the garrison breaks. Do not celebrate at the first breach; the hardest fighting in many sieges happens in the last courtyard.
Defending: make them pay for every step
Defending is about layers. Wall engines and archers punish the approach and the camp, infantry holds the battlements and the breach, and the gate and keep are the last two lines you must never give up cheaply. Repair what the trebuchets break, keep a reserve behind the wall rather than committing everyone to the first assault point, and remember that the attacker chose this fight: if you hold long enough, a relief army or a starving camp may solve the siege for you.
The defender mistake that loses the most sieges is fighting the whole garrison on the walls at once. When the breach opens, pull back in good order to the next line instead of dying on a wall that has already fallen. A garrison that survives to the keep can still win the siege; a garrison that dies on the battlements cannot.
Before you assault: a checklist
Scout the garrison: size, troop mix, and whether a relief army is near
Have a breach, a tower at the wall, or a gate about to fall, not just hope
Archers in place to suppress the walls while infantry climbs
Enough food and replacement troops for a failed first assault
A plan for the keep, not just for the wall
FAQ
Should I wait a siege out instead of assaulting?
Waiting can work when the garrison is small and no relief army is coming, because a camp costs the attacker food and time too. Assault when waiting costs you more than it costs them, which is usually when a relief army is on the march.
What kills a siege tower?
Defender engines and concentrated fire punish a tower on its whole approach, which is why towers work best when the defenders are already busy elsewhere, such as at a breach or a gate under ram attack.
Can I defend a fief I am not in?
Yes, in the sense that your garrison and the walls fight without you, but an absent lord cannot repair engines, reposition reserves, or time a sally. If a fief matters, get there before the assault, not after.